

Build a Custom Connector
In this tutorial, we'll guide you through creating connectors on the Stacksync Workflows platform using the Developer Studio. You may either watch the tutorial video or read the written guide.
How to Build a Connector on Stacksync Workflows
In this tutorial, we'll guide you through creating connectors on the Stacksync Workflows platform using the Developer Studio. You may either watch the tutorial video or read the written guide.
Video Tutorial
Written guide
Getting Started with Developer Studio
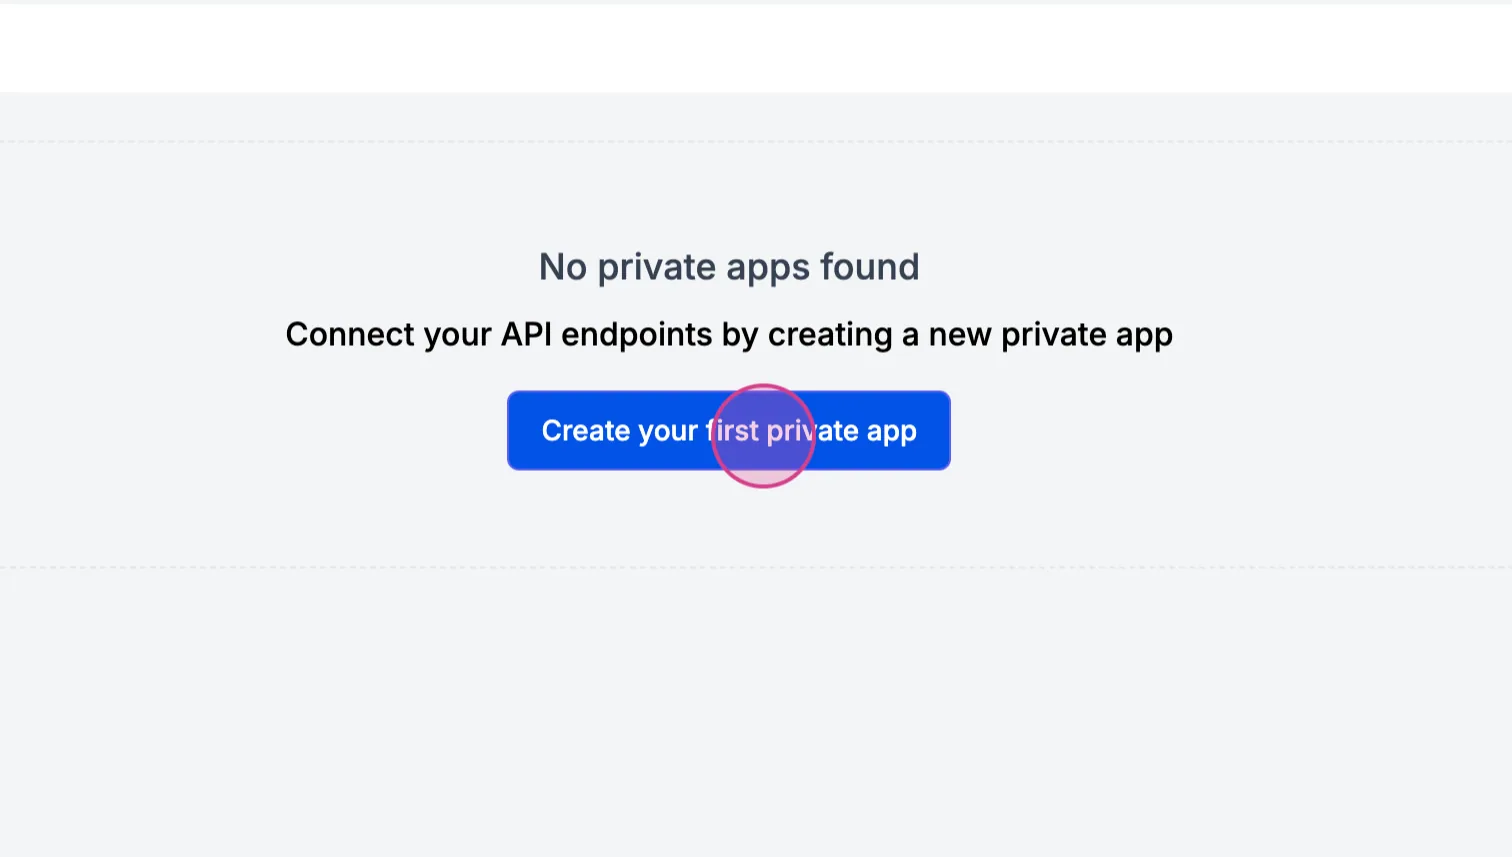
Step 1: Navigate to the Developer Studio option located under the Workflow Automation menu to access the Private Application Dashboard. Here, you'll begin creating your first private app.
Step 2: Enter the API URL for your application to proceed.
Step 3: Access the app connector template (Link to the Workflows Connector Template)
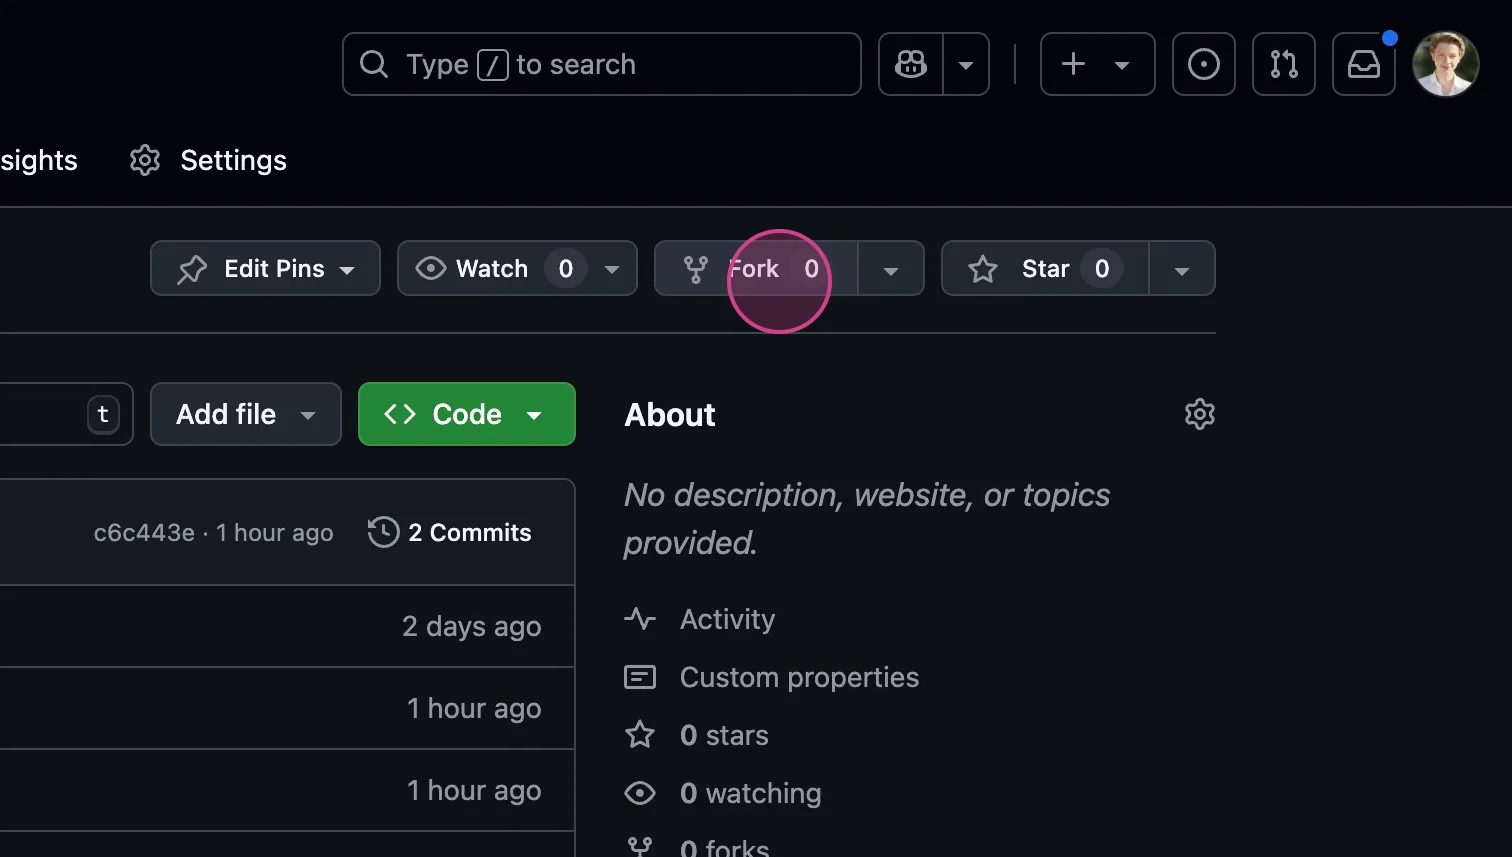
Step 4: Fork the template to start setting up your connector. This allows you to choose a name for your new repository.
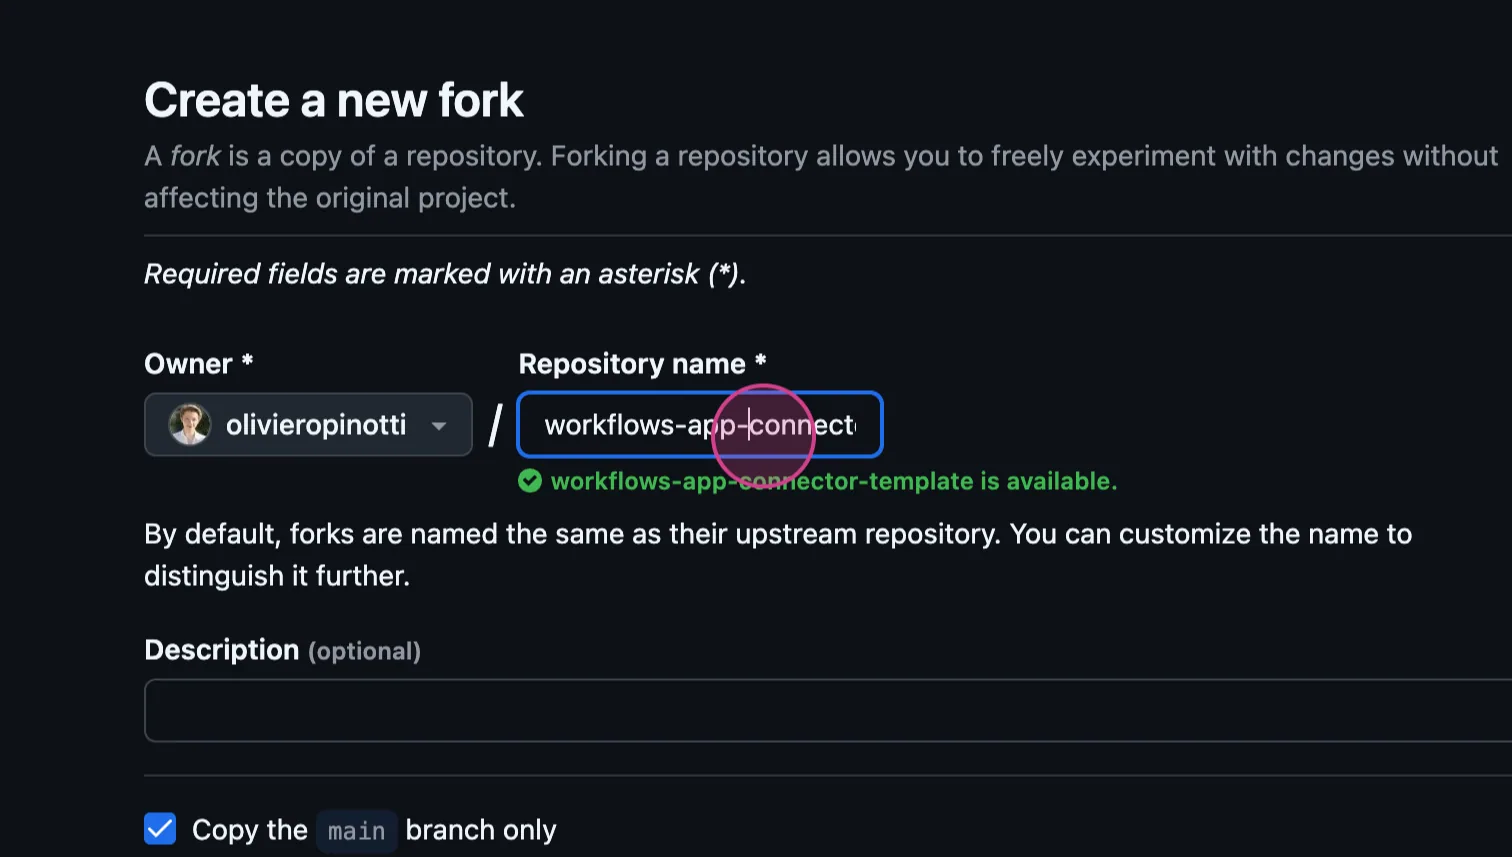
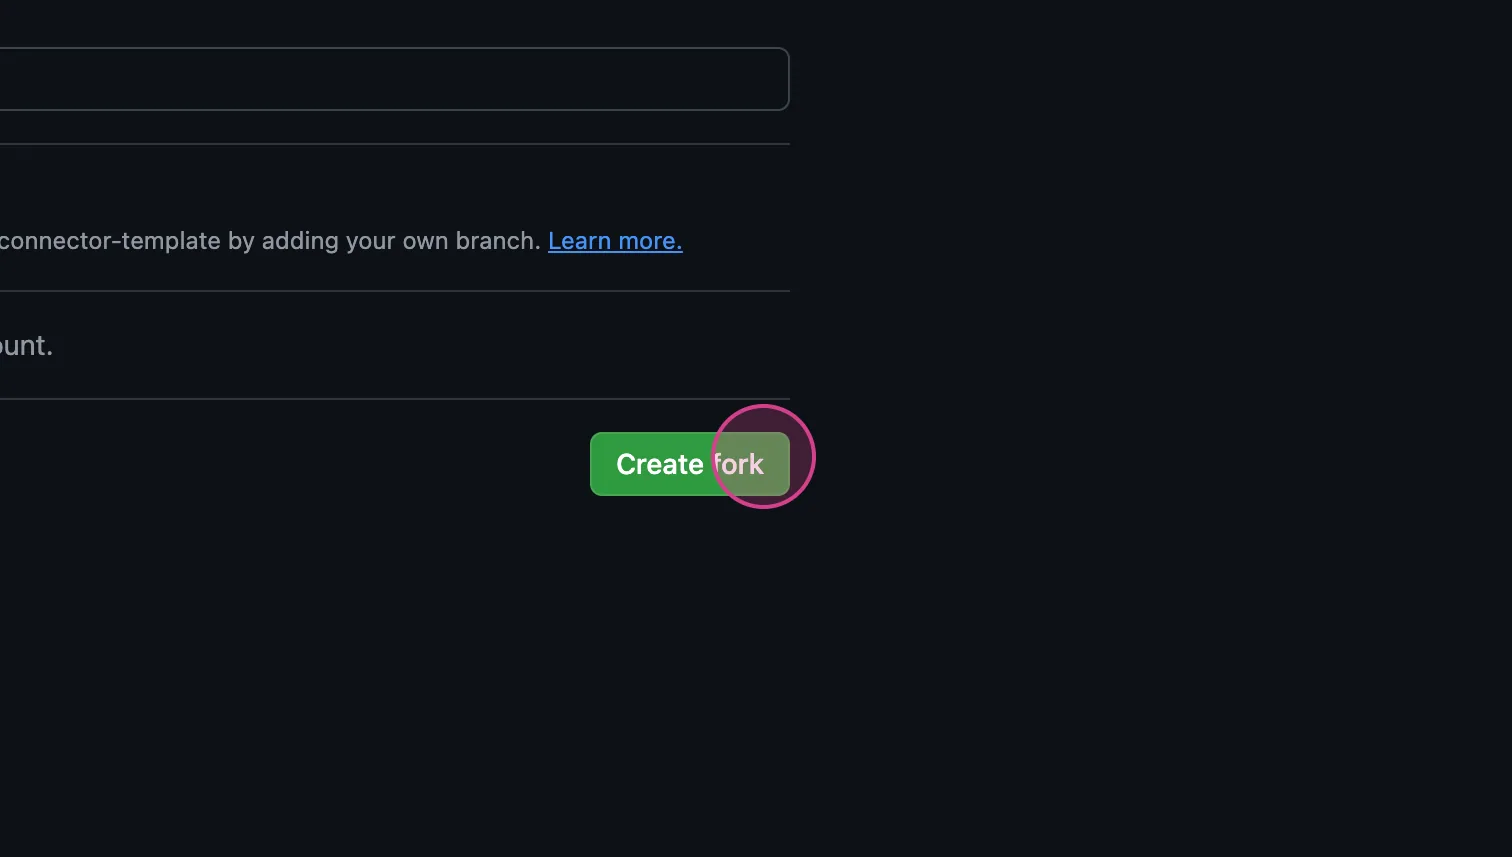
Step 5: Name your new repo, for example, "example workforce App example," and create the fork.
Step 6: After creating your new repo, proceed to the code SSH section and click copy to copy the URL.
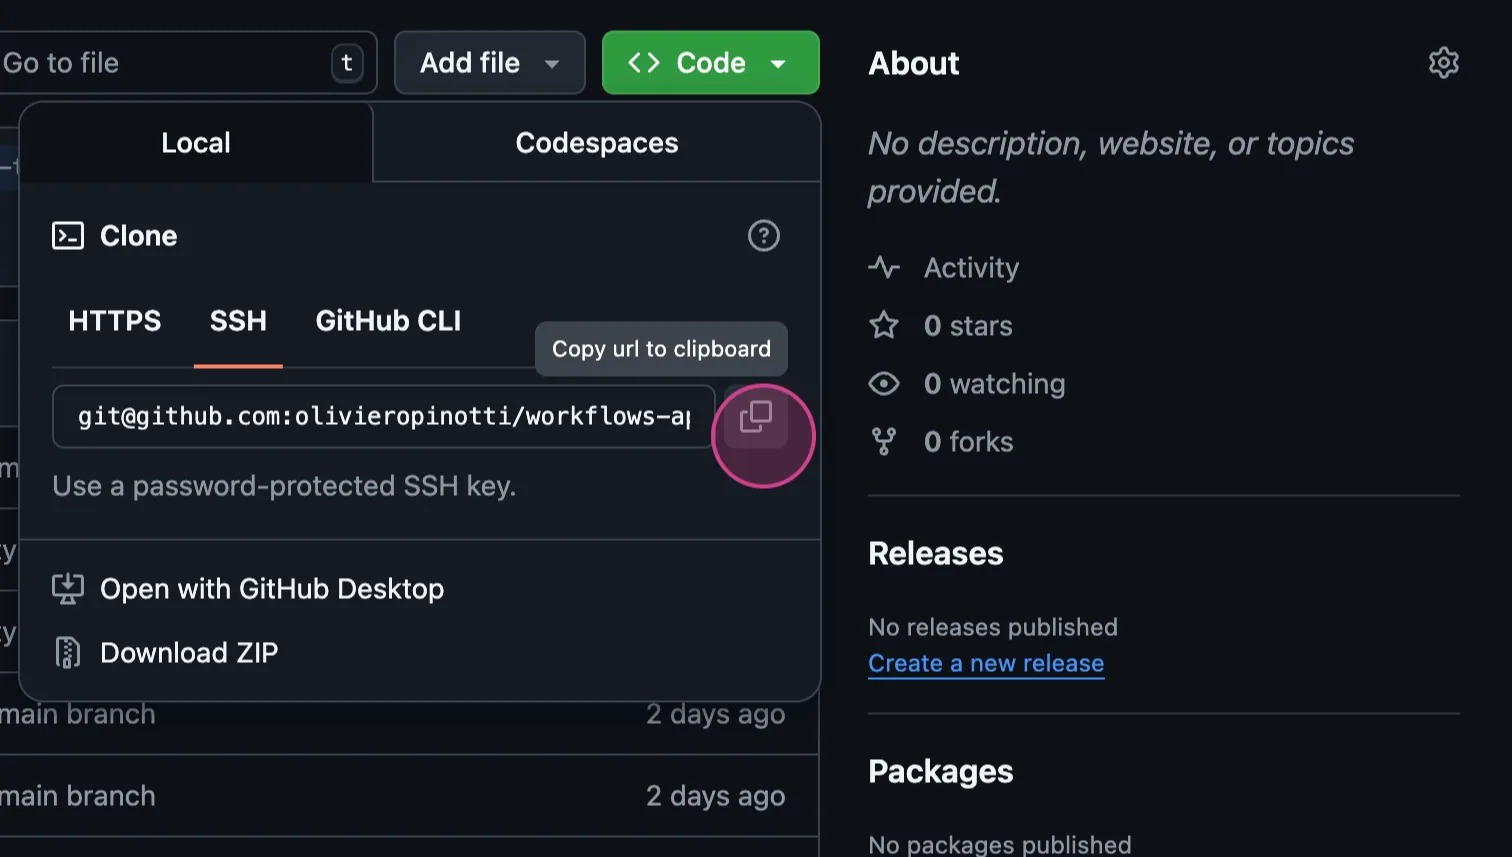
Step 7: Open your preferred IDE, paste the URL, and execute the `git clone` command to clone the repository into your local workspace.
Step 8: Navigate into your cloned repository by typing `CD workflow app example` in your terminal.
Step 9: Run the development environment script by entering `./run_dev.sh` in your terminal. The command varies slightly depending on your operating system; use `.bat` for Windows and `.sh` for Mac.
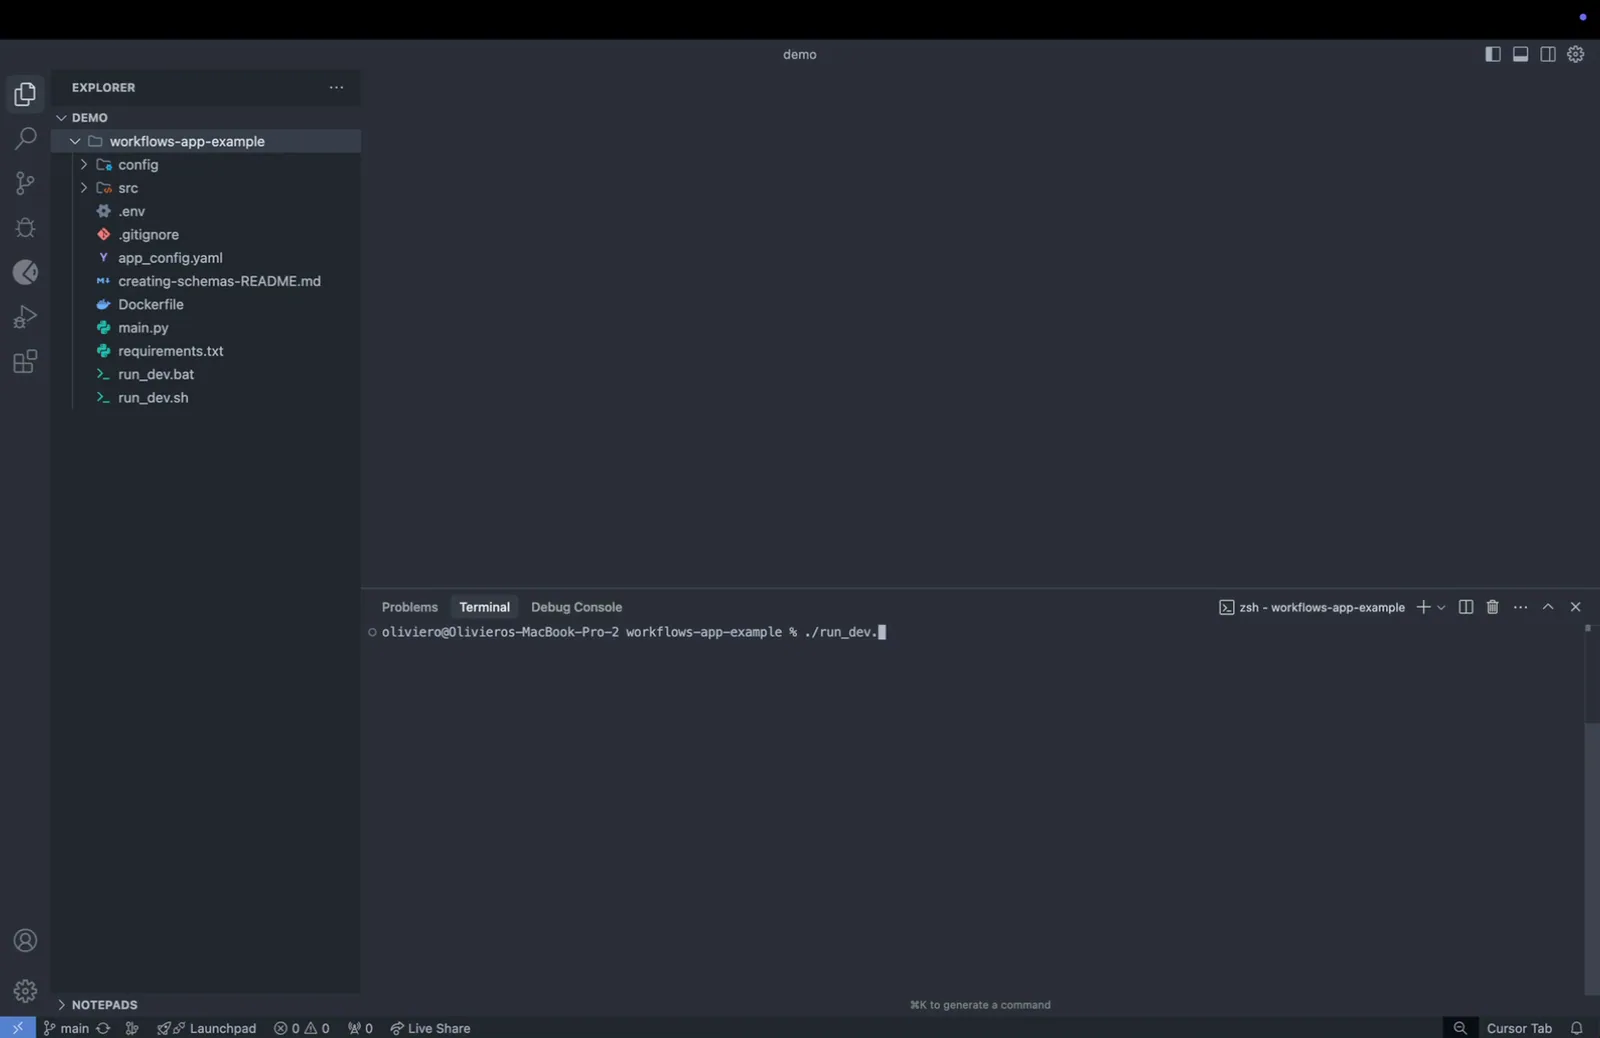
Step 10: To make your connector accessible over the Internet, use ngrok to expose your local server with a public URL. This step is crucial as it allows the Stacksync platform to discover and utilize your connector.
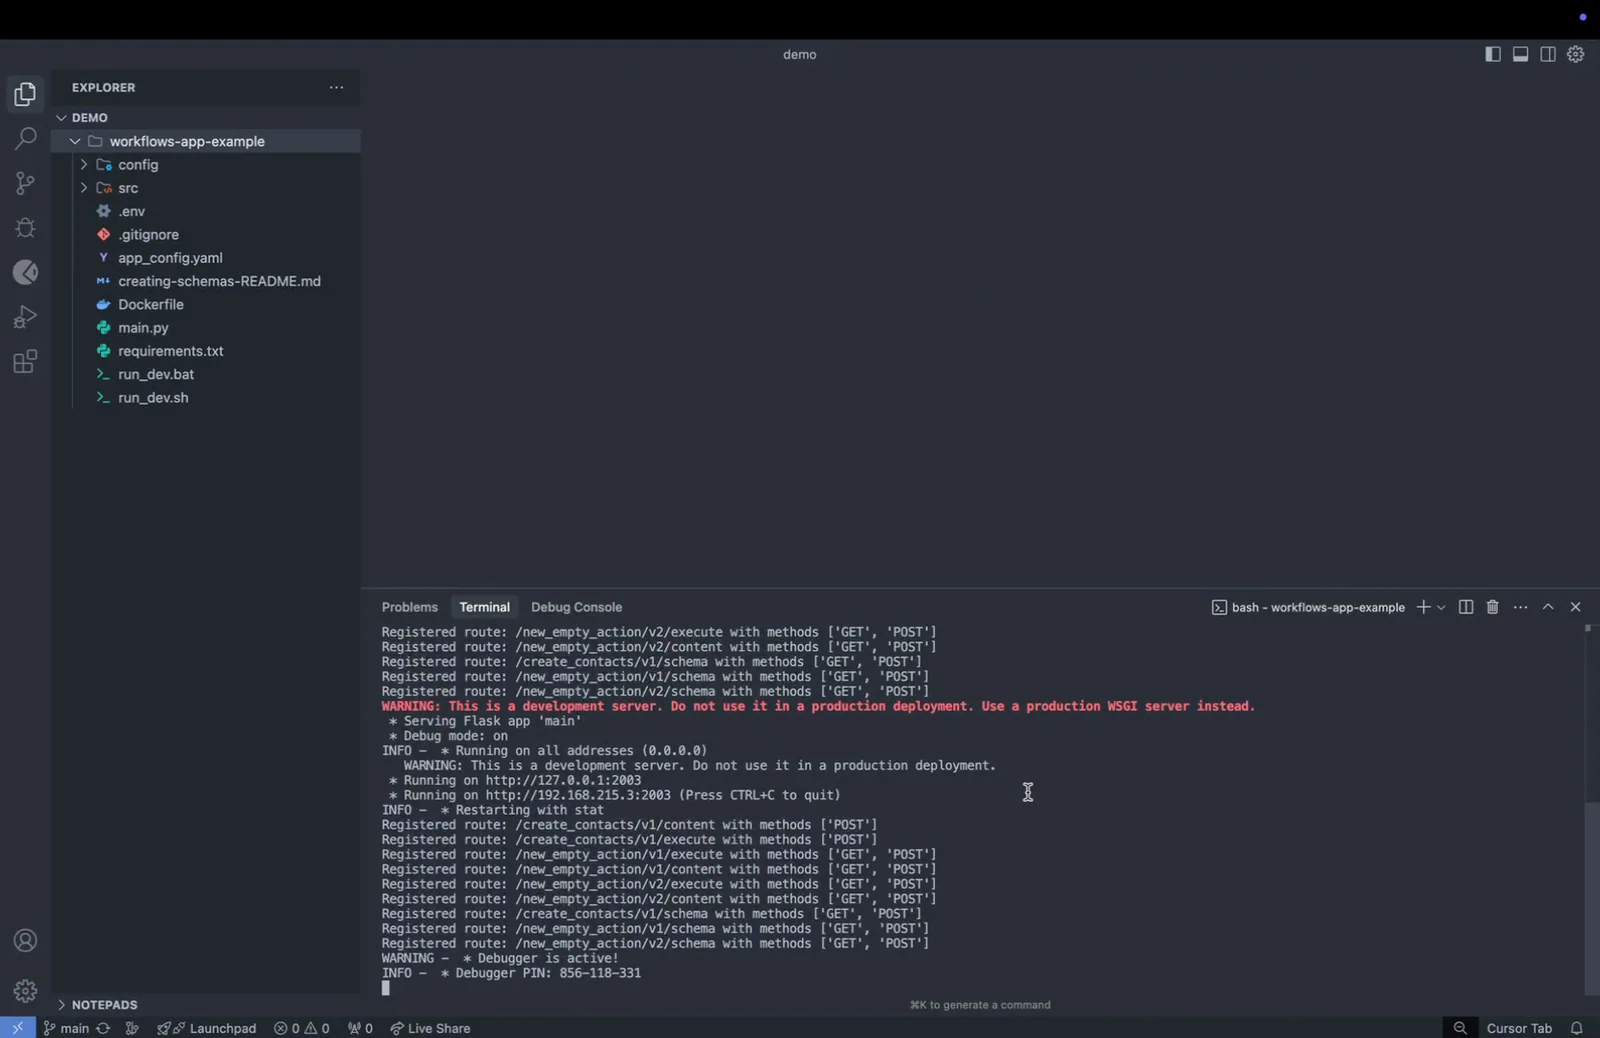
By following these steps, you've successfully set up and exposed your connector, making it ready for use on the Stacksync Workflows platform.
Setting Up ngrok for Public Access
Step 1: Set up ngrok, the tool you'll use for this process.
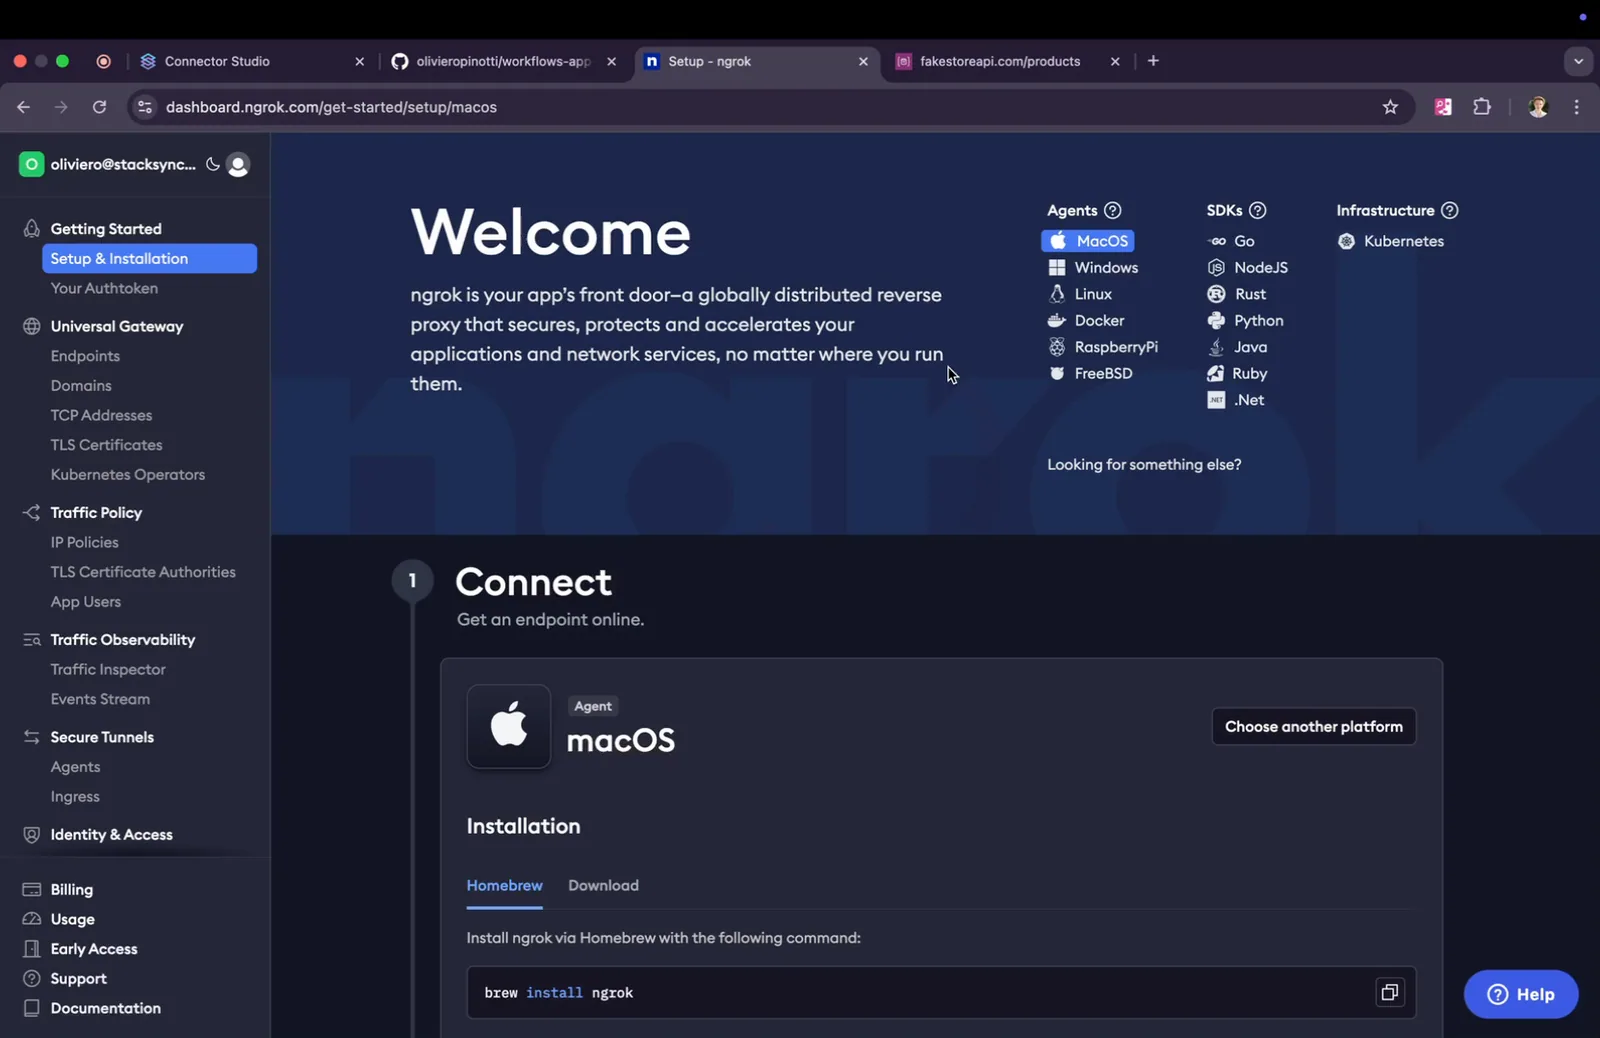
Step 2: Visit ngrok.com and follow the installation instructions that match your local machine's configuration.
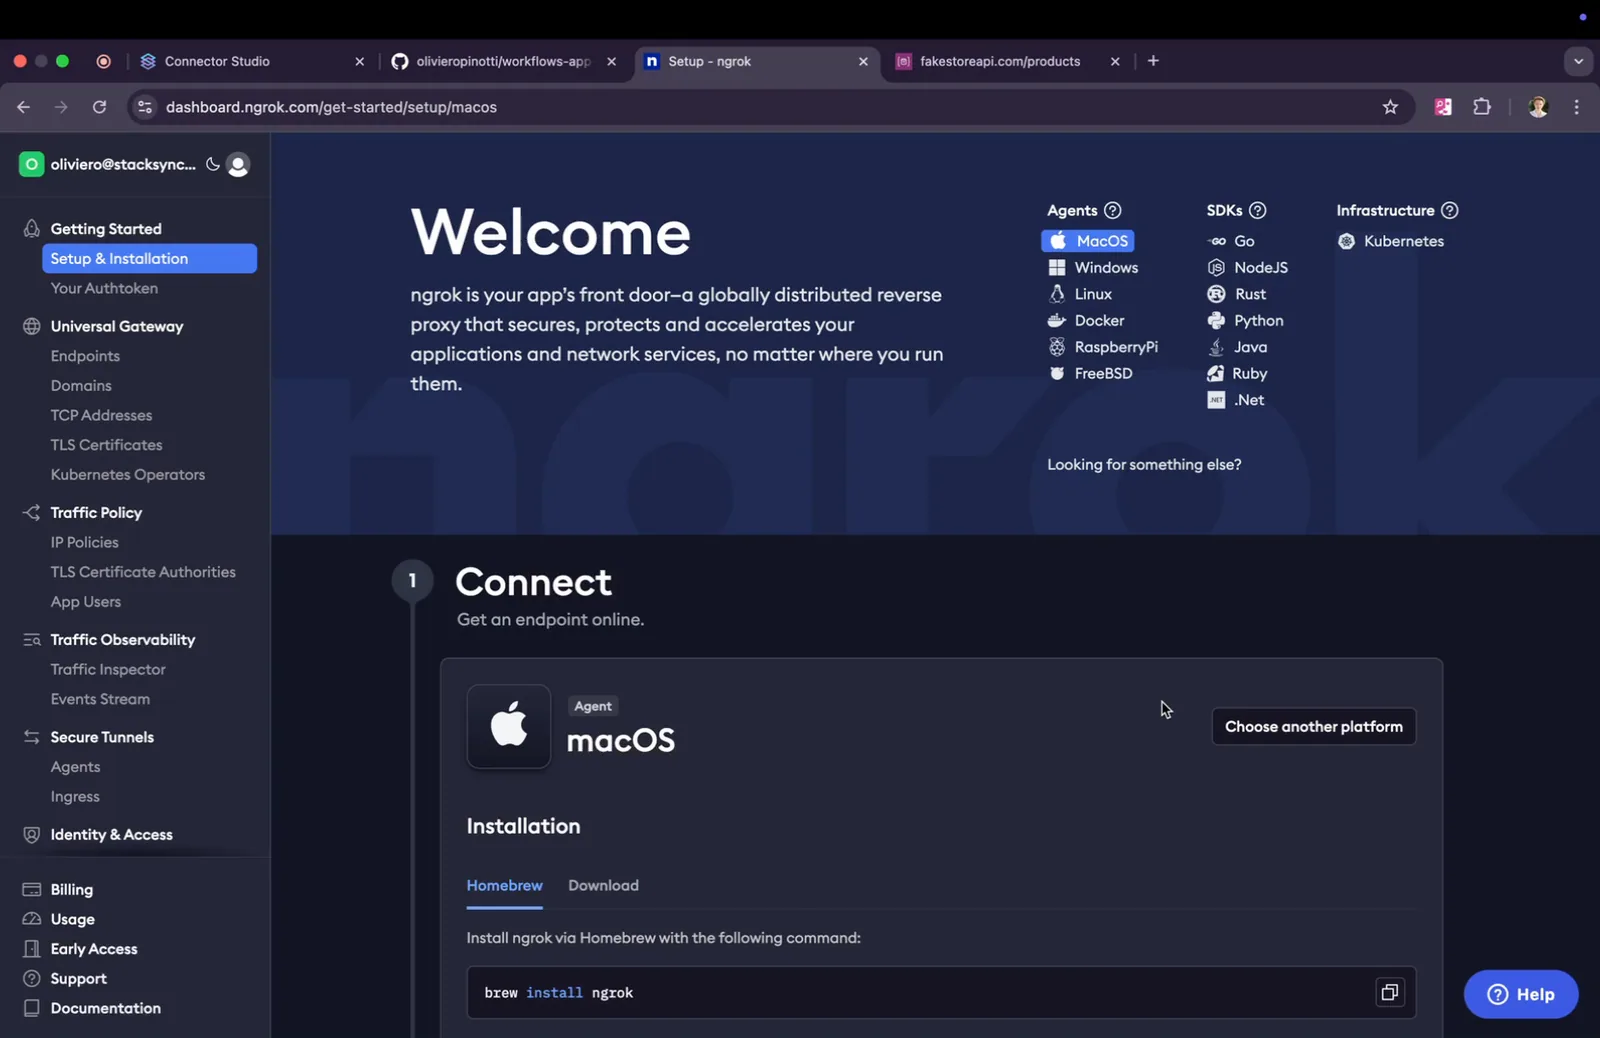
Step 3: Once ngrok is installed, return to your IDE.
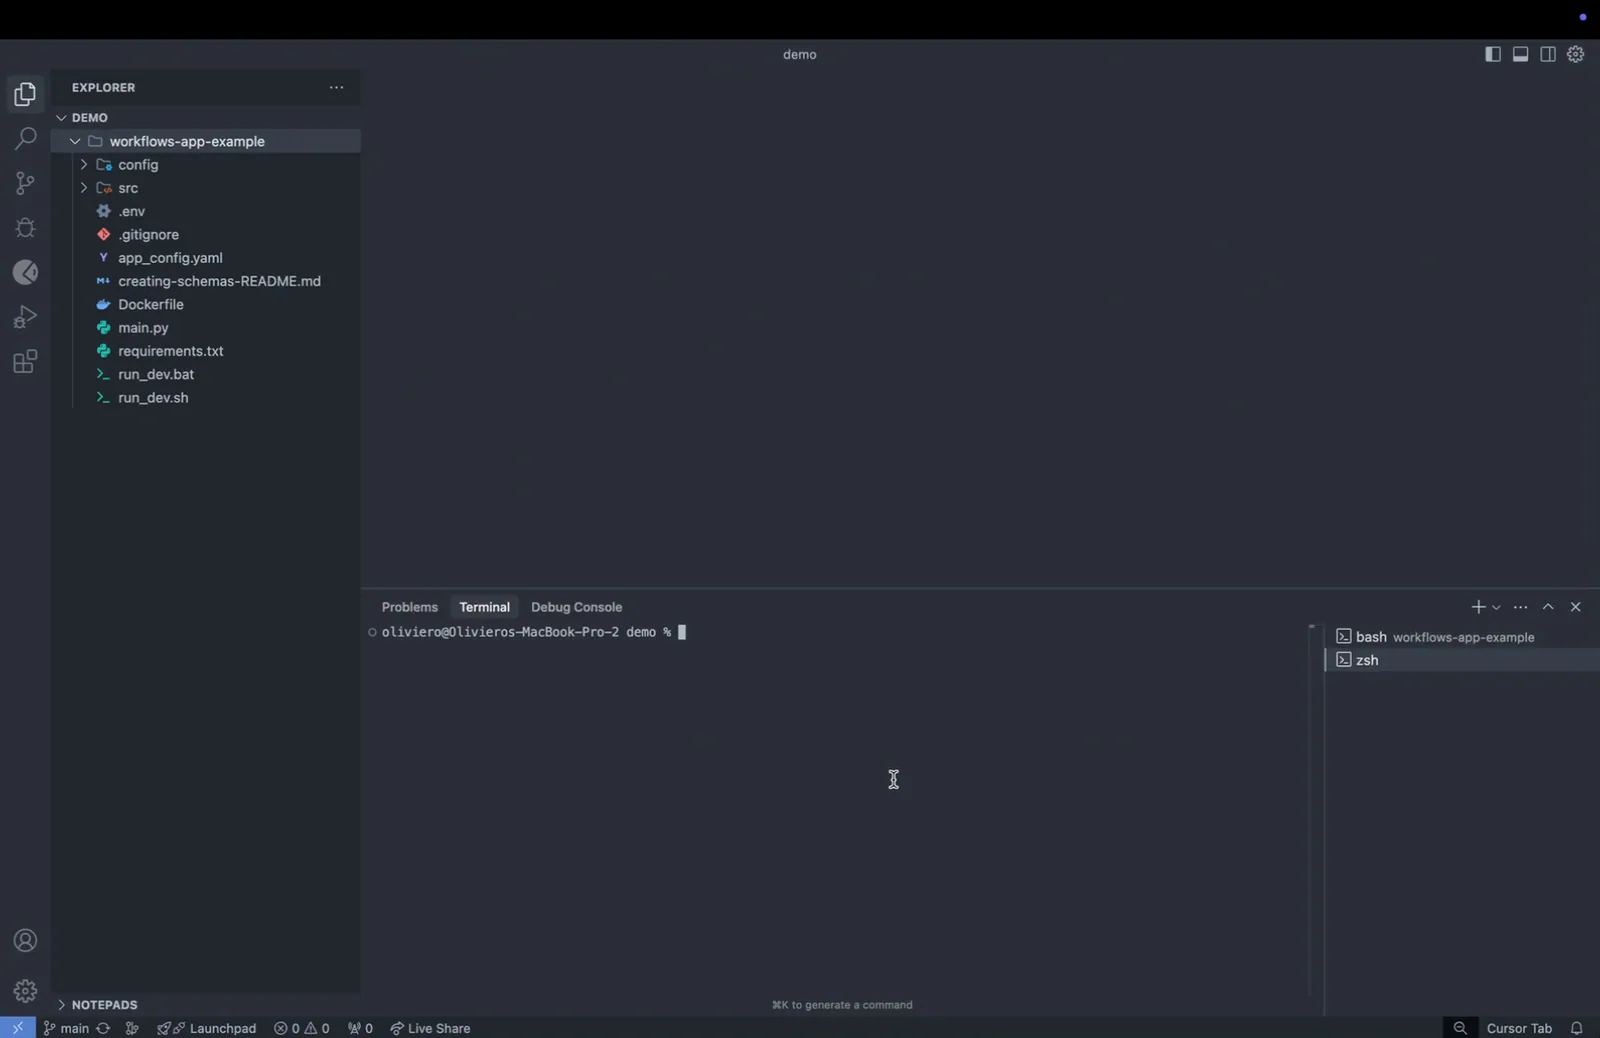
Step 4: Open a new terminal within your IDE.
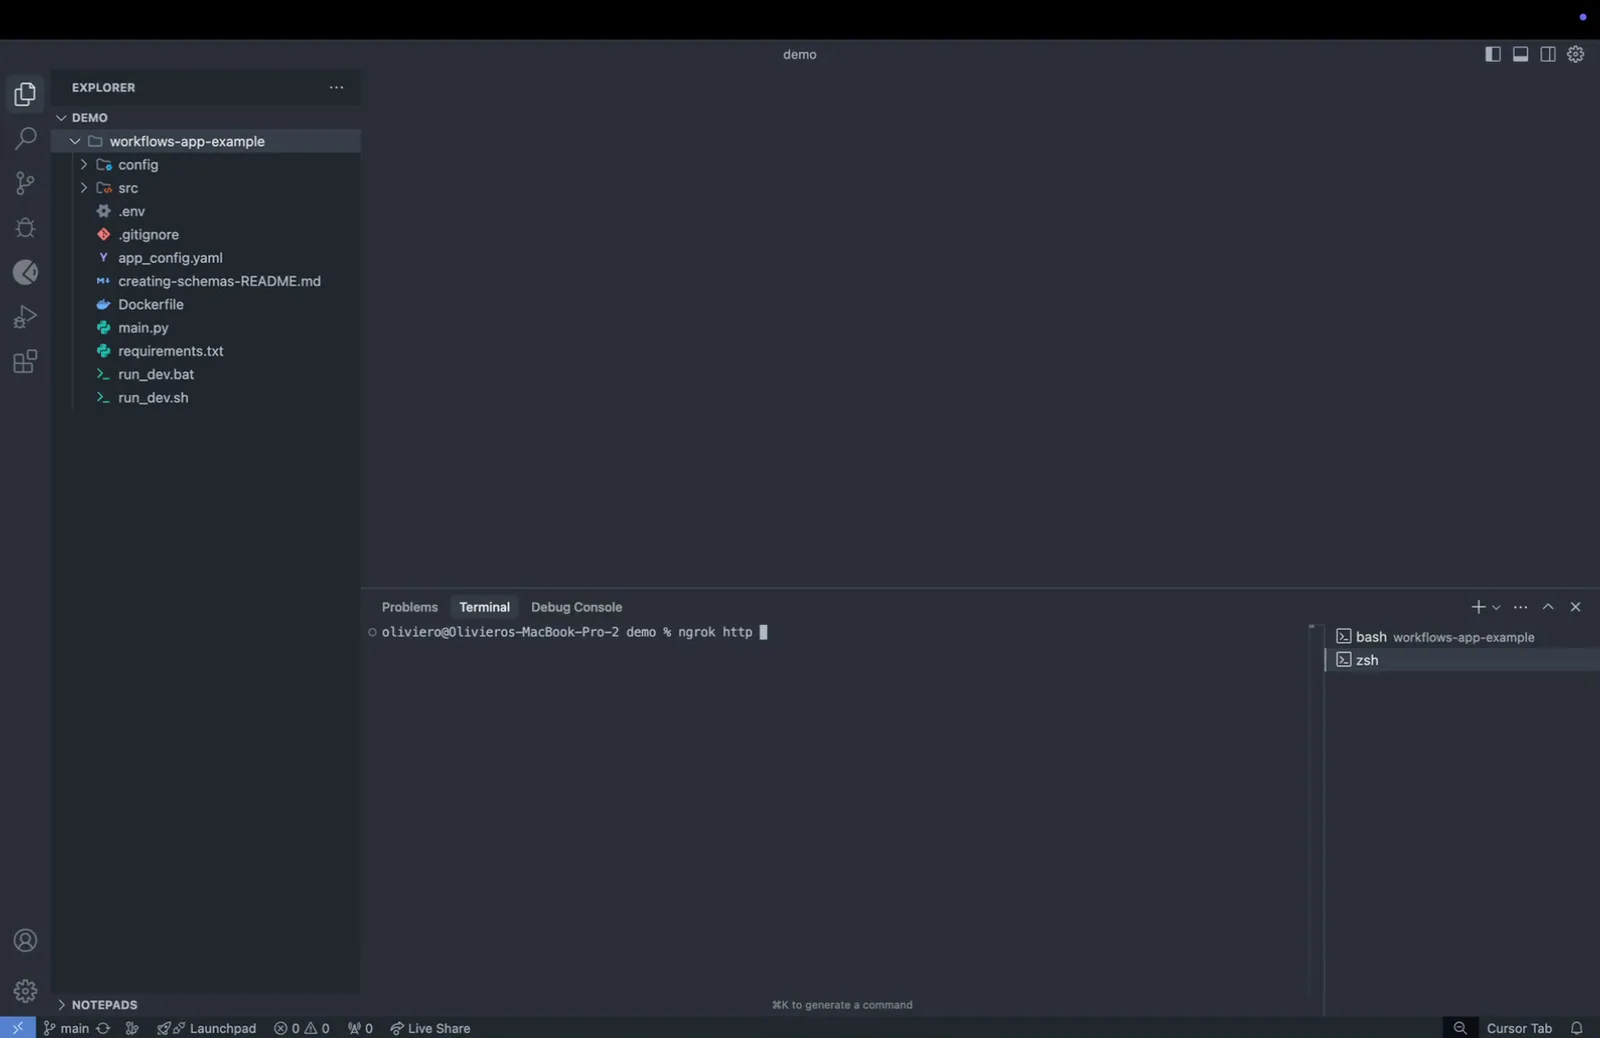
Step 5: Run the command `ngrok http 2003`, using the port number specified in your appconfig YAML file.
Step 6: Ngrok will then generate a URL that points to your local backend. Click copy to copy this URL.
Step 7: Paste the copied URL into your browser and click Visit Site to ensure everything is running smoothly.
Step 8: Take the URL, return to Connector Studio, and paste it there.
Step 9: Click Create to create your first connector.
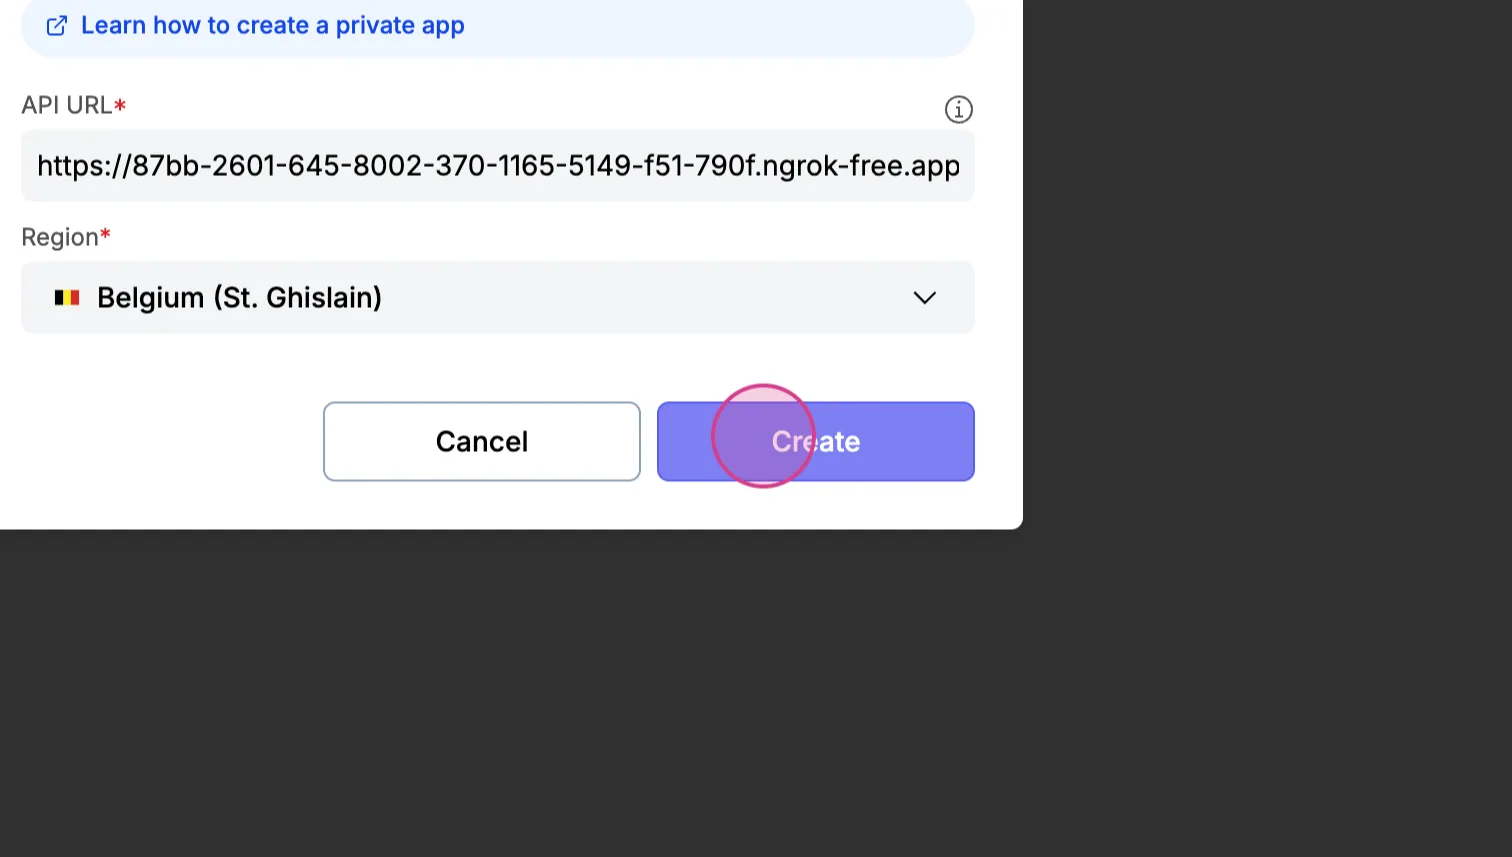
Step 10: Now that you've created your first connector, it's time to use it in a workspace.
Using Your Connector in a Workflow
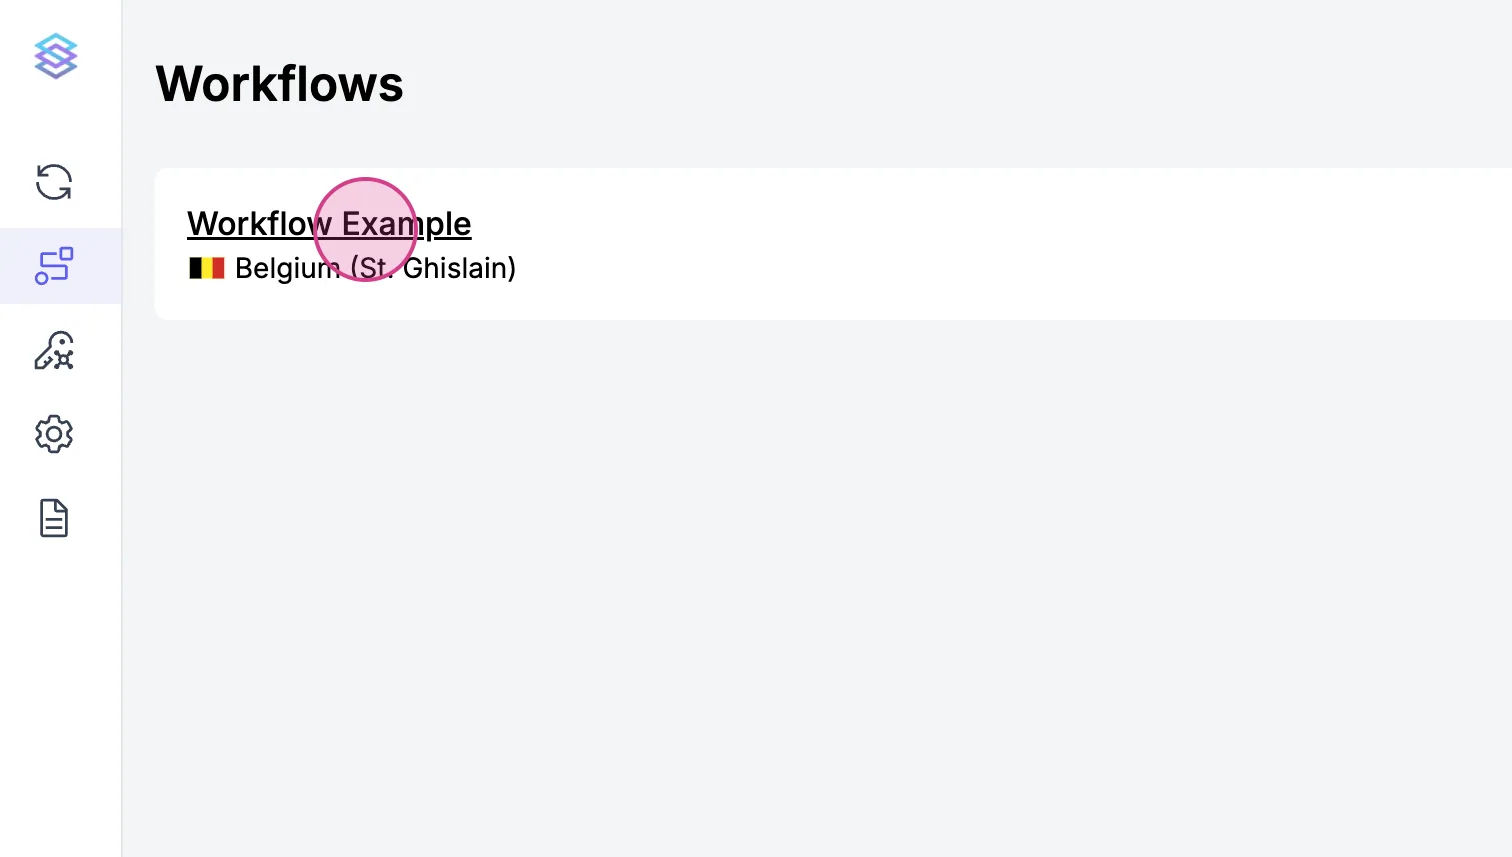
Step 1: Use the connector in a workflow. Navigate to the workflow section.
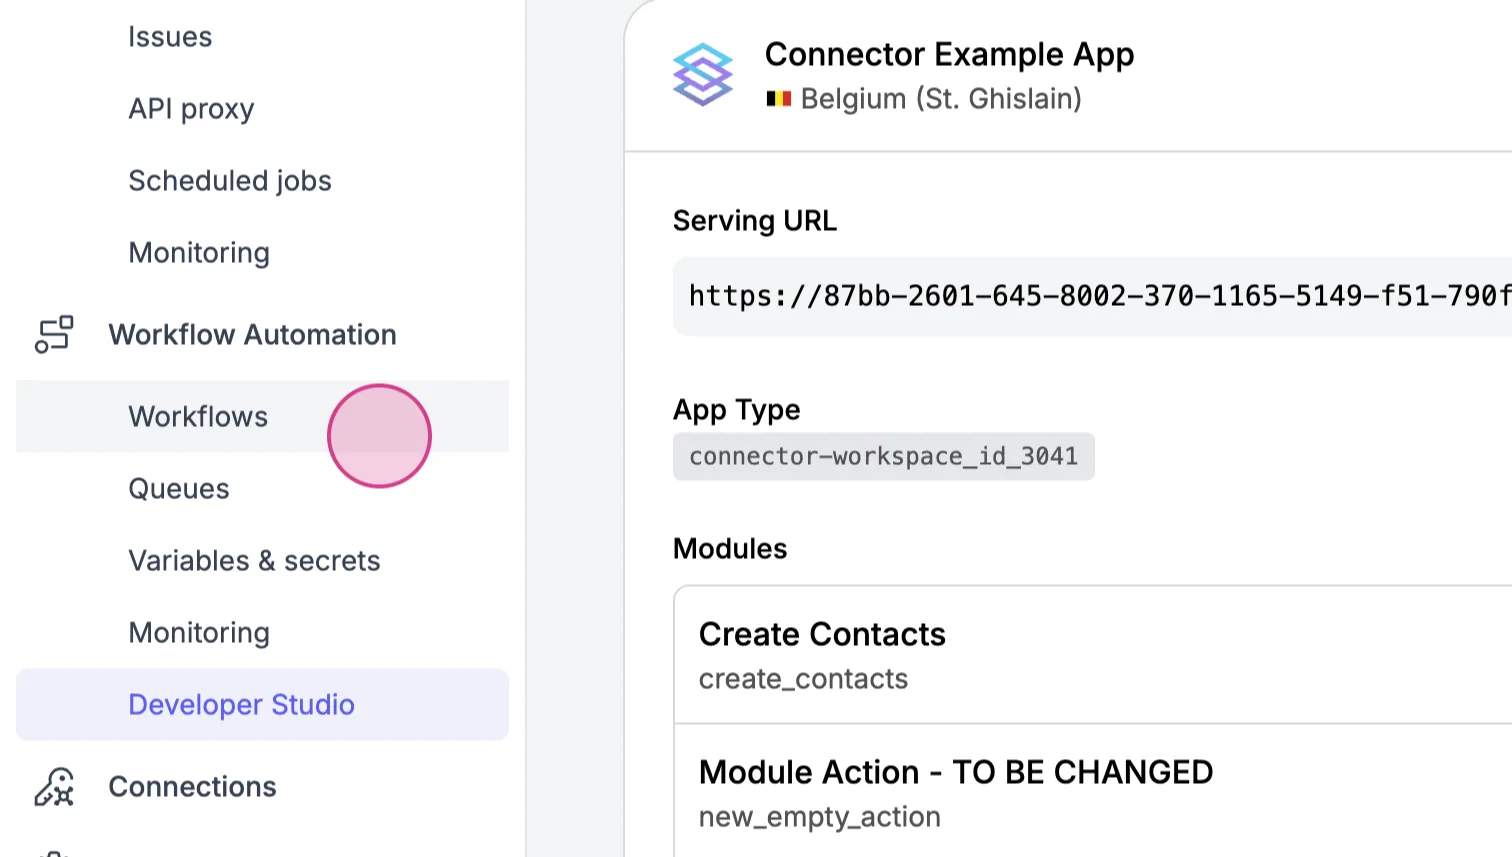
Step 2: Create a new workflow in the same region as the connector you've just created.
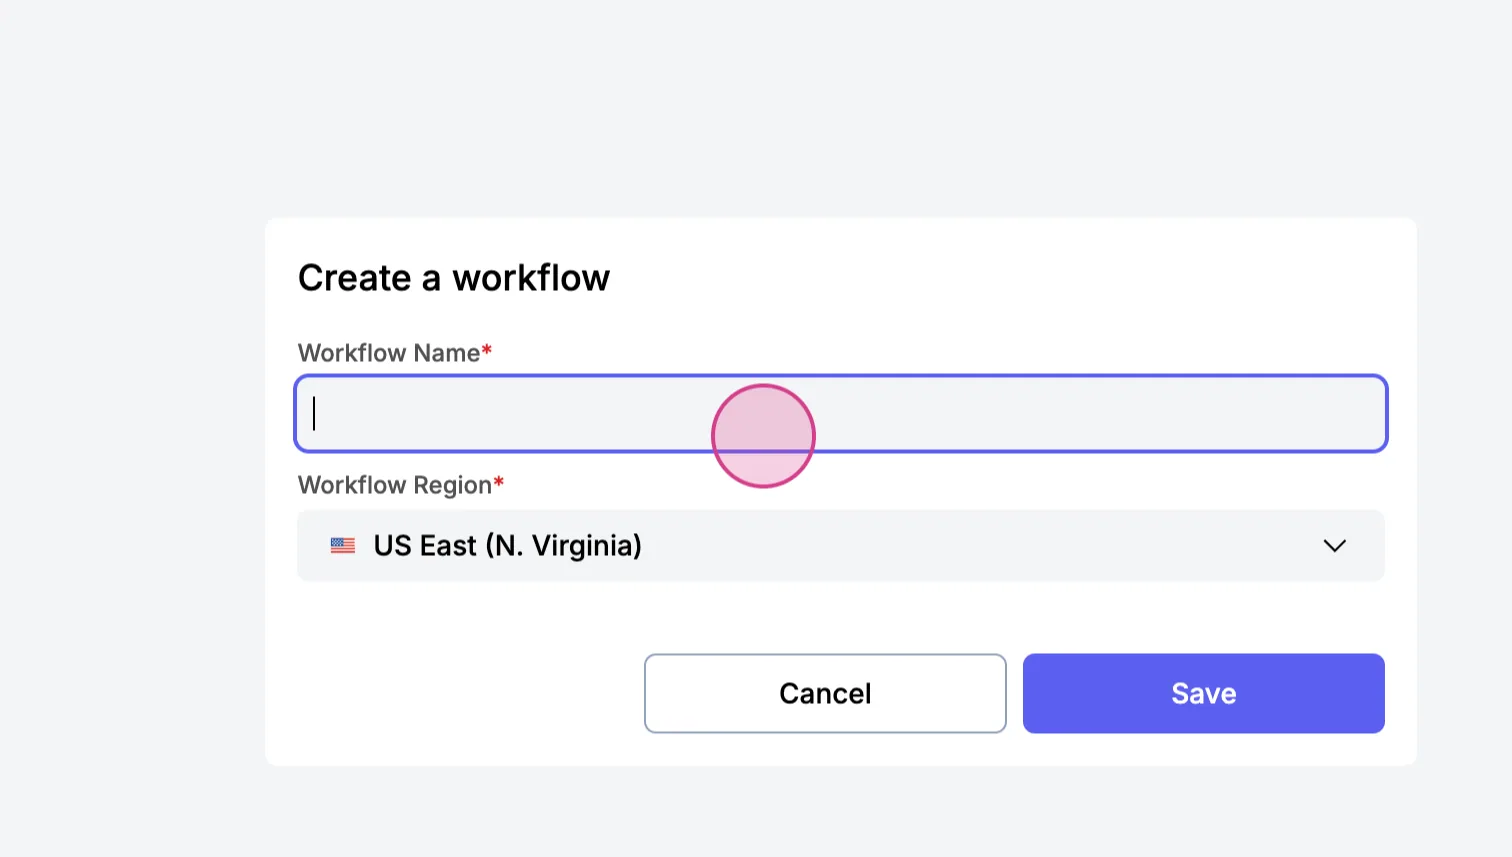
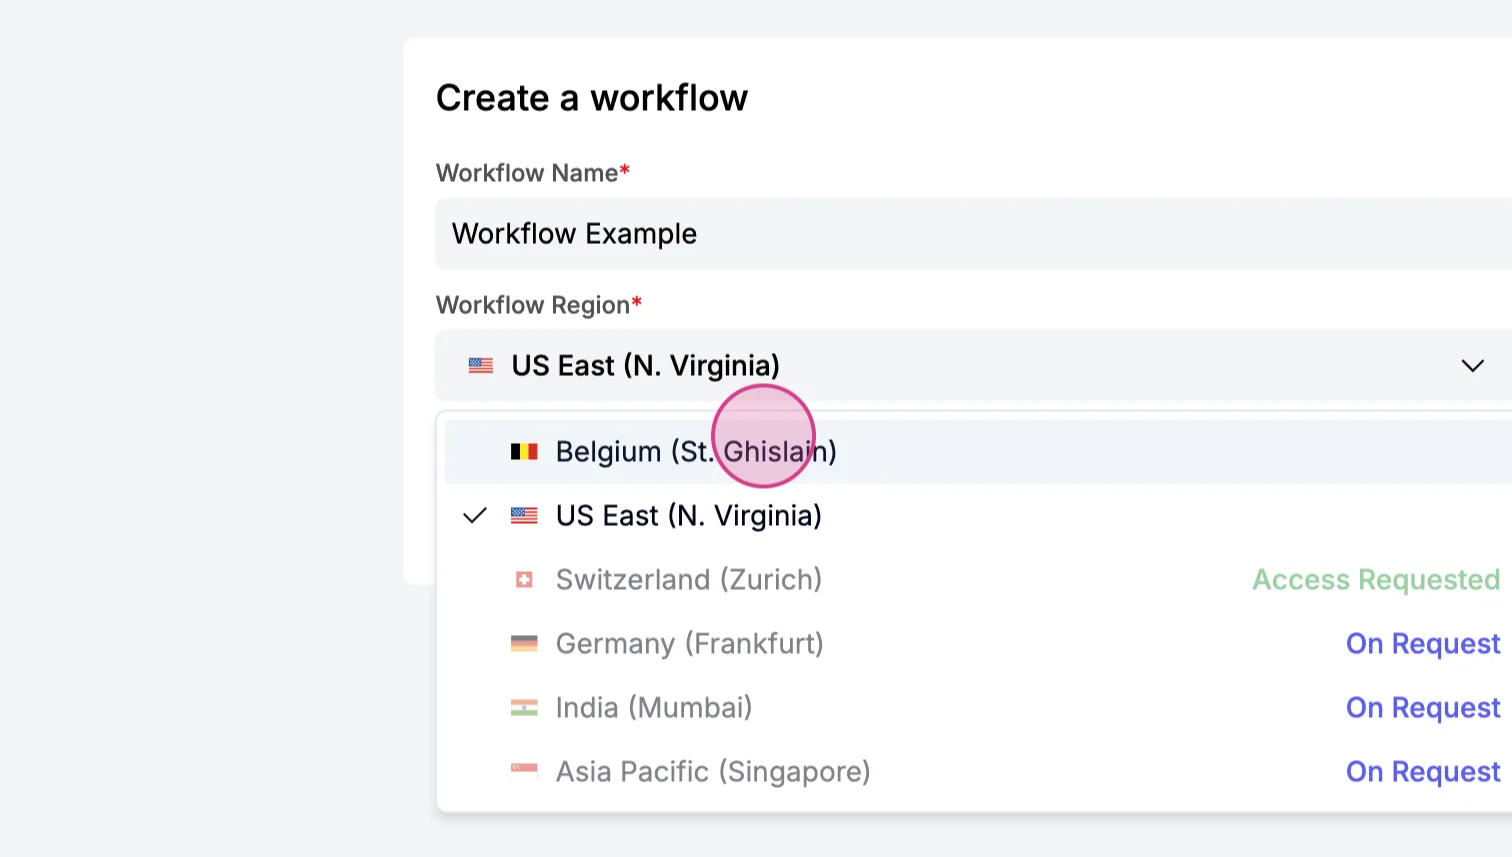
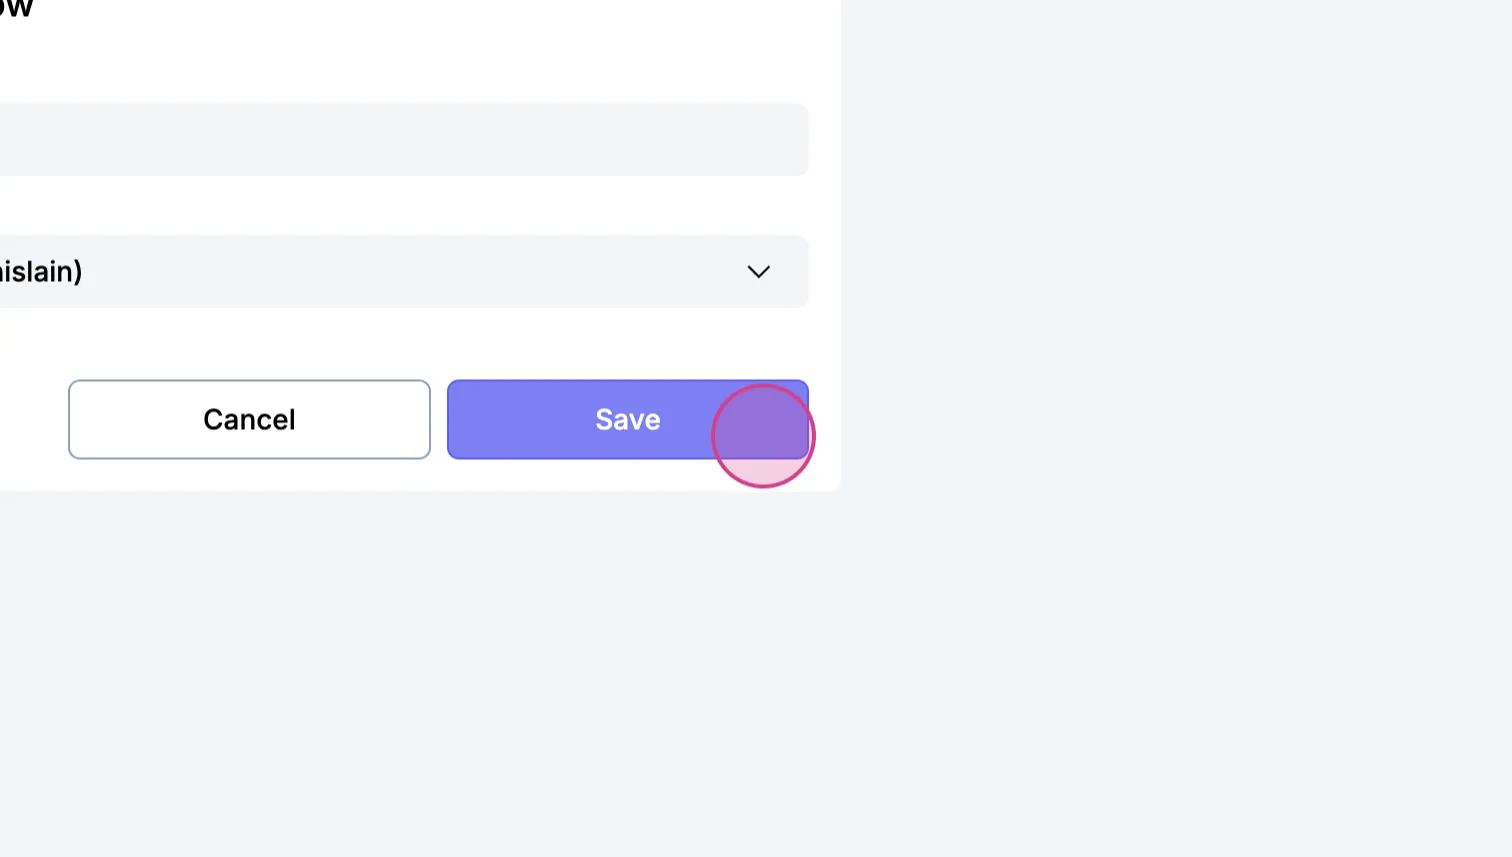
Step 3: Click Save to save your newly created workflow.
Step 4: You now have your workflow set up. Click Create Action and scroll to find the Connector Example app.
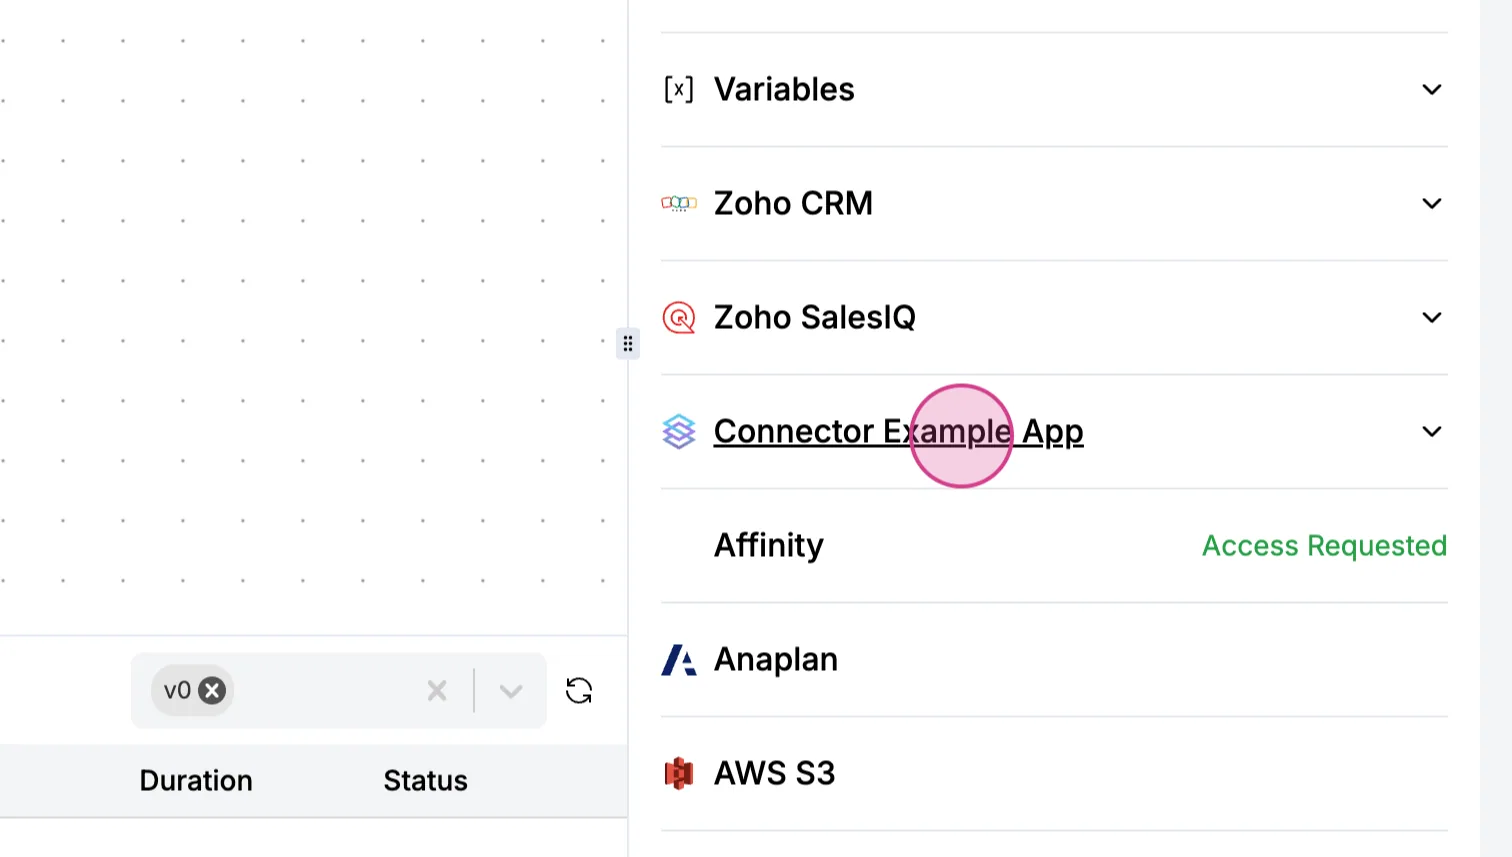
Step 5: Click any of the two modules displayed on your screen.
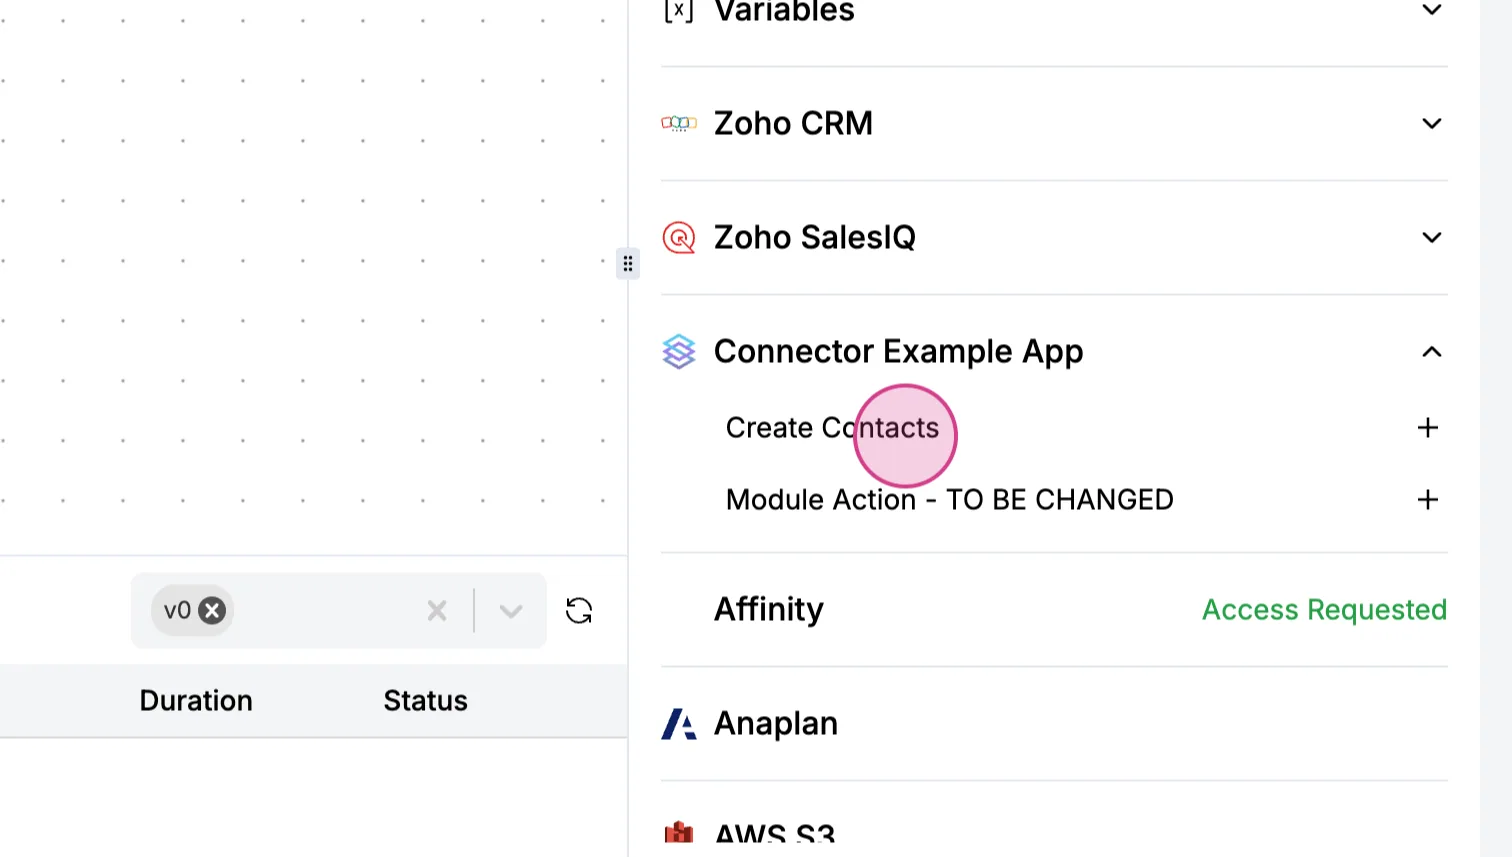
Step 6: Click Create Contacts to fetch the form from your local machine and load it onto the UI.
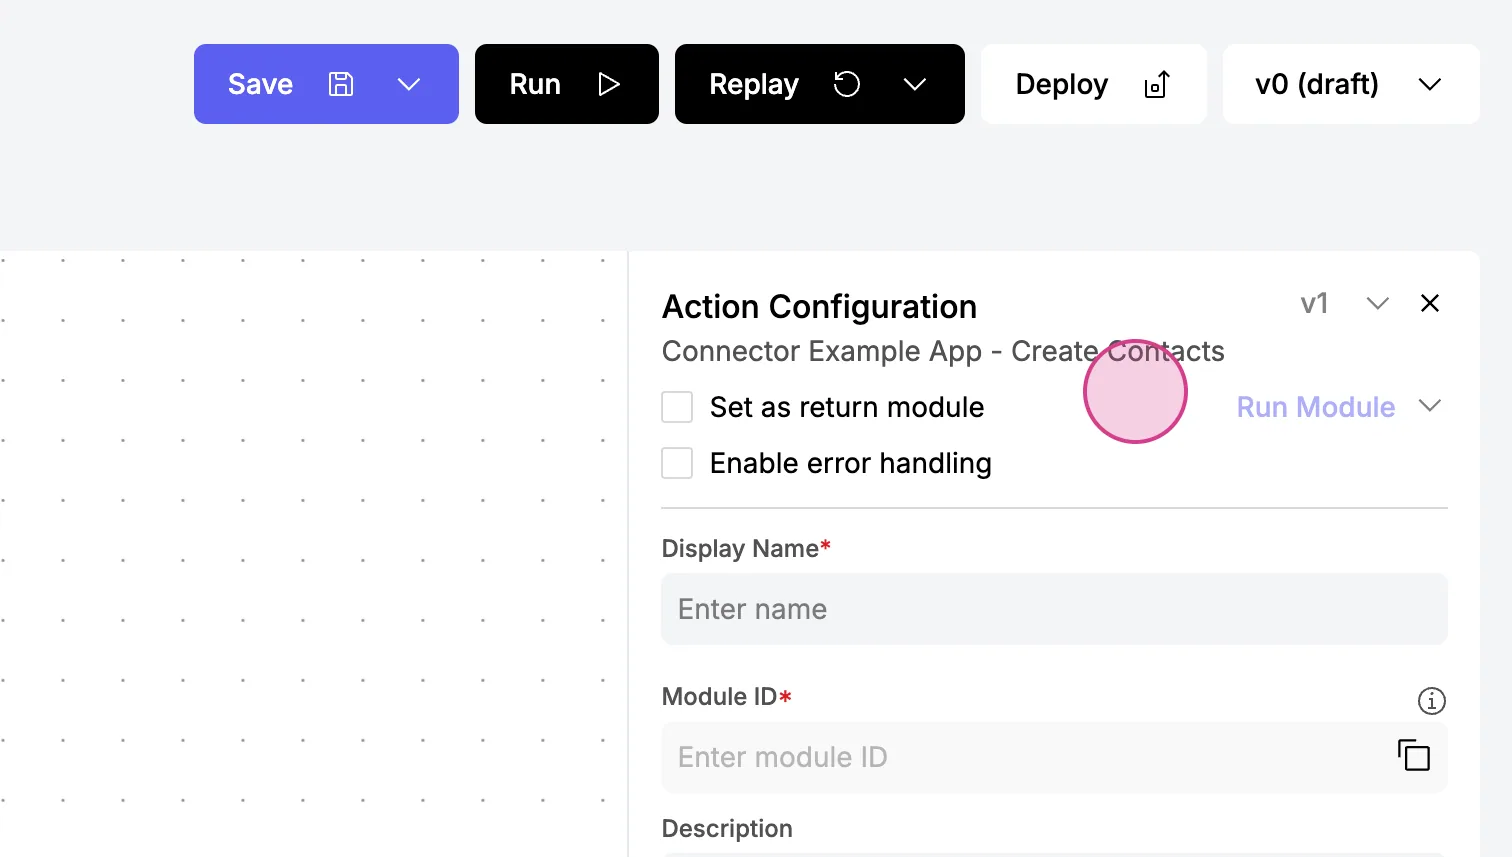
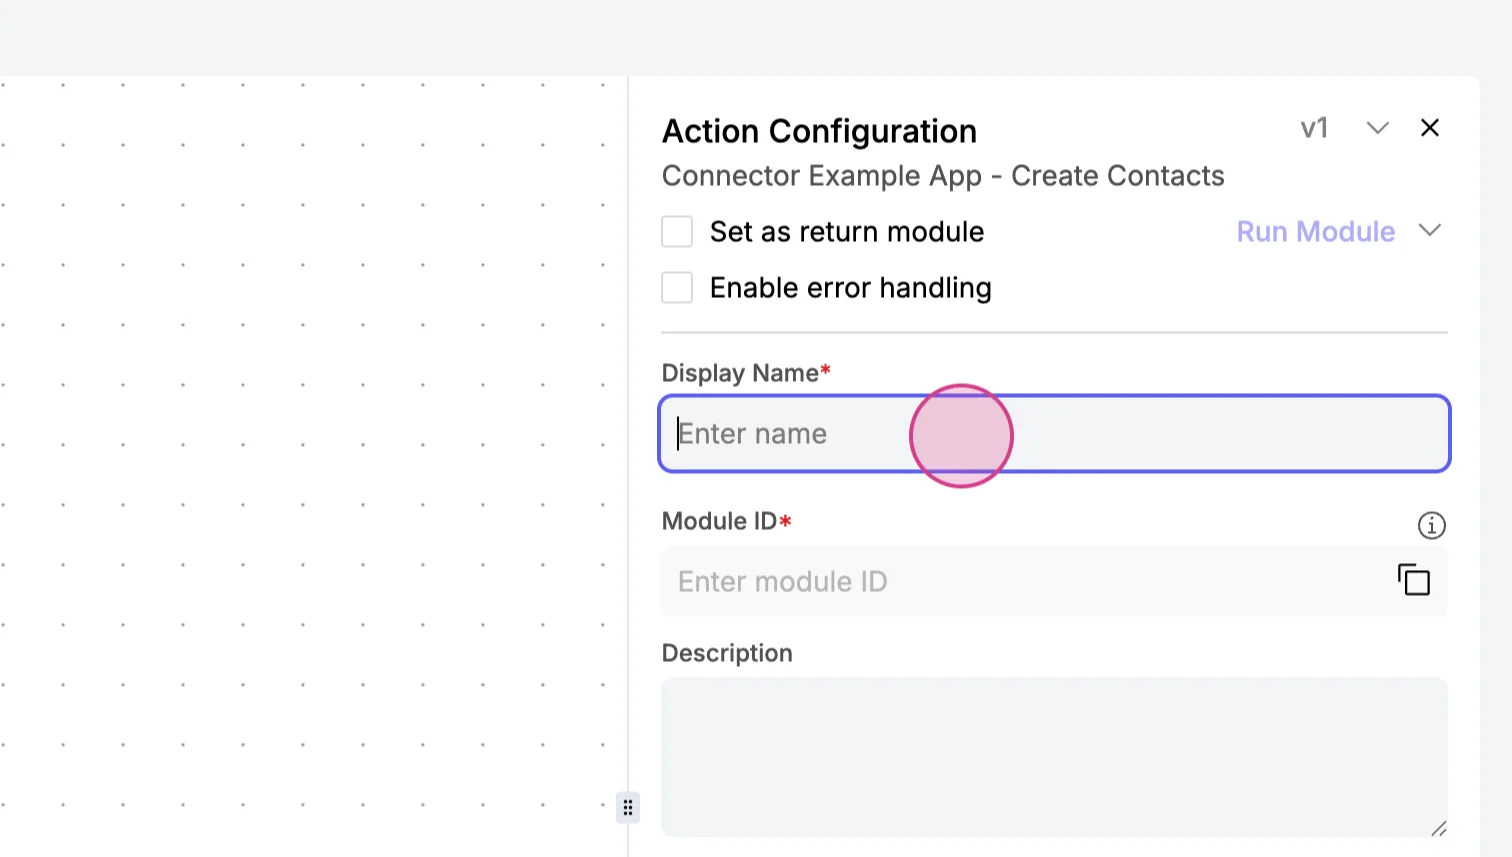
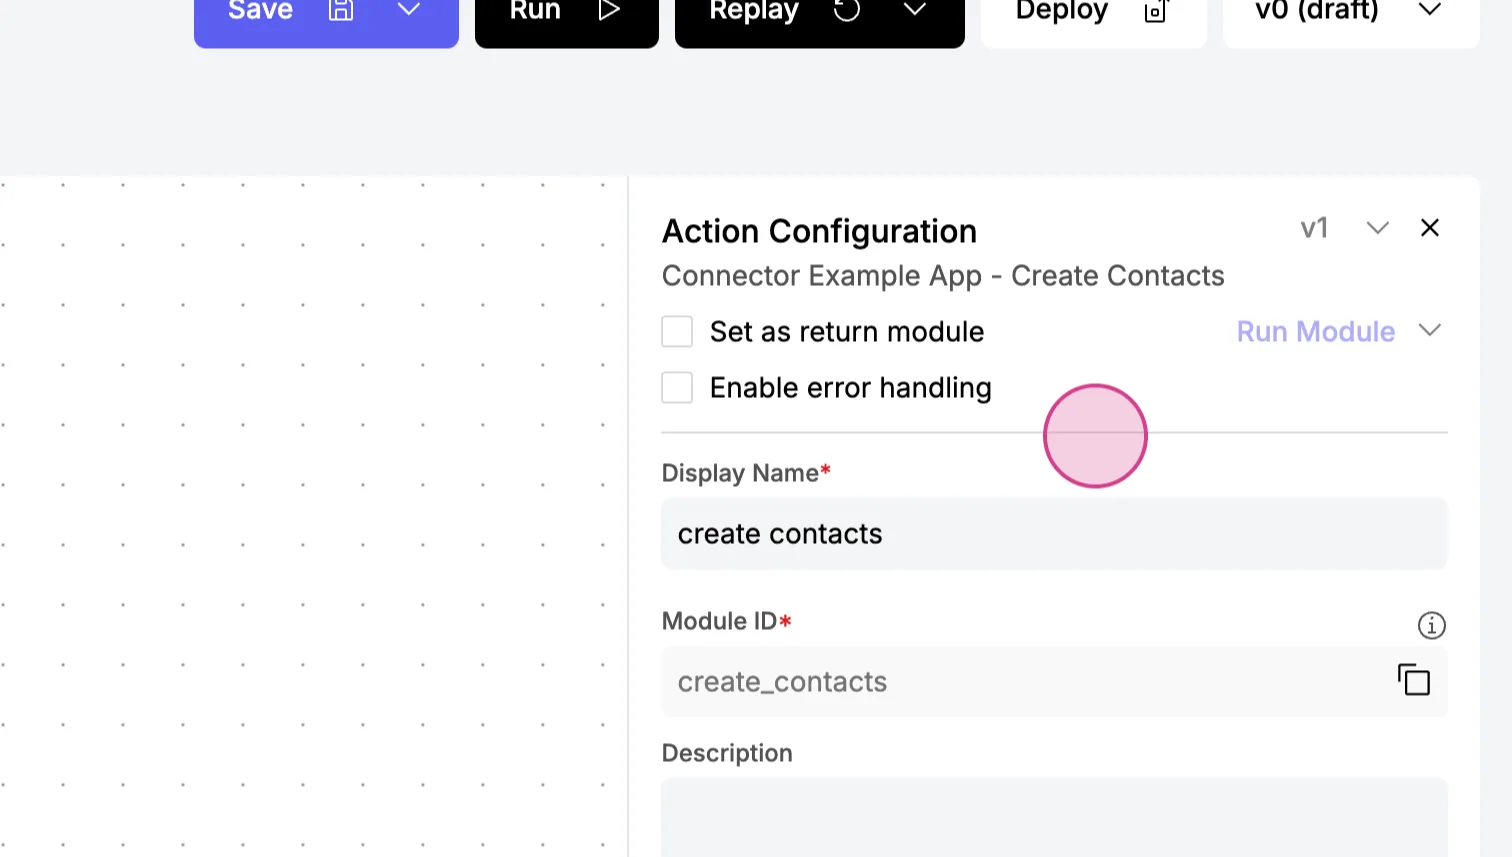
Step 7: Select a CRM connection; for instance, search for Salesforce and choose a contact type. You may adjust additional settings as needed, but for this example, we'll leave the default settings.
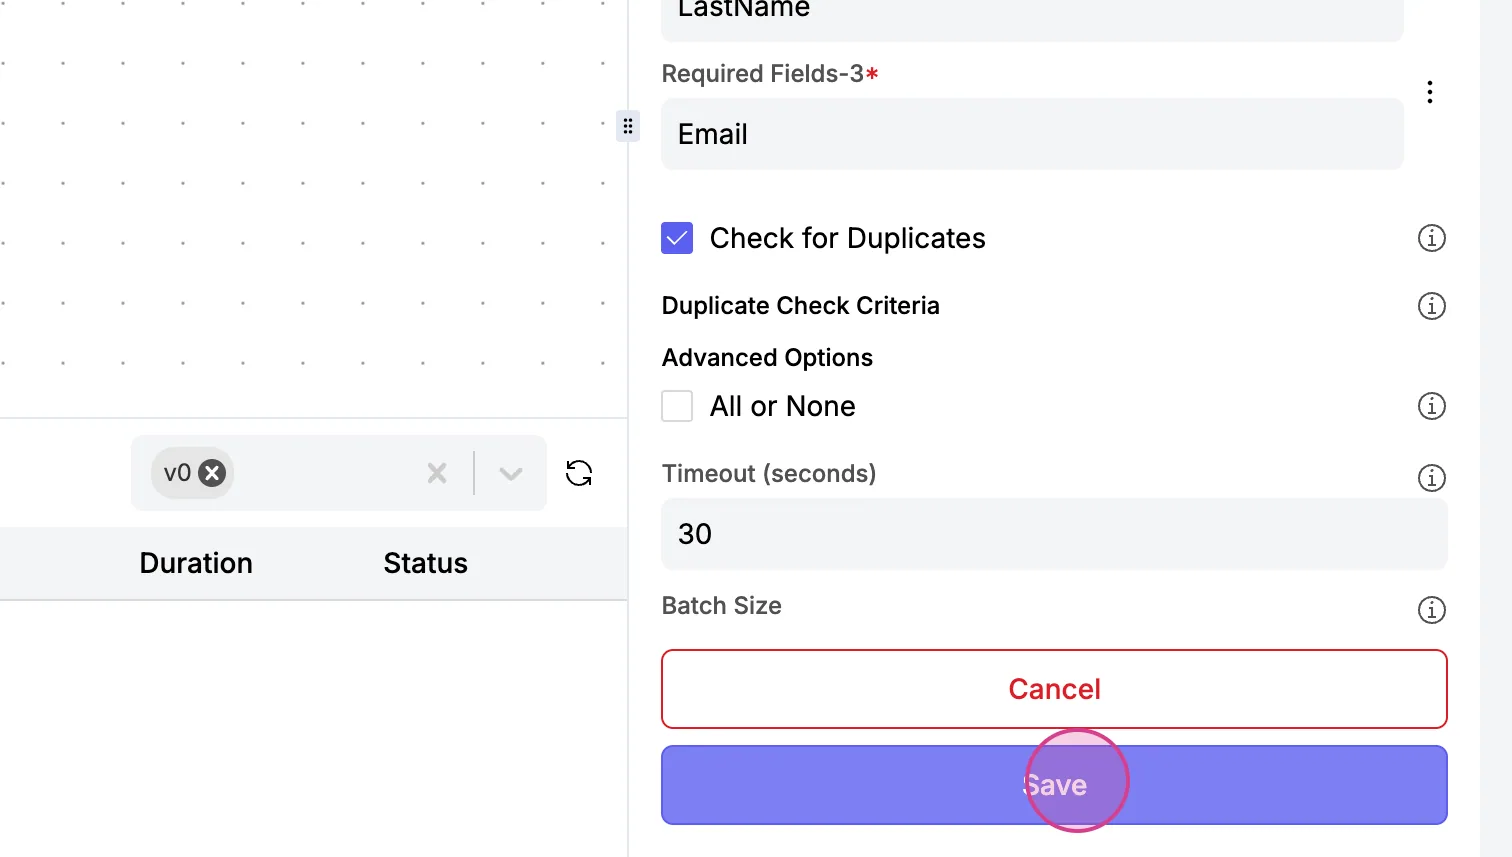
Step 8: Click Save.
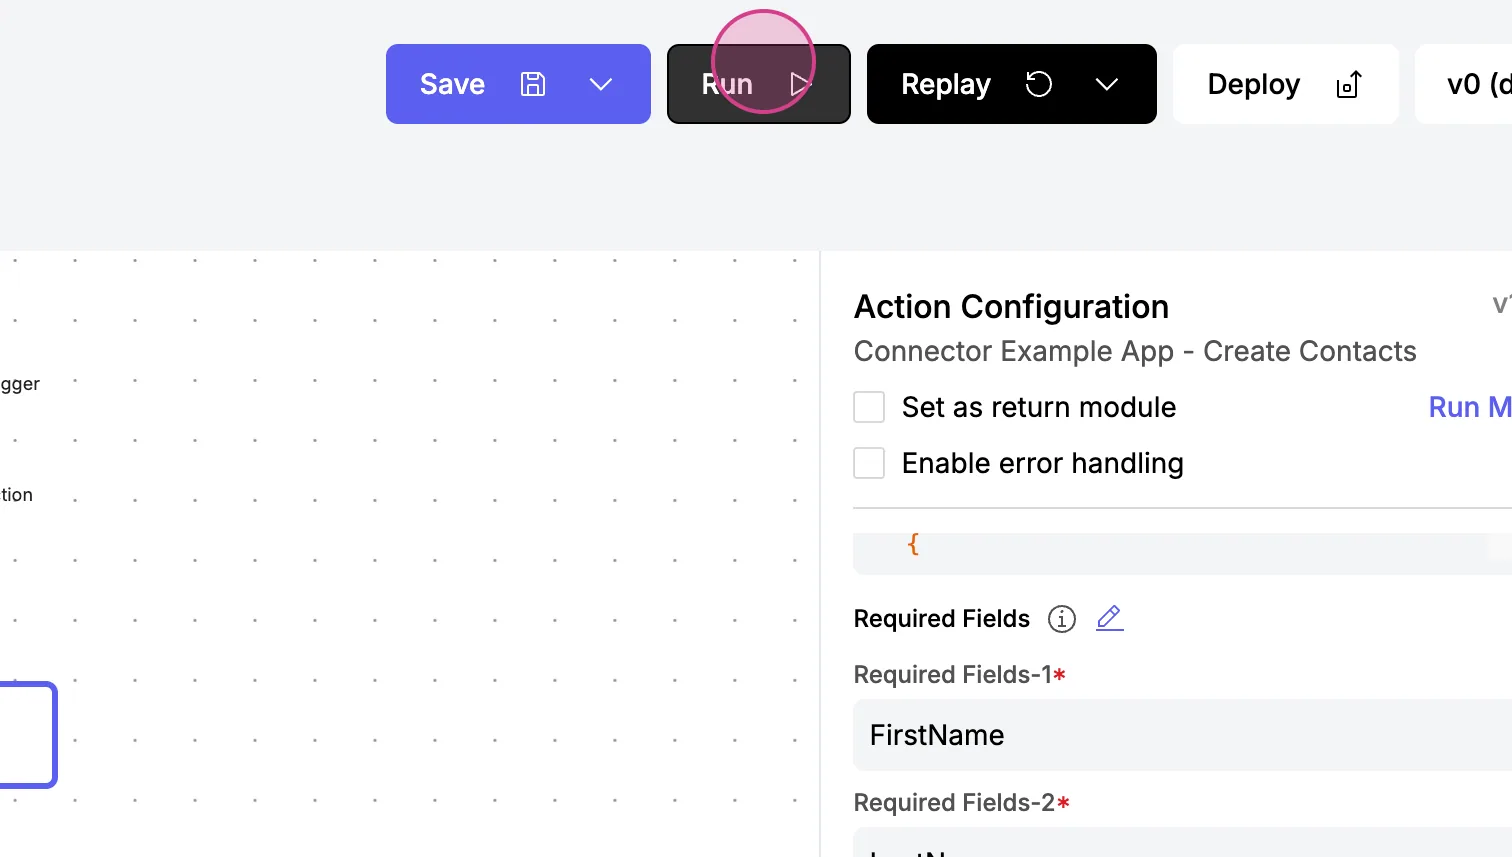
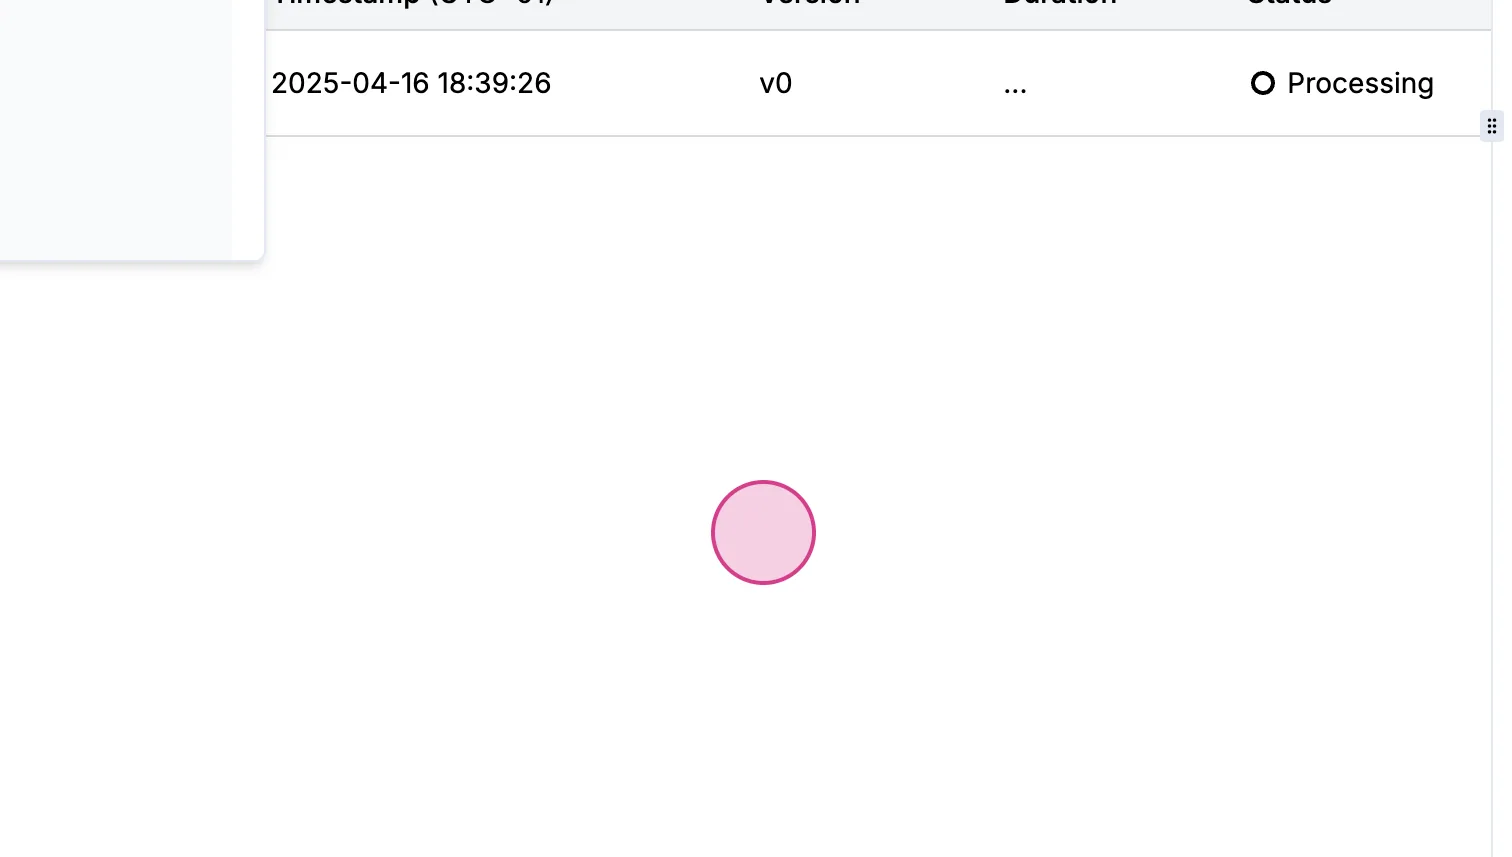
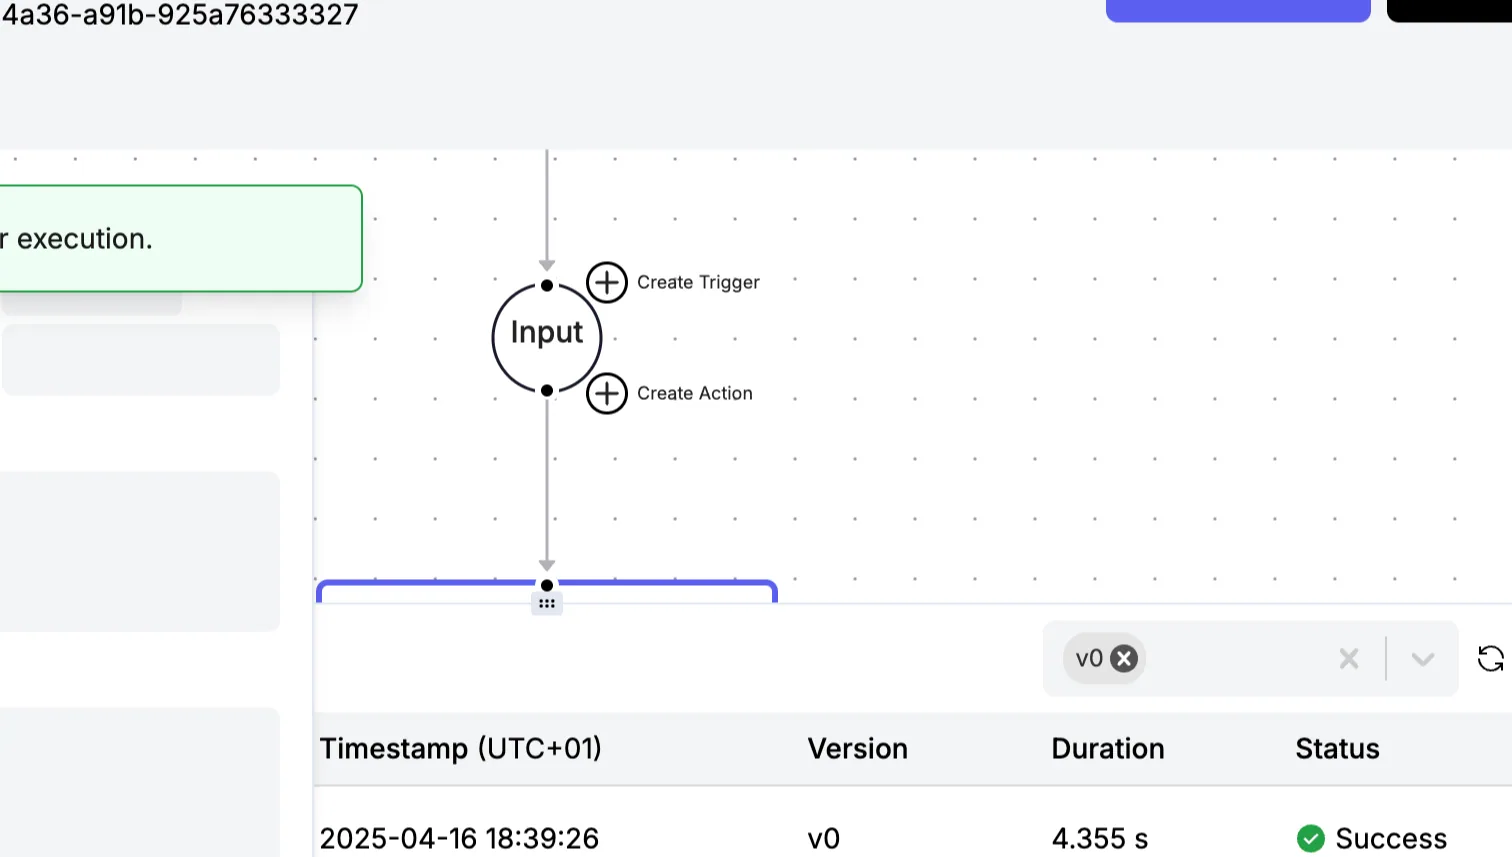
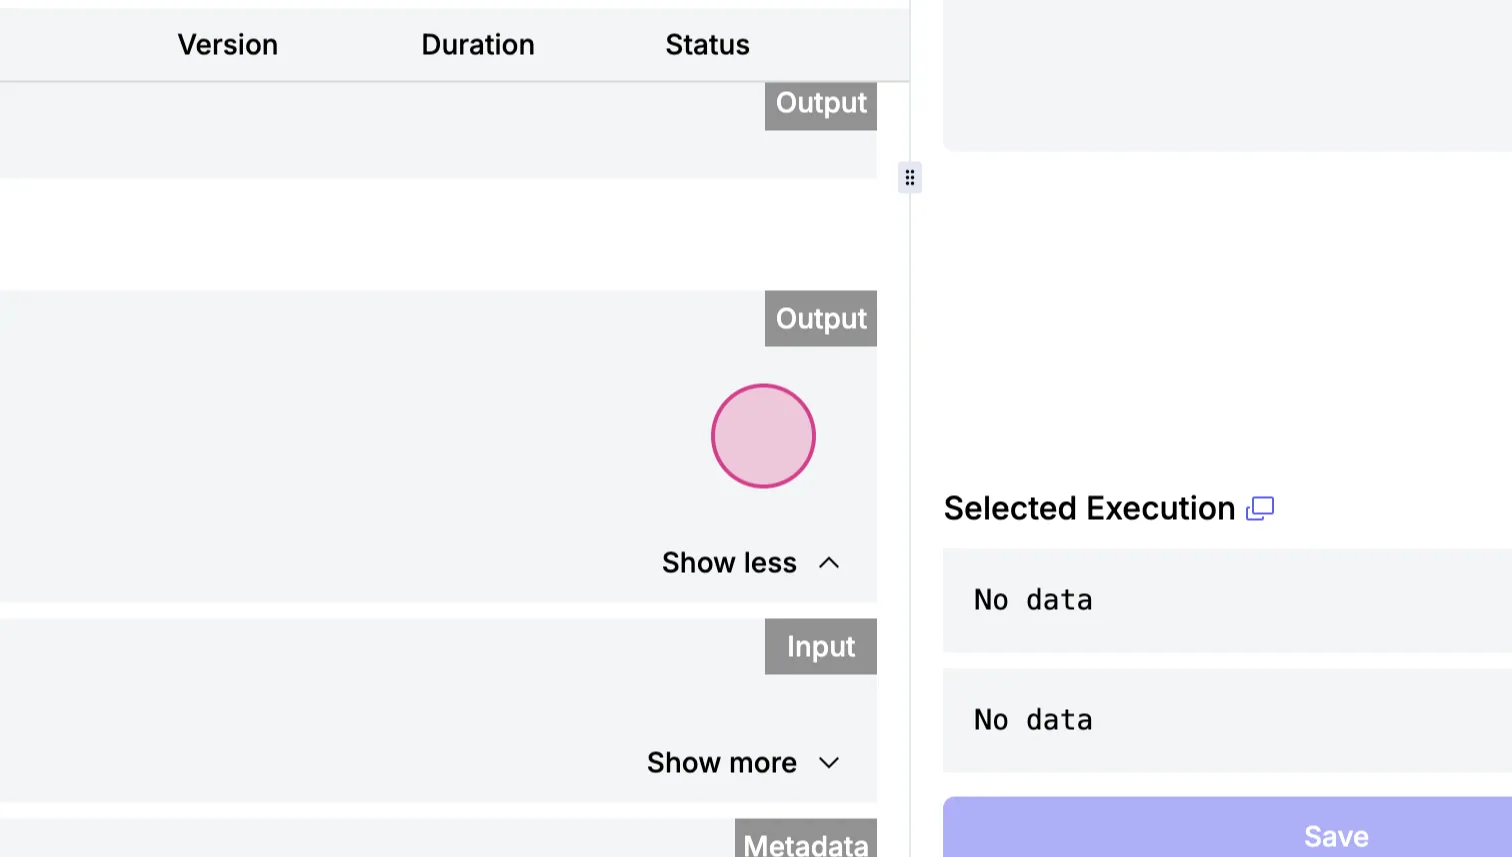
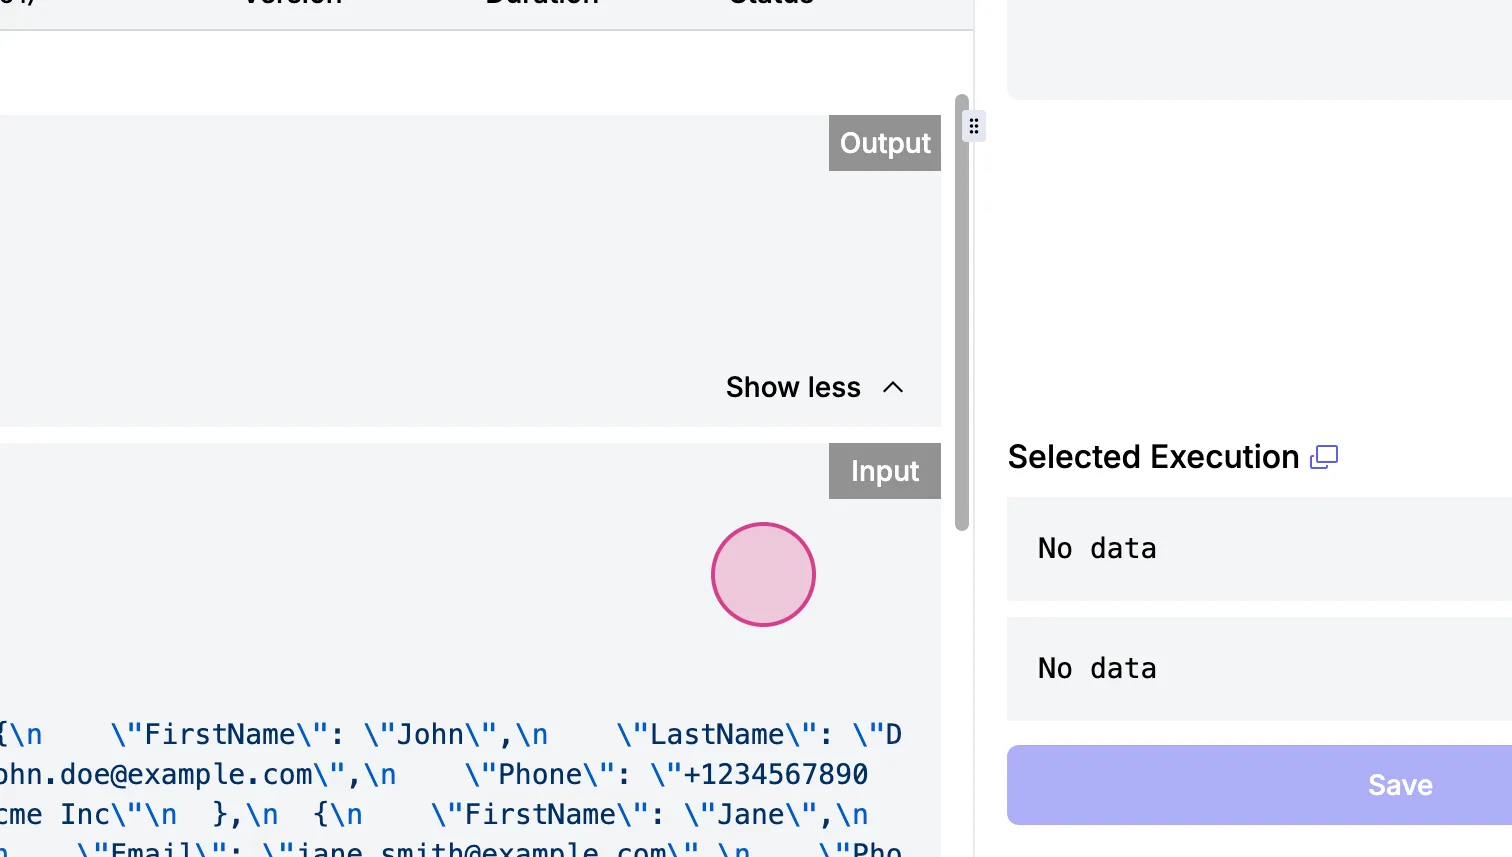
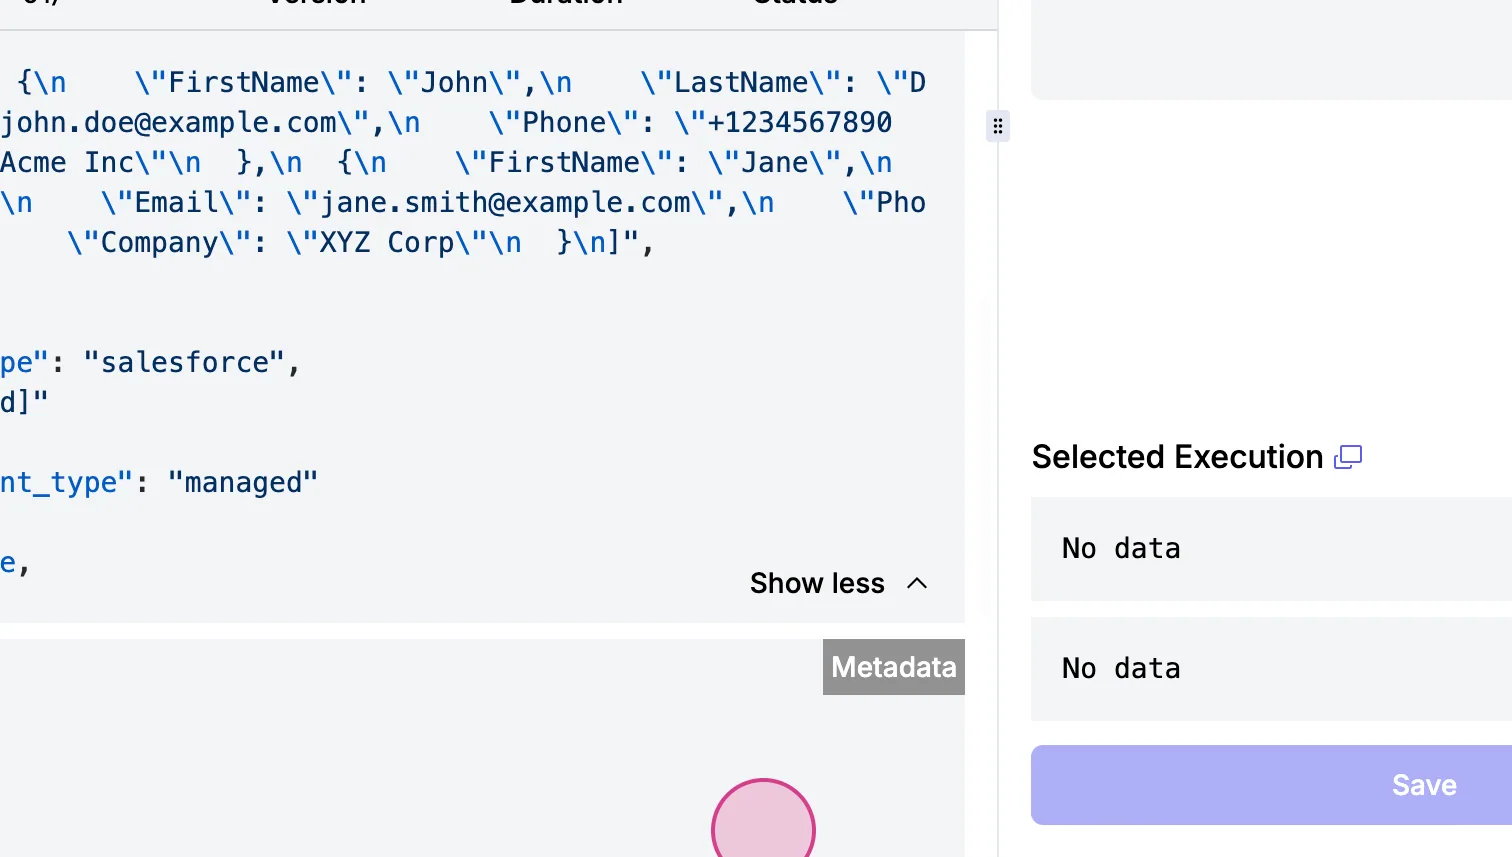
Step 9: Click Run to execute your workflow. Check the workflow execution log to see a new log entry which displays the details of the execution, including the input sent and any metadata.
Creating a Custom Action
Step 1: To create a new action, navigate to the Source and Routes folder, and copy the new empty action template into Routes. Remove the v2 folder if present, as it's not needed at this moment.
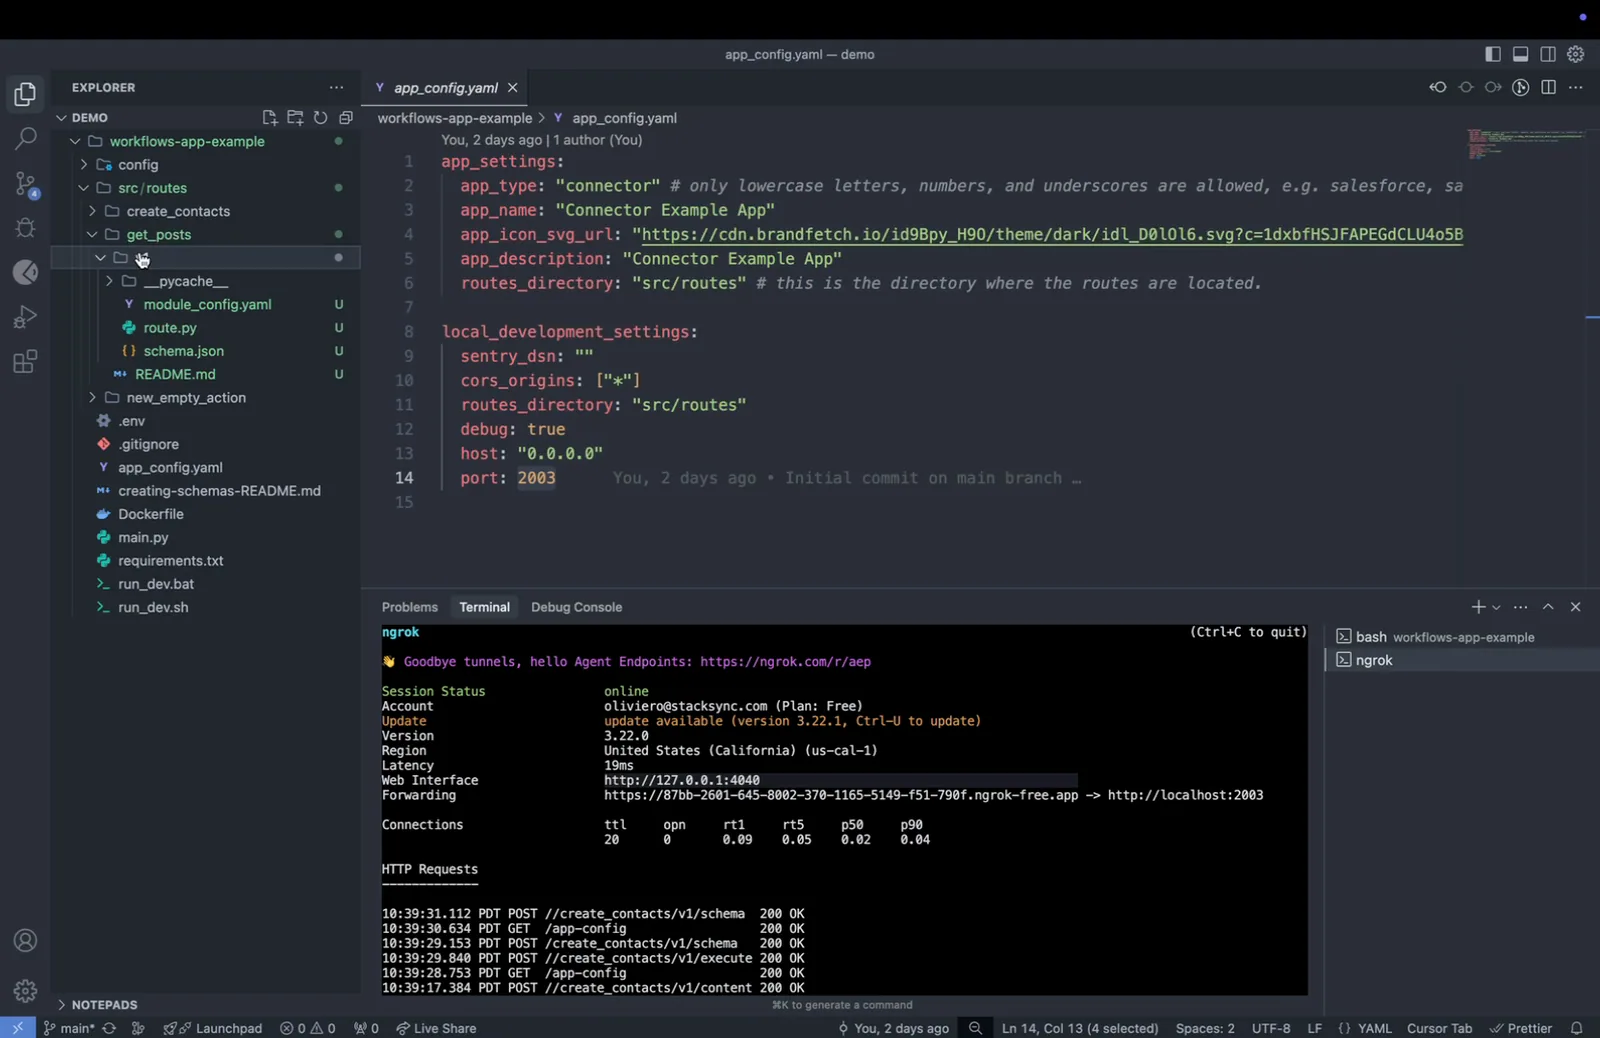
Step 2: Rename your folder from 'new empty Action' to 'Get Posts' to reflect the new action that retrieves posts from social media.
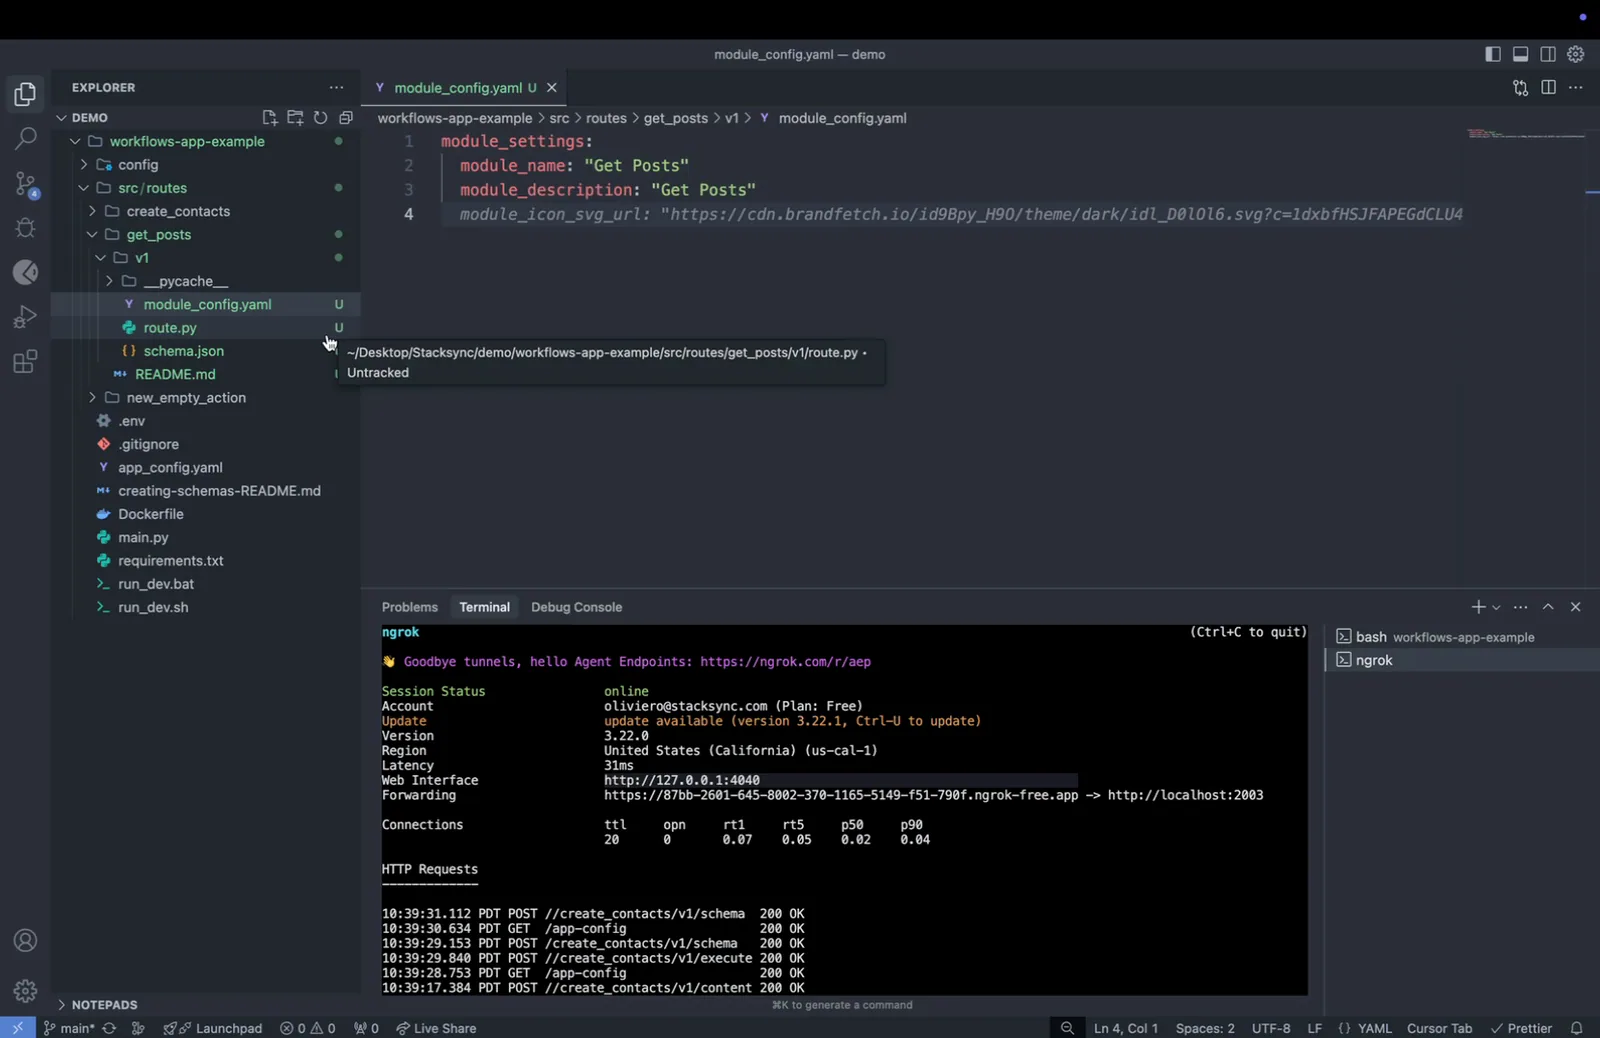
Step 3: Configure your module by entering a module name and description, such as "GET posts."
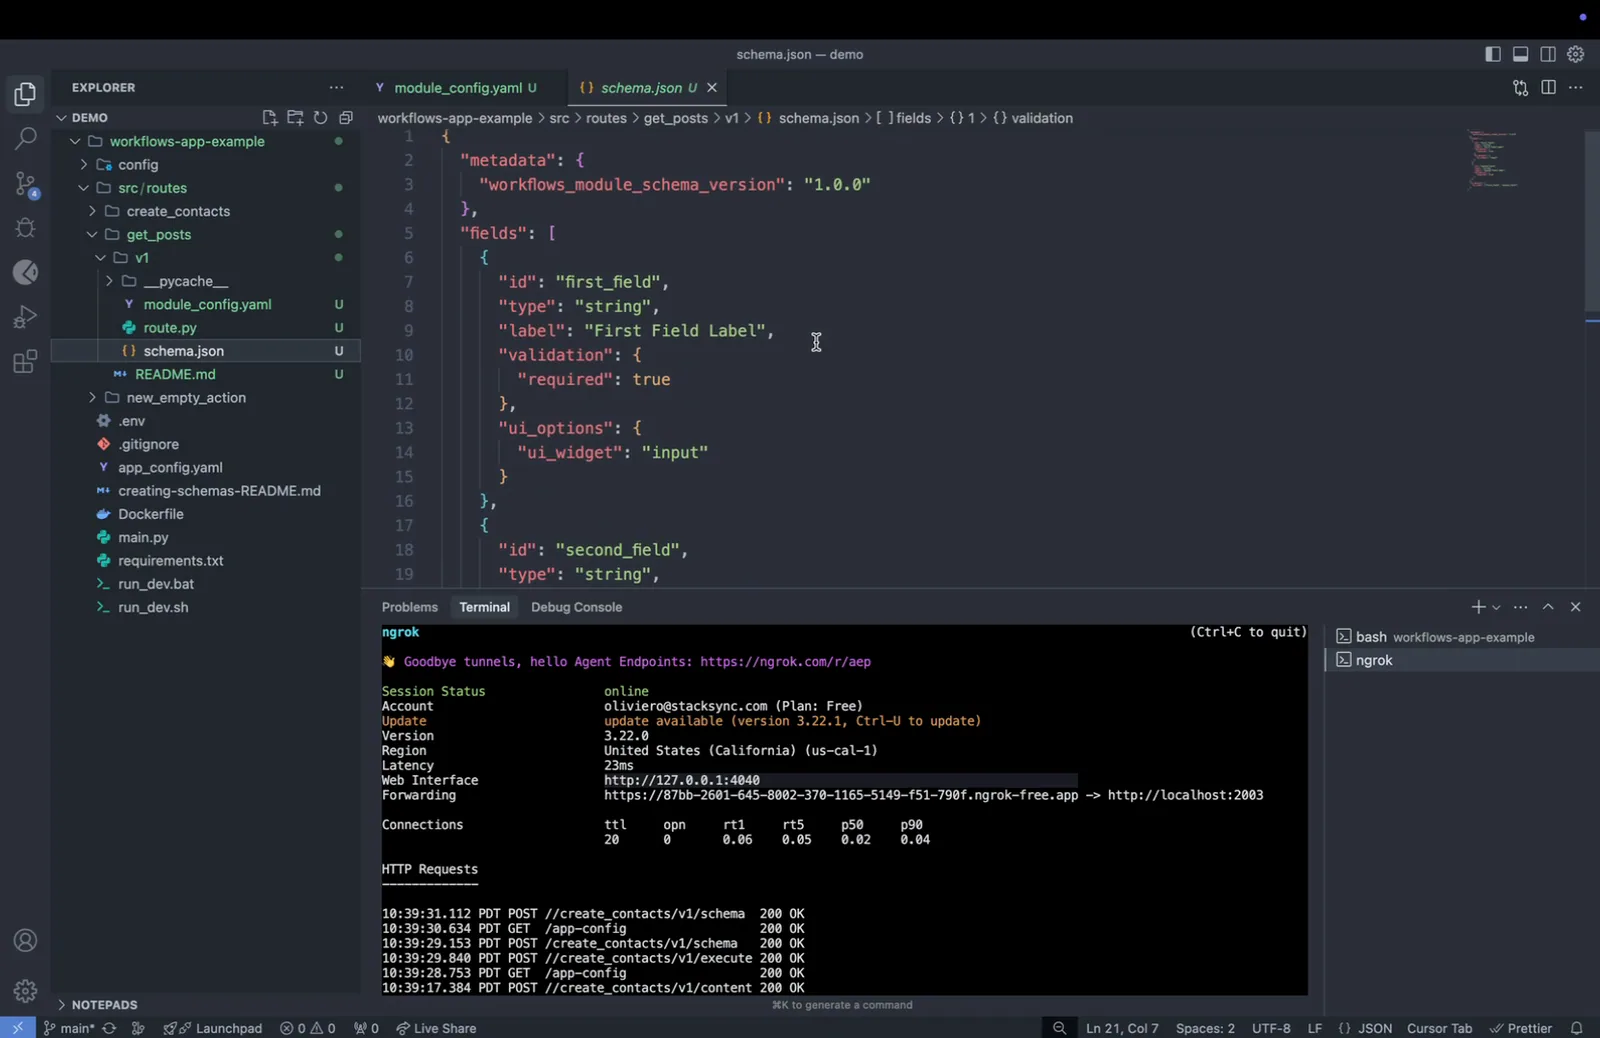
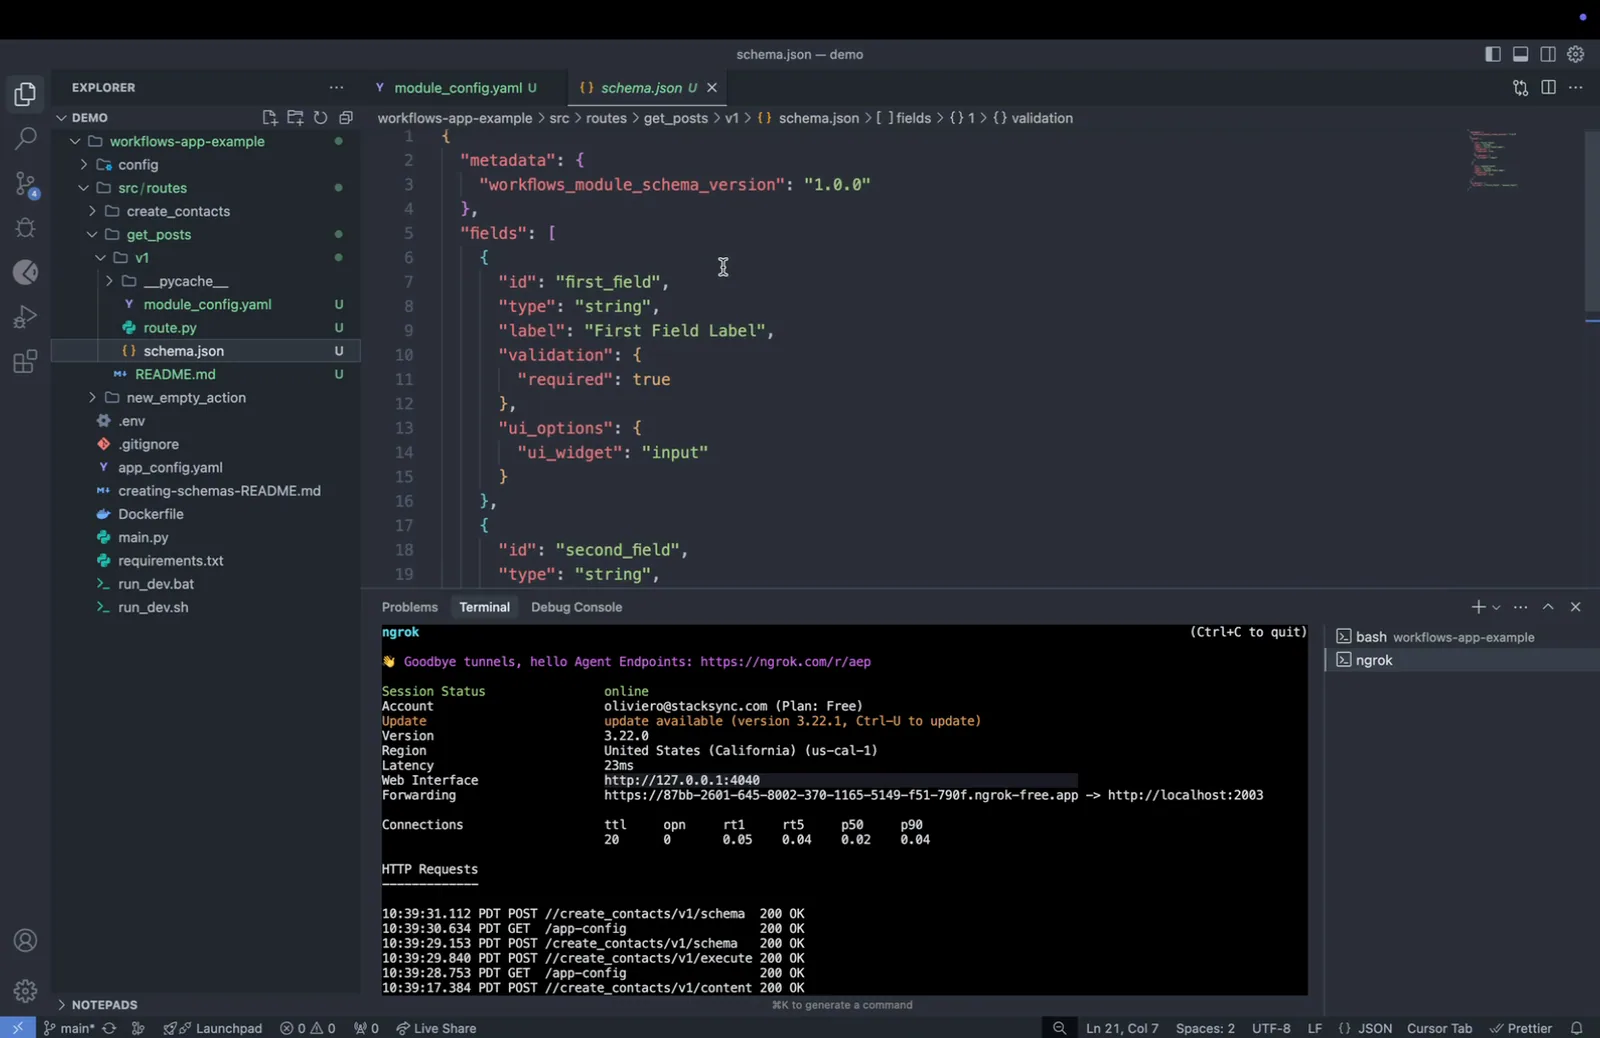
Defining Schema and Routing
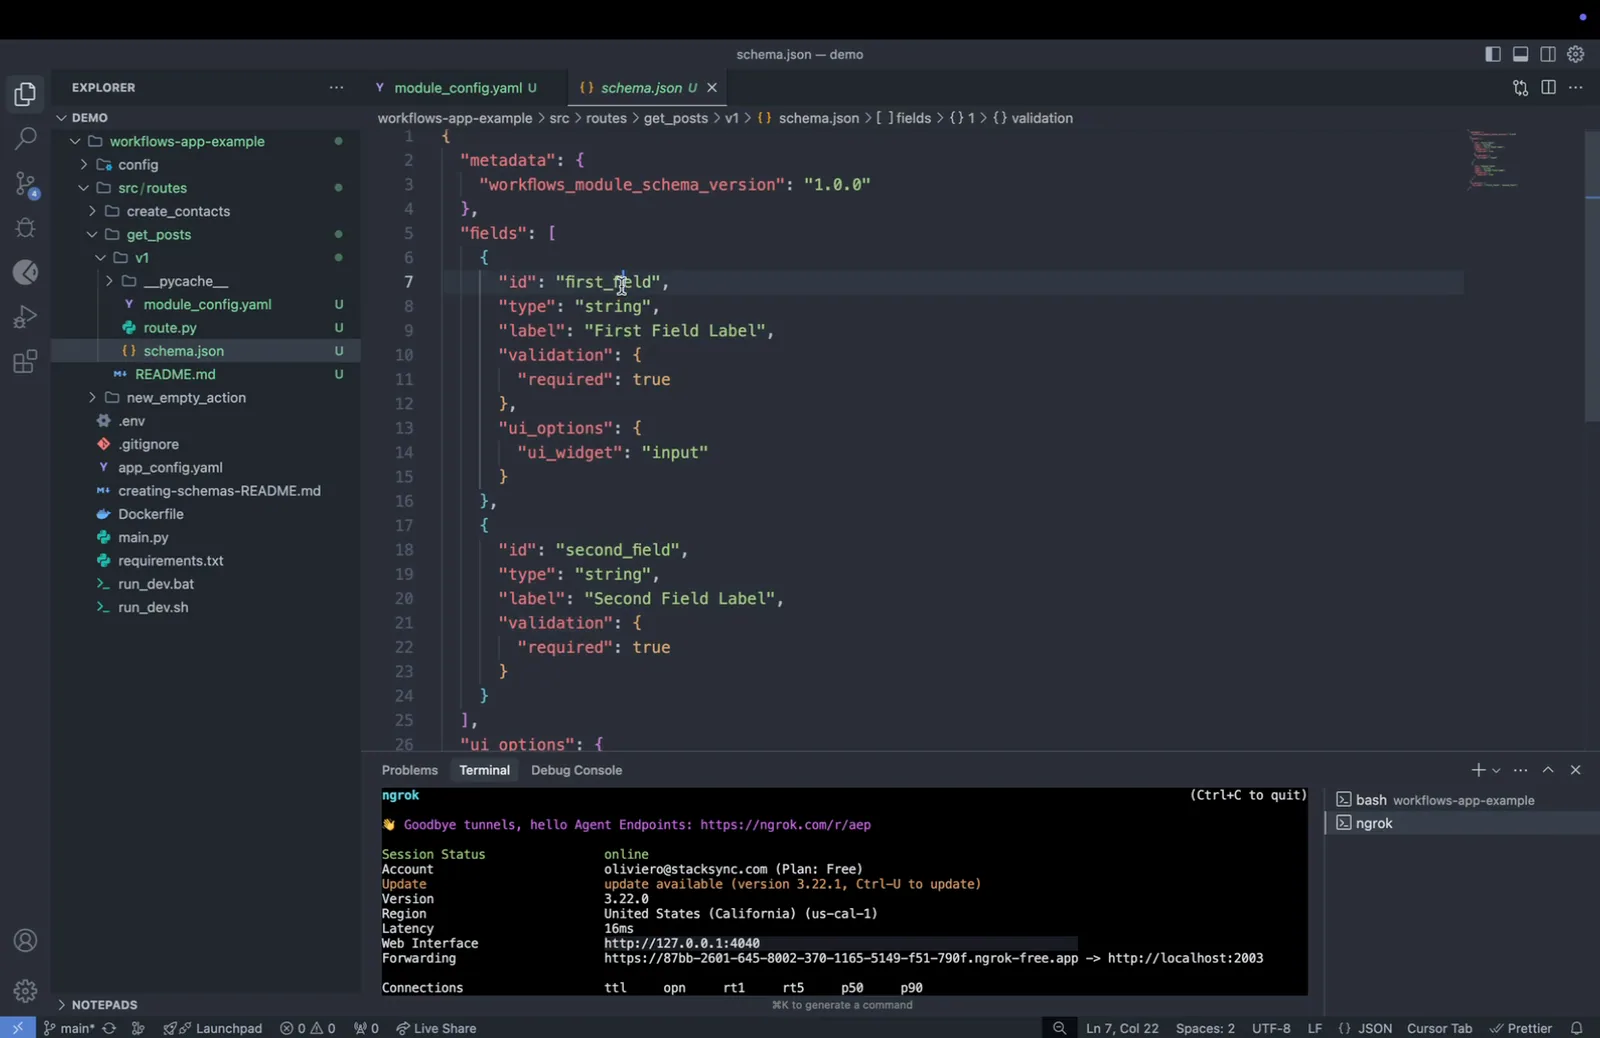
Step 1: Define the schema that will appear on the UI for user input. Start by specifying the API key required for the API service you are using. This key is essential for authentication and interaction with the API.
For an in-depth guide on how to define the schema visit the Create a Module Schema guide.
Step 2: After defining the API key, specify the platform you are integrating with, such as LinkedIn, and the type of post you want to create, which could be a normal post or a video.
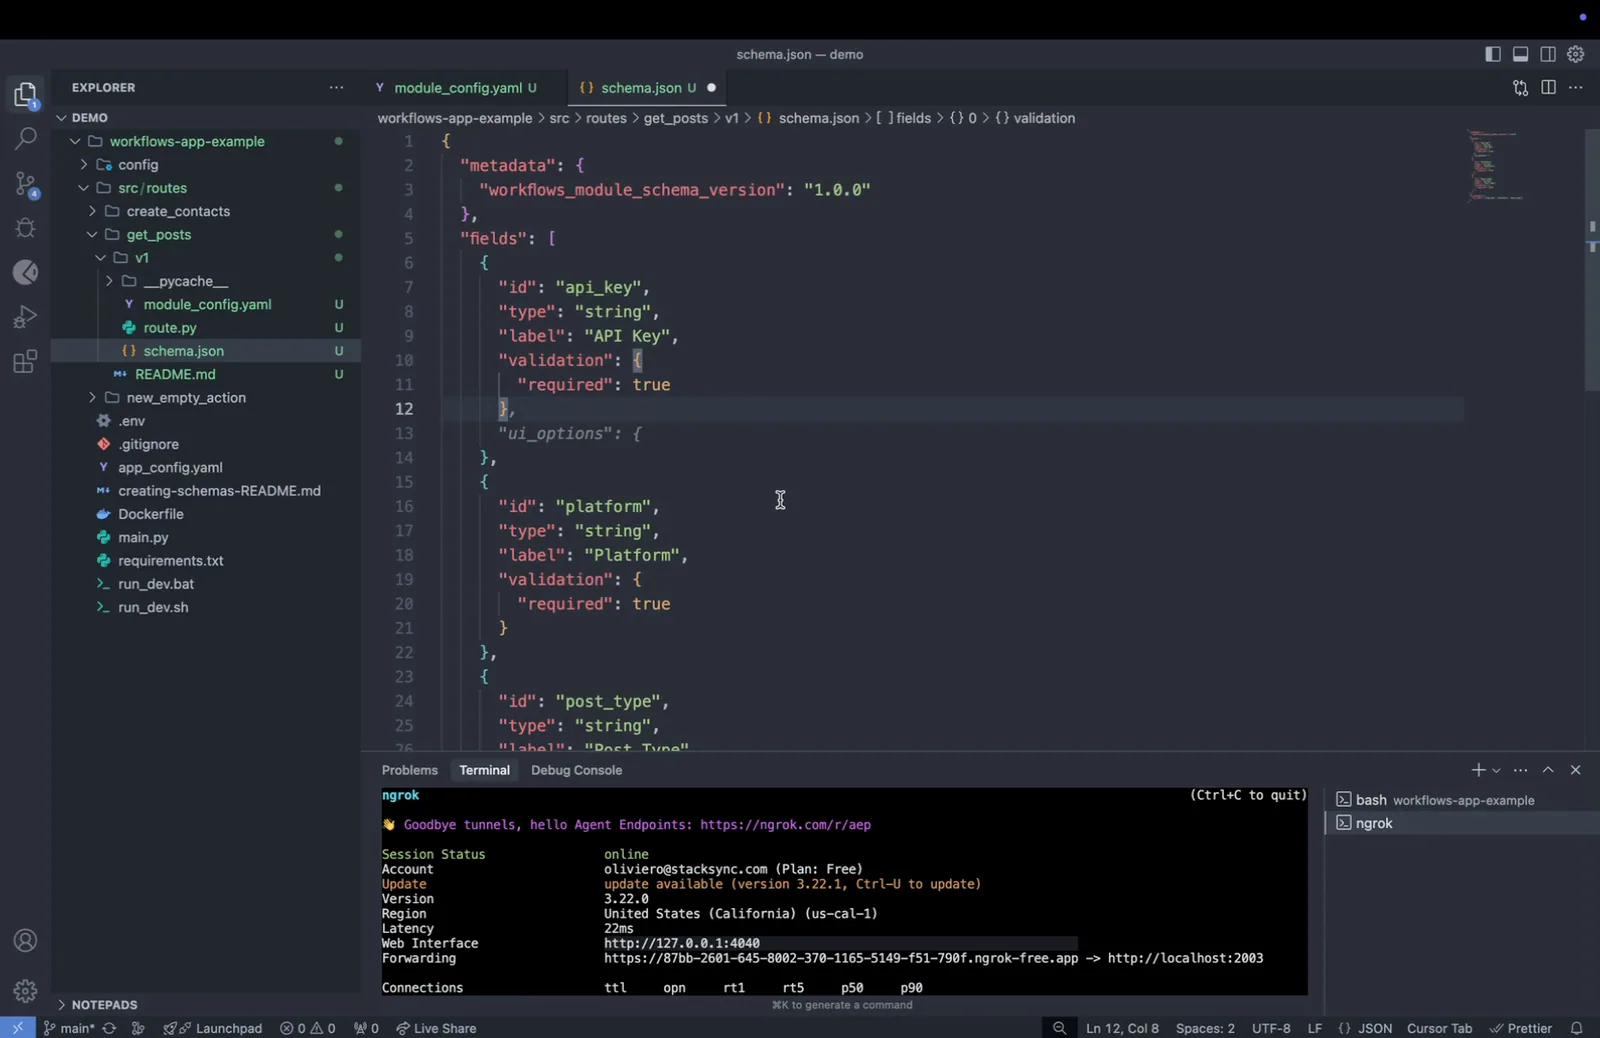
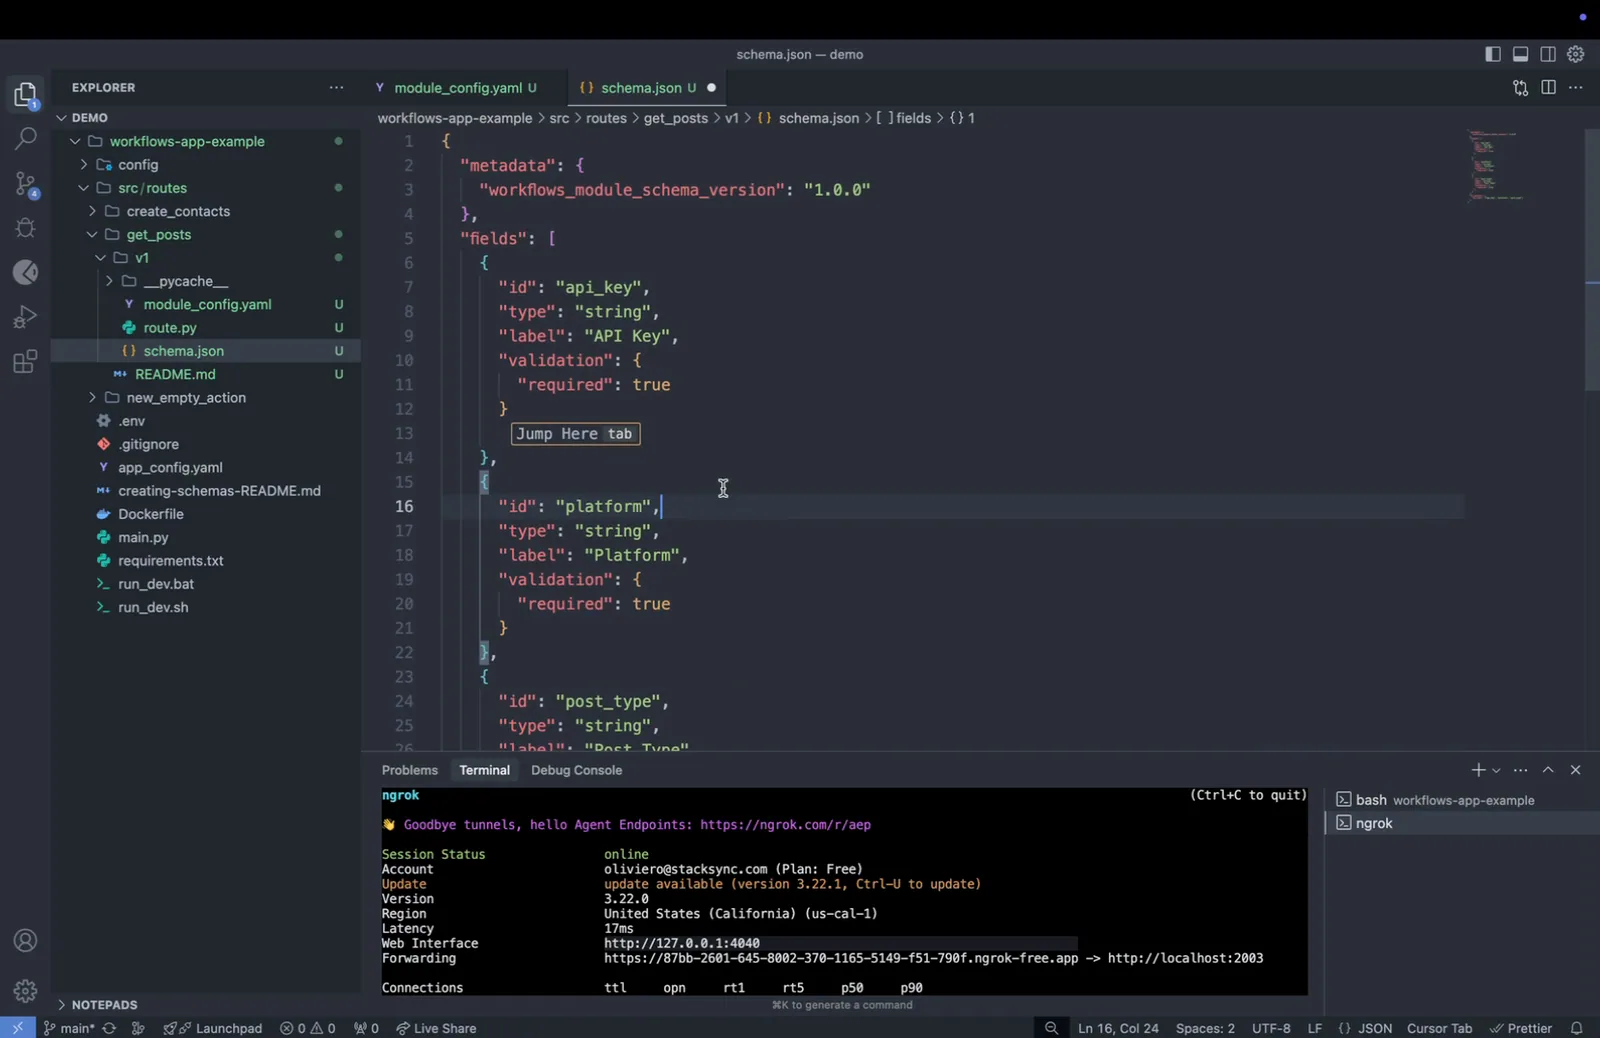
Step 3: Ensure the JSON schema is correct by checking that the schema JSON file turns green, indicating all settings are correctly configured.
Step 4: Proceed to define the routing in Python, which includes specifying the endpoint `/execute`. This endpoint is triggered when the "Run" button is clicked in a workflow that includes this action.
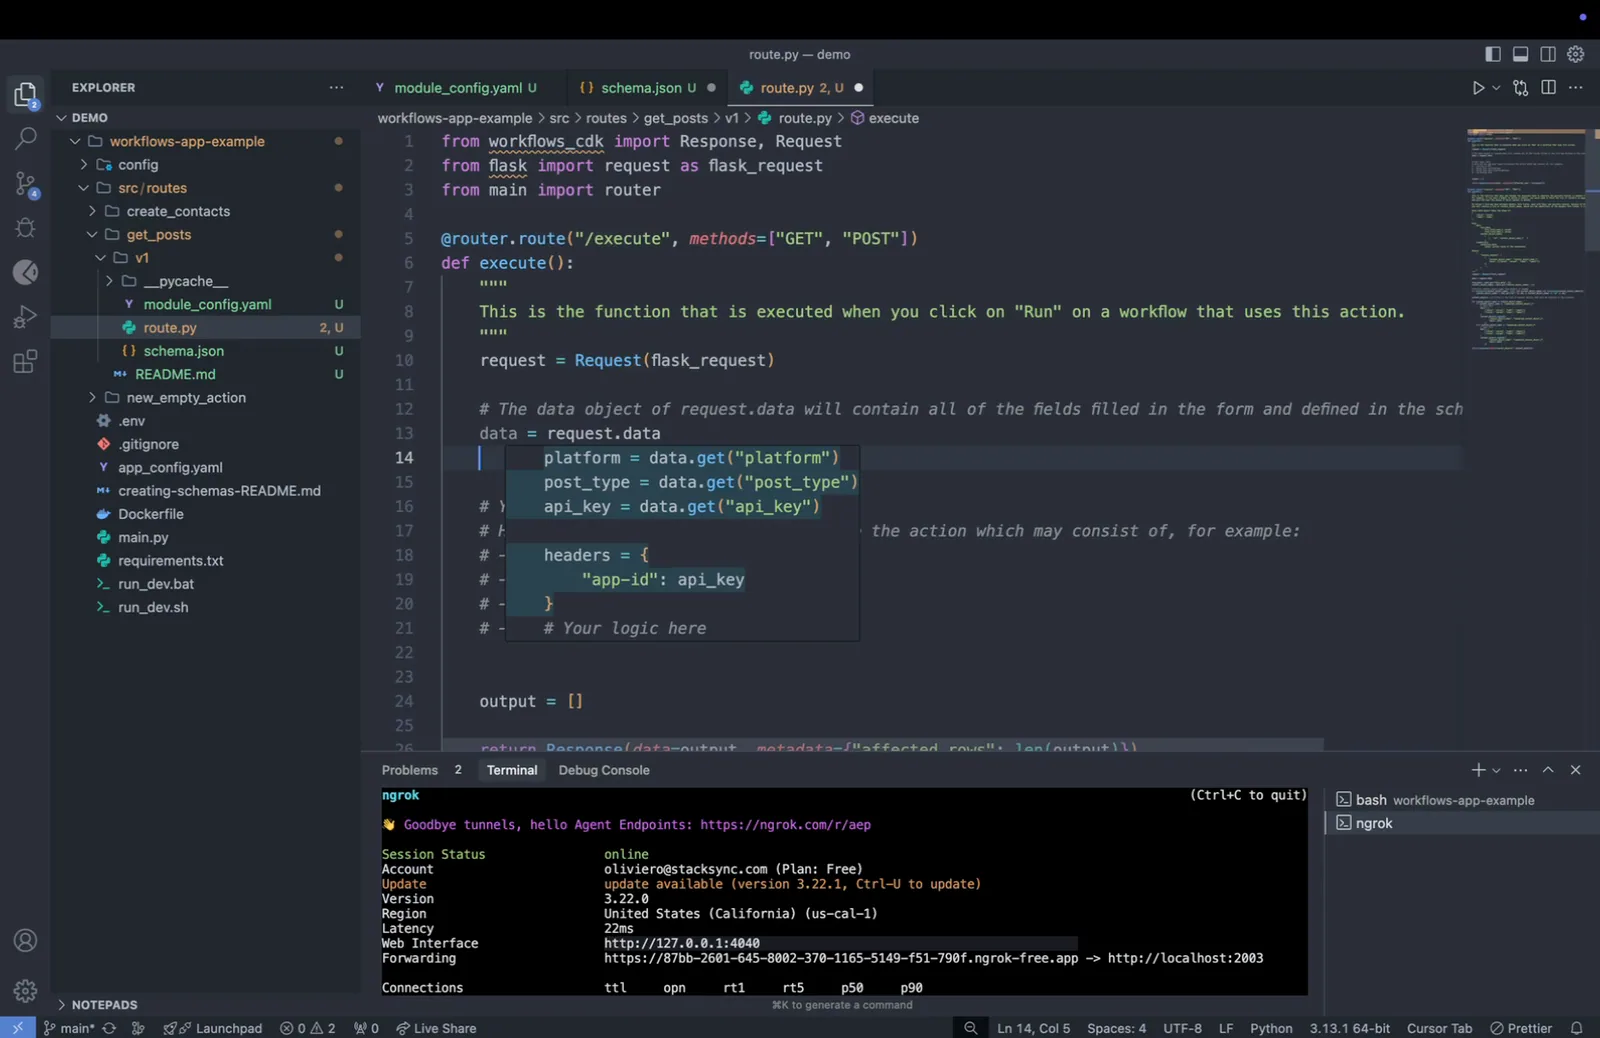
Step 5: Within the Python route, wrap the request in the request class and include the data object. This object will contain the form data provided by the user.
Step 6: Retrieve the necessary data using `data.get` and specify the key name required. Add the API key to the headers under an authorization parameter, typically structured as "Authorization: API Key".
Step 7: Set up conditional logic for different platforms. For instance, if the platform is Instagram, specify a different URL. For simplicity, use a dummy API URL that remains constant across all cases, setting it within the URL variable.
Making API Requests and Handling Responses
Step 1: Customize your settings based on your needs and then proceed to gather your data.
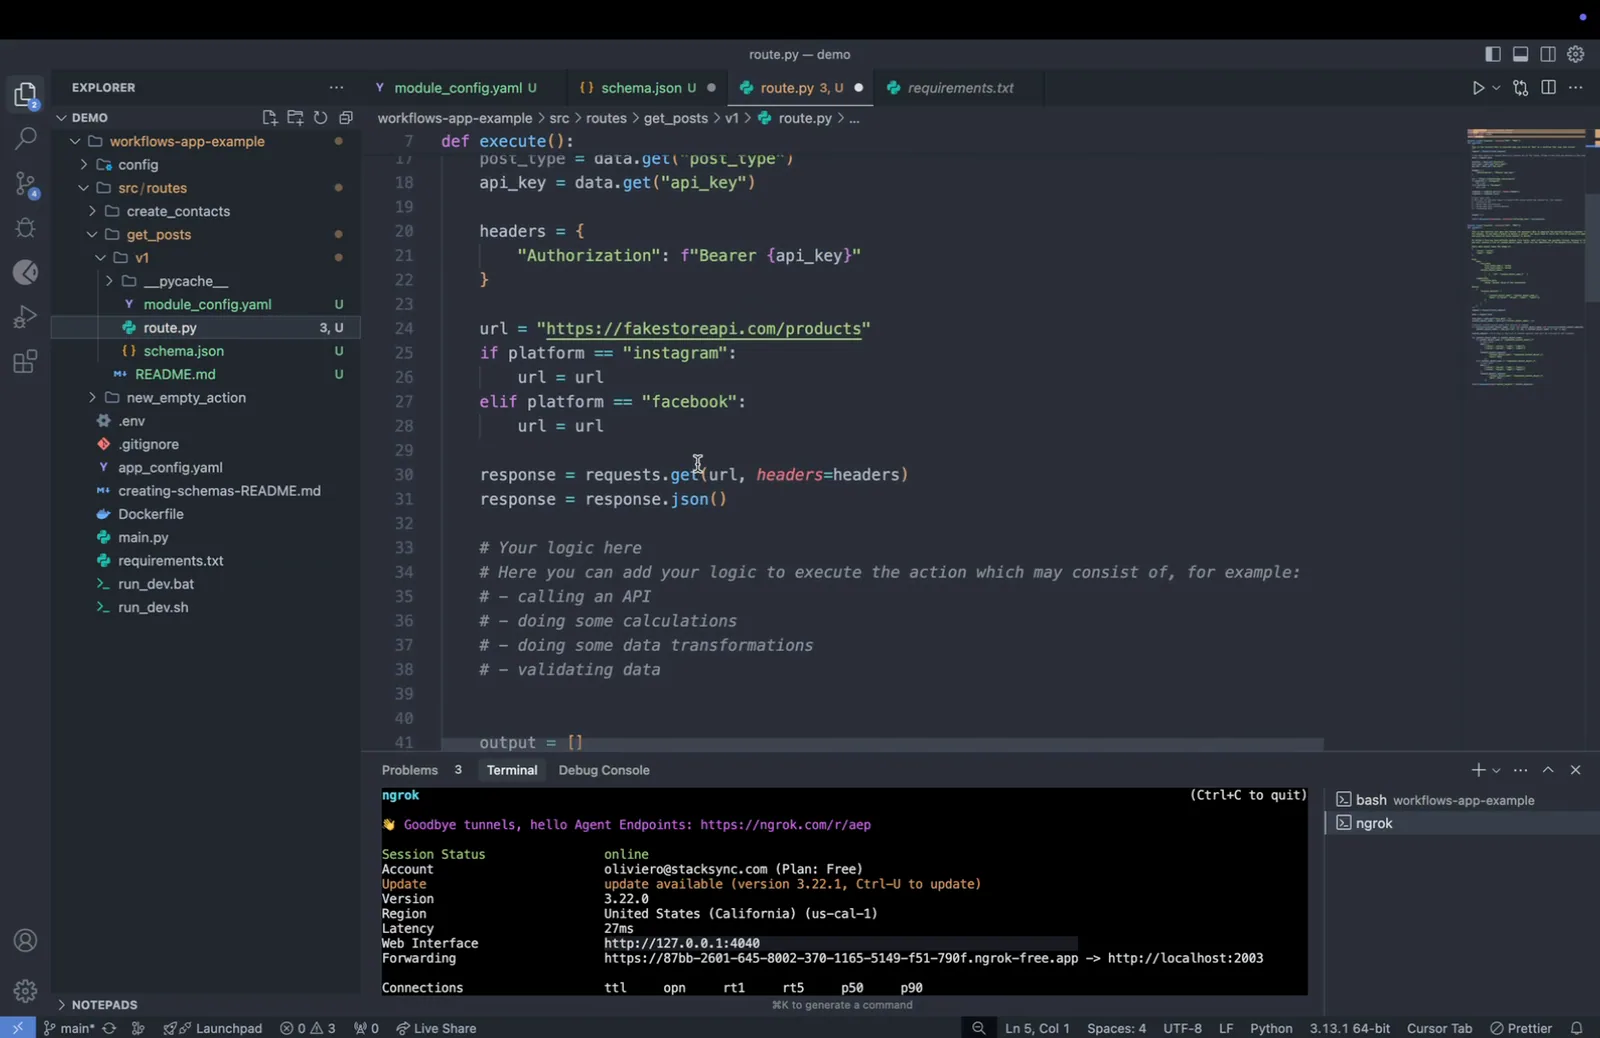
Step 2: Execute the following code to make a request and retrieve the data:
```
response = request.get(URL, headers)
```
Then, extract the JSON response from the retrieved data.
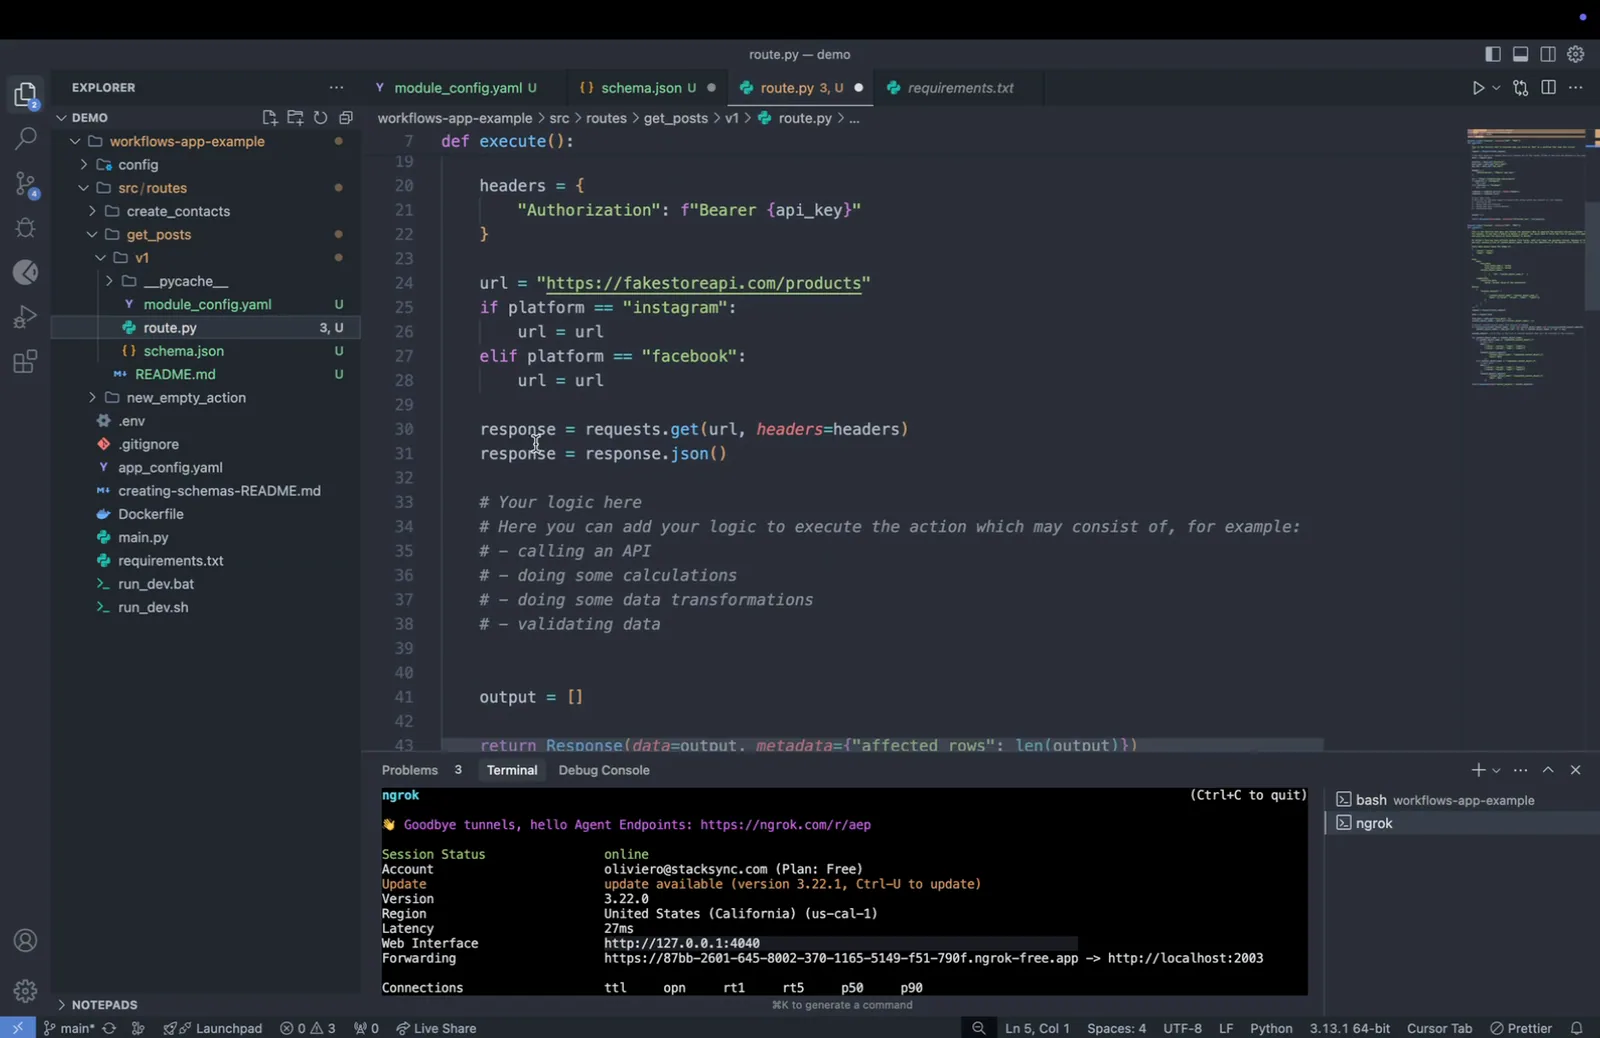
Step 3: Import the requests package, which is necessary for making HTTP requests. Ensure you include this package in your `requirements.txt` file.
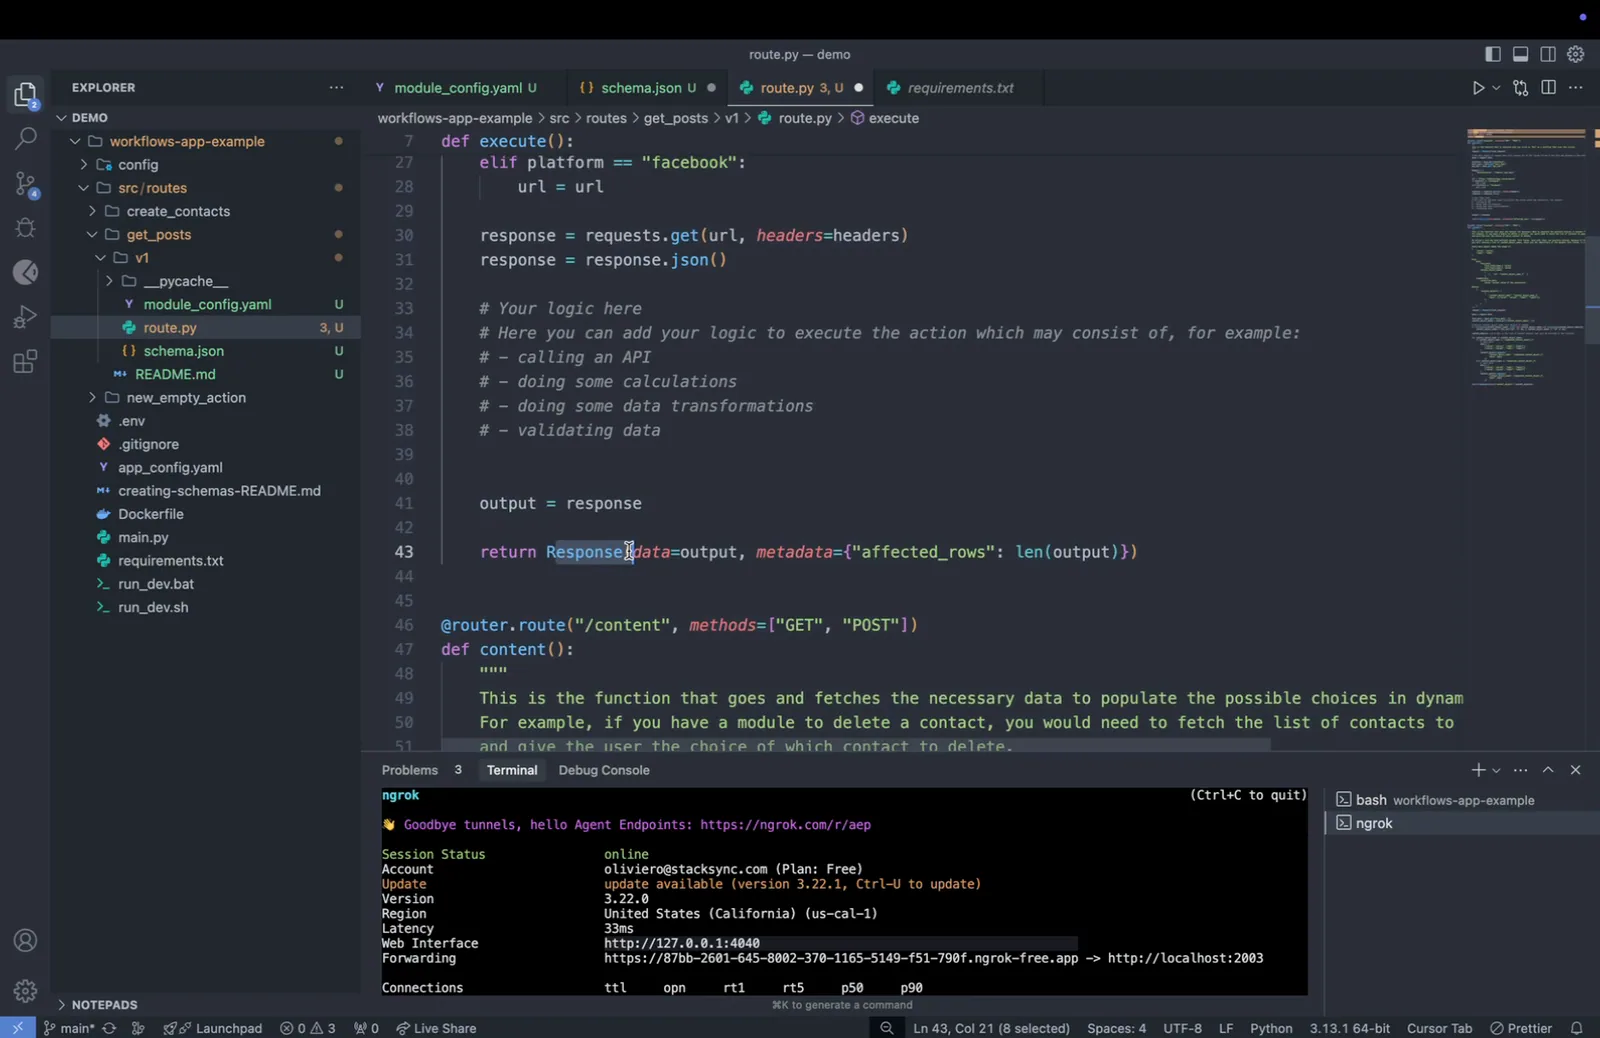
Step 4: Use the `response` object in the data payload of your output. Always utilize the response class provided in the template, filling the data and metadata appropriately with your output and any additional information.
Step 5: Save your changes and return to the workflows page to reload your workflow.
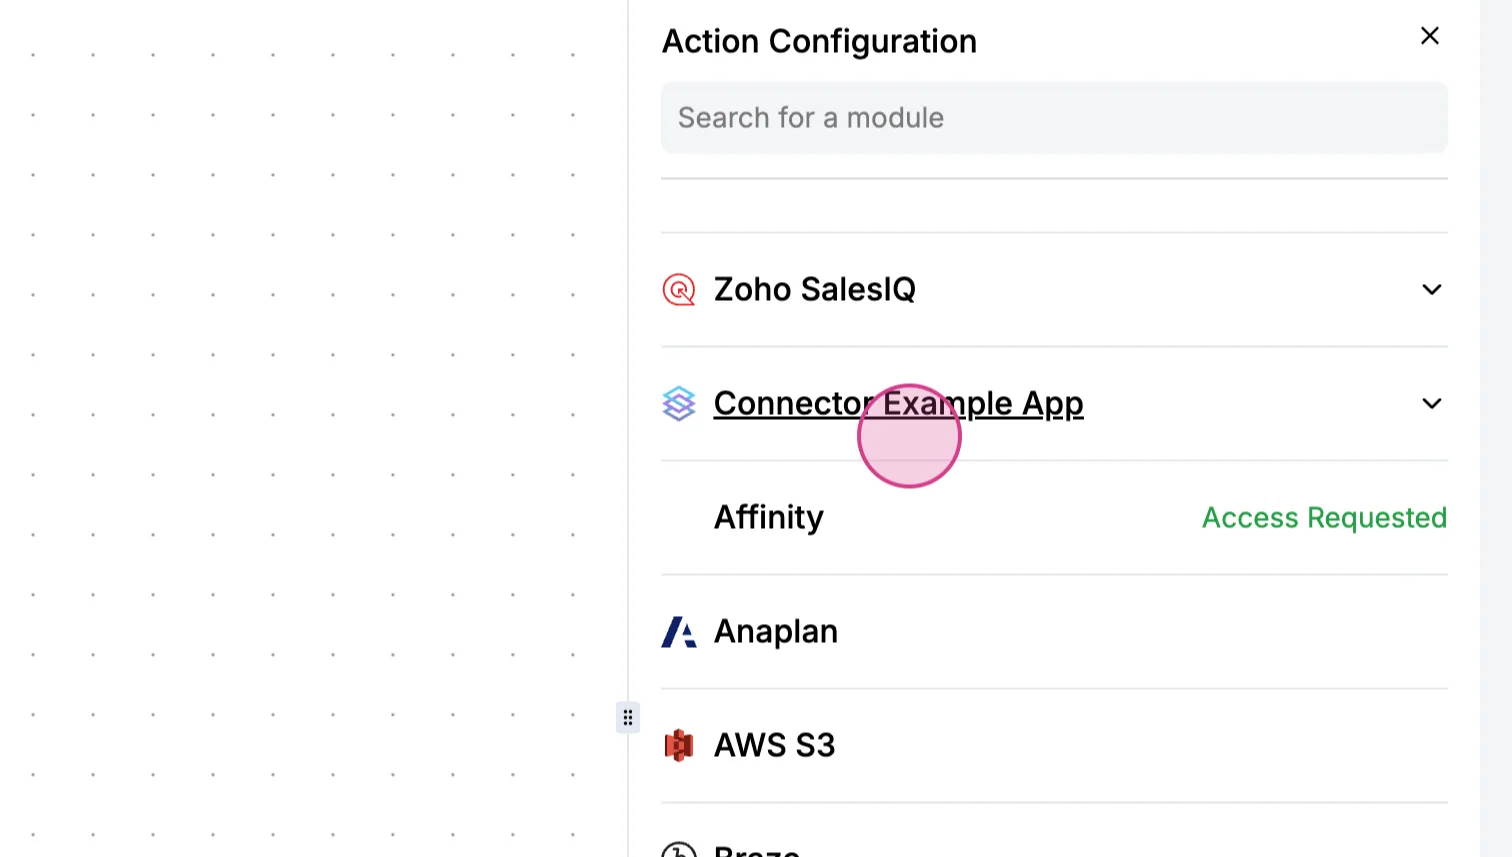
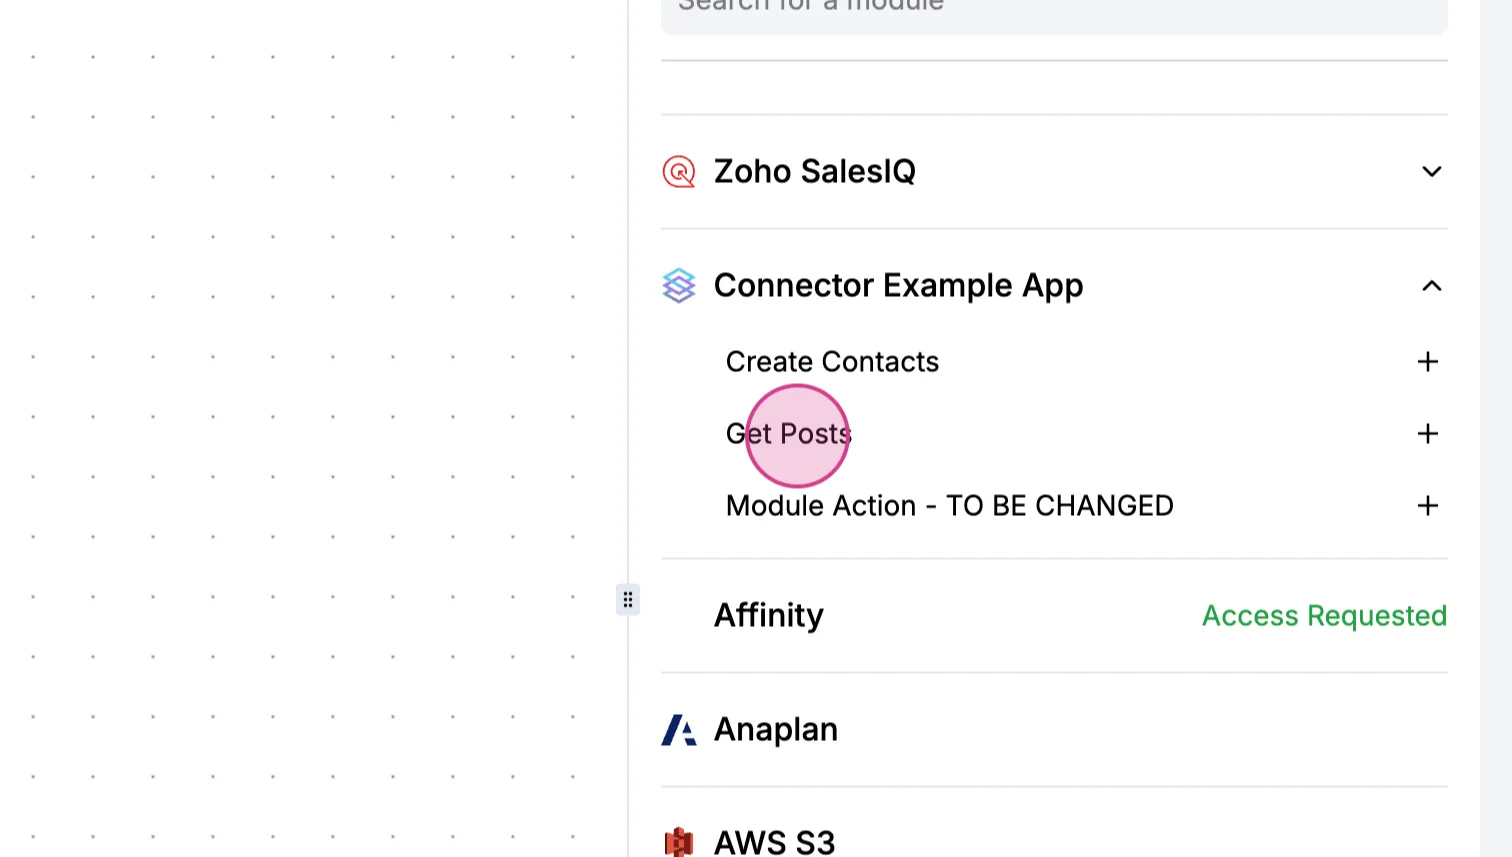
Step 6: Create a new action by clicking on Create Action and scroll to the Connector Example App. You will see a new module named "Get Post" that you just created.
Step 7: Test the new "Get Posts" action. Reload the workflows page, click on Create Action, and scroll to connect to your example app.
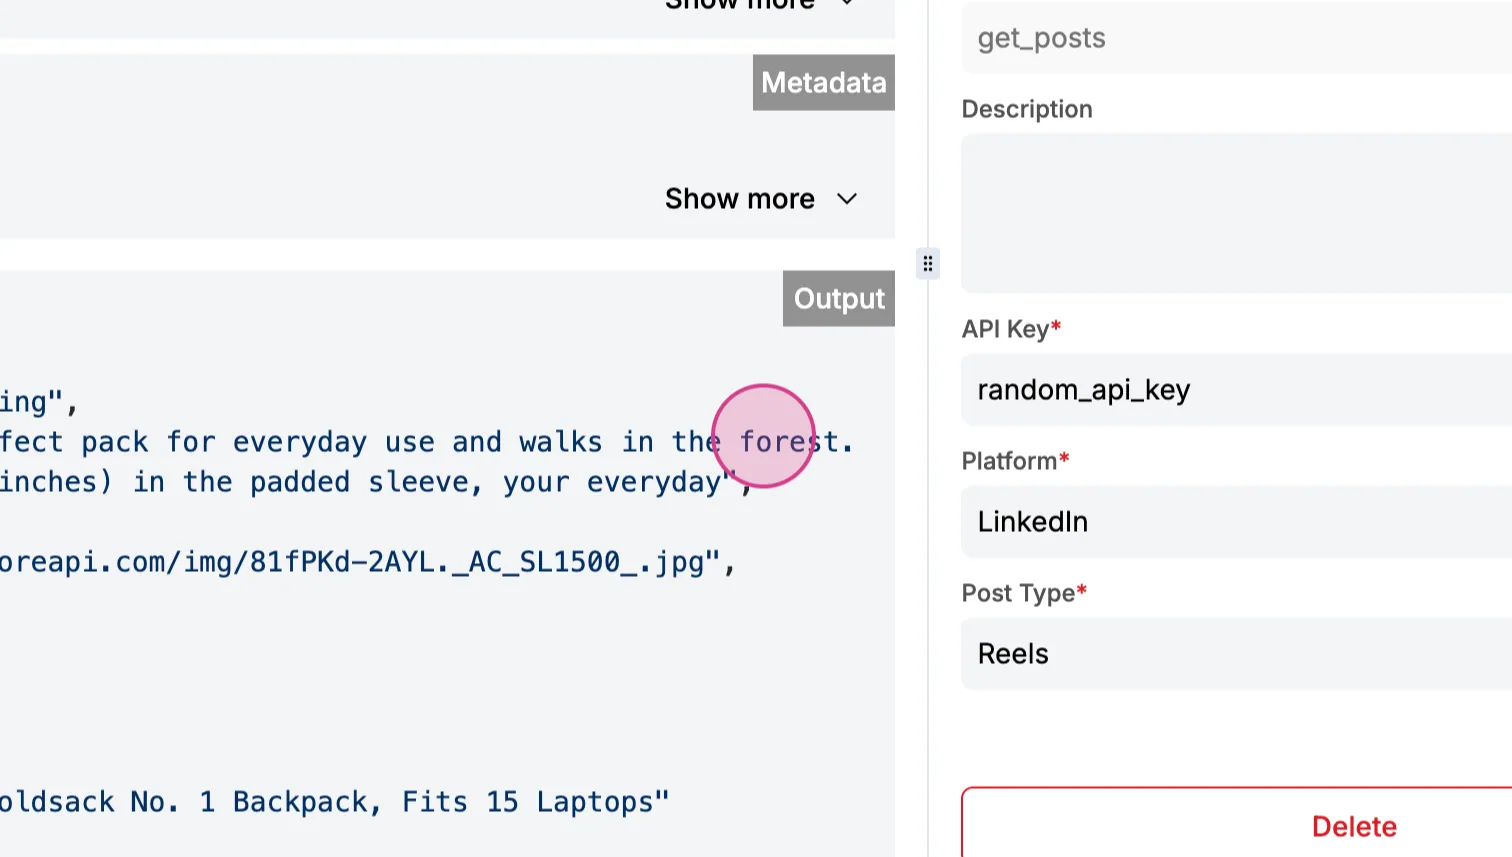
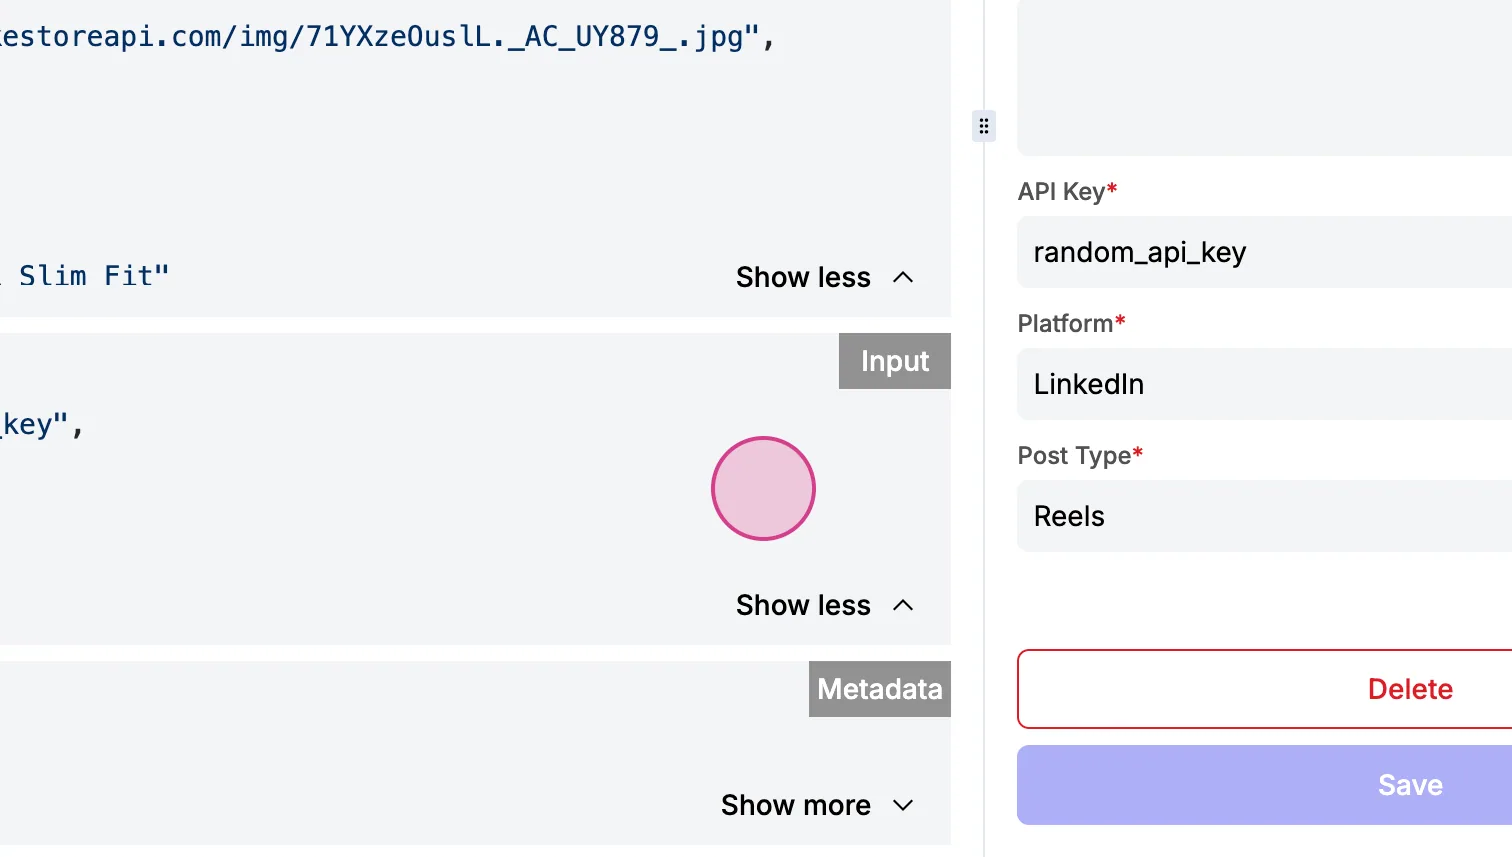
Step 8: Click on Get Posts to automatically load the form from your backend, which includes fields like API key, platform, and post type, as defined in your schema.
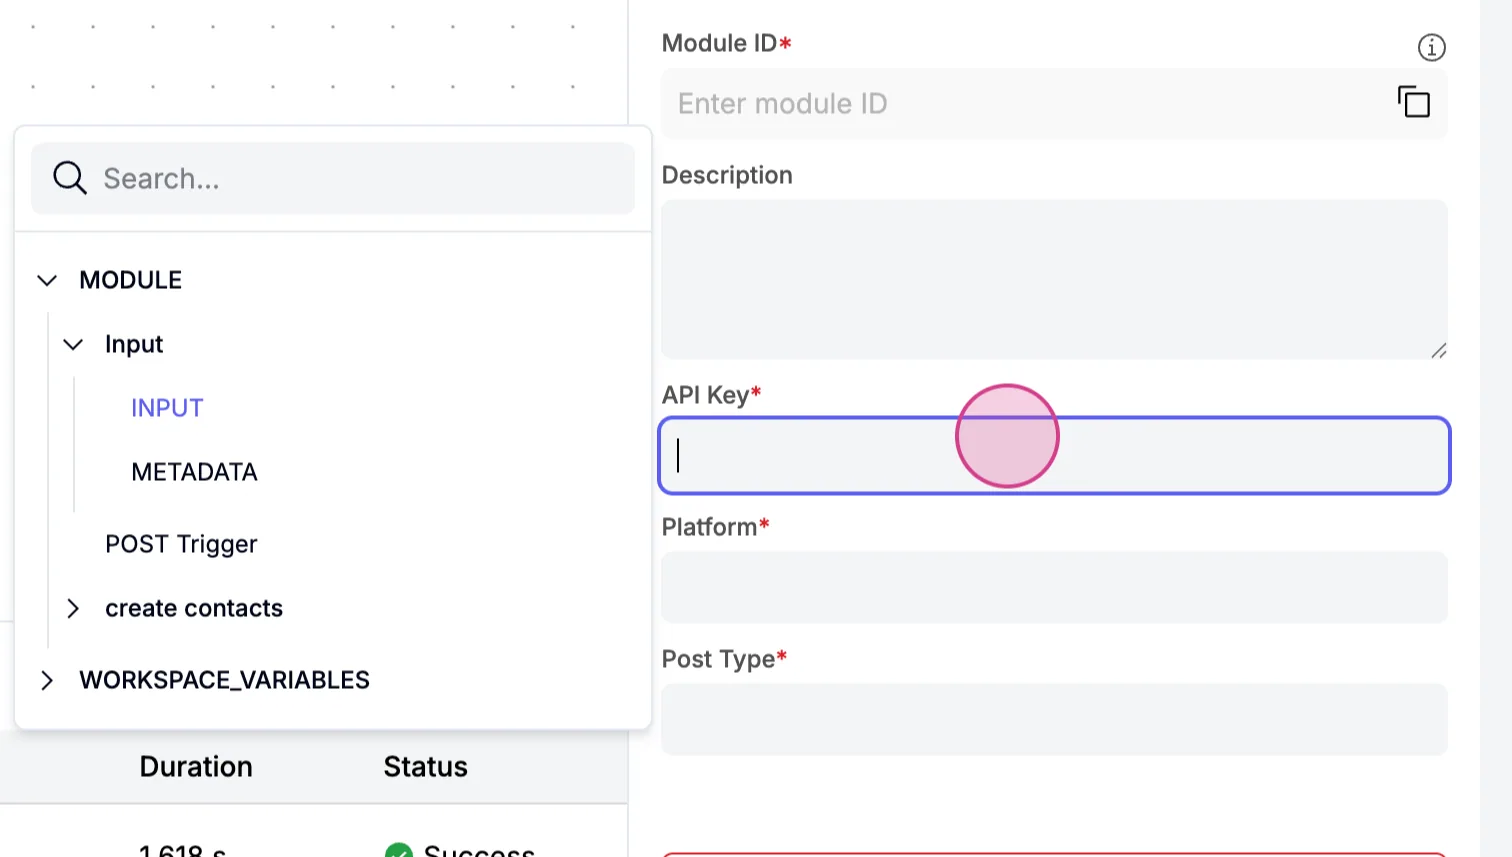
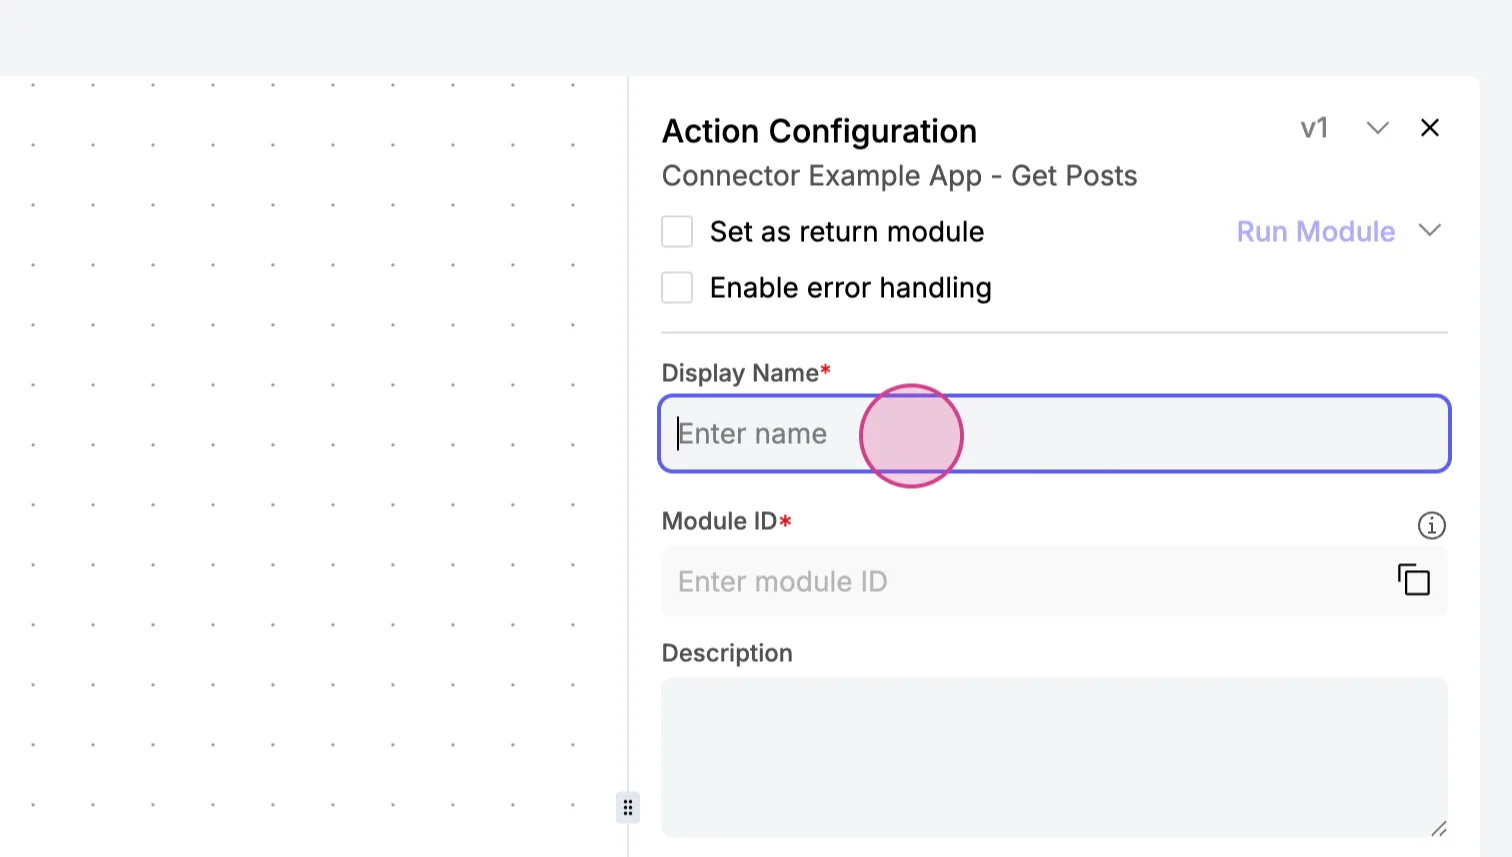
Step 9: Enter a random API key, select the platform and post type, then save your settings.
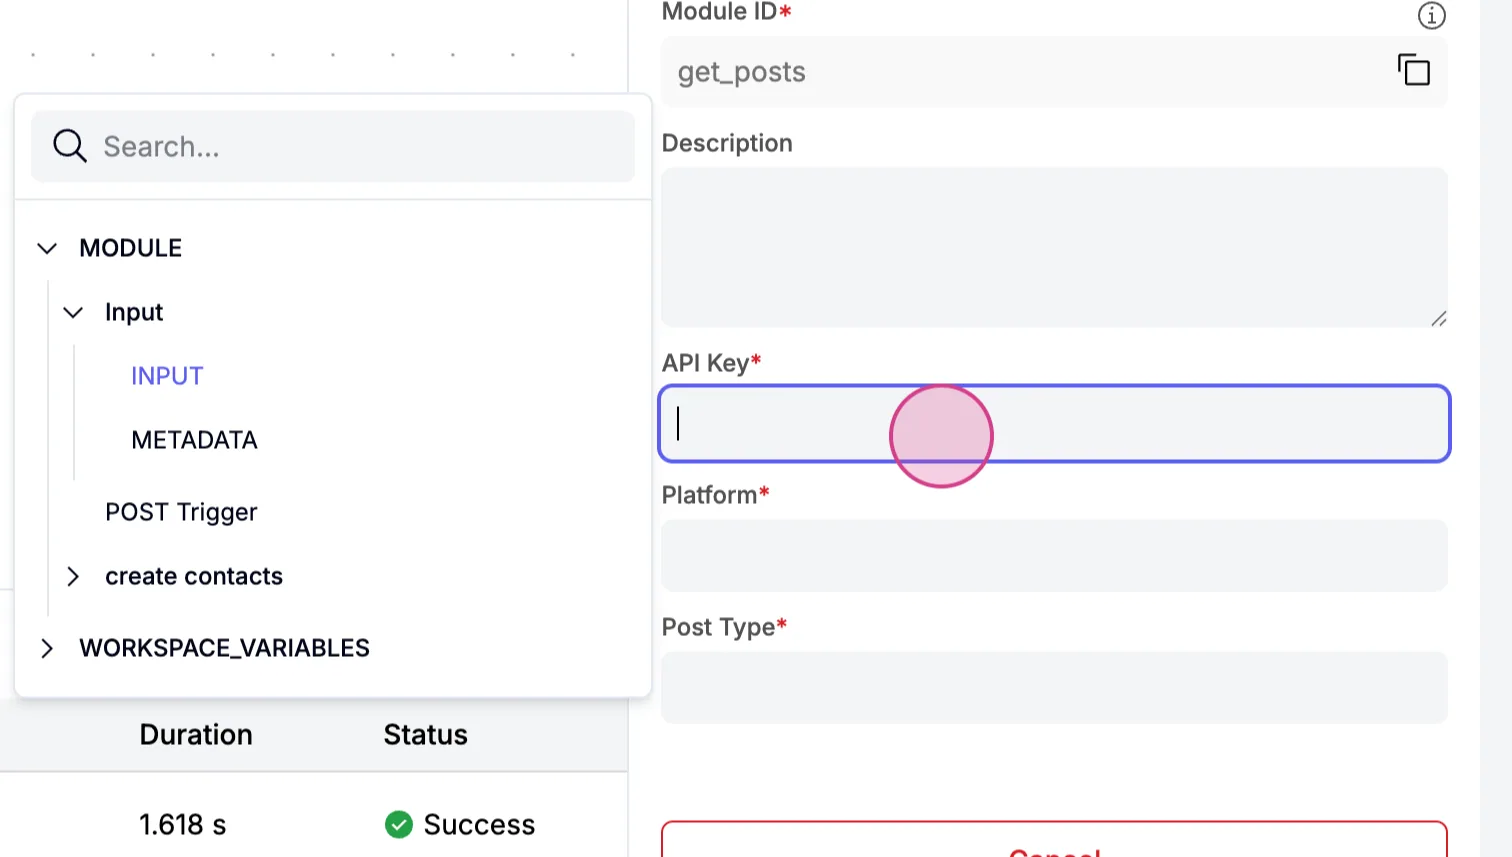
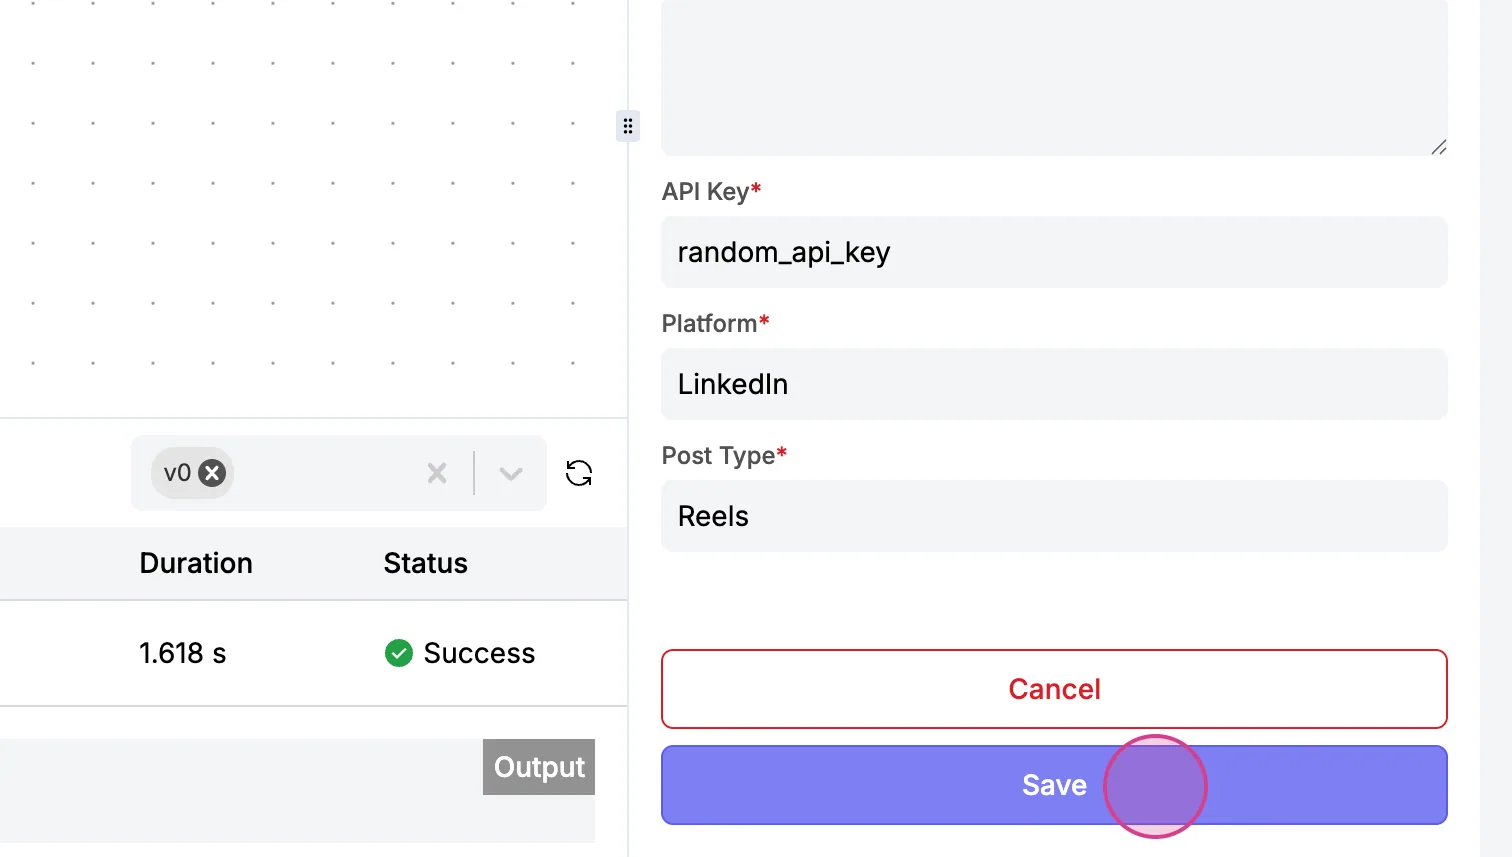
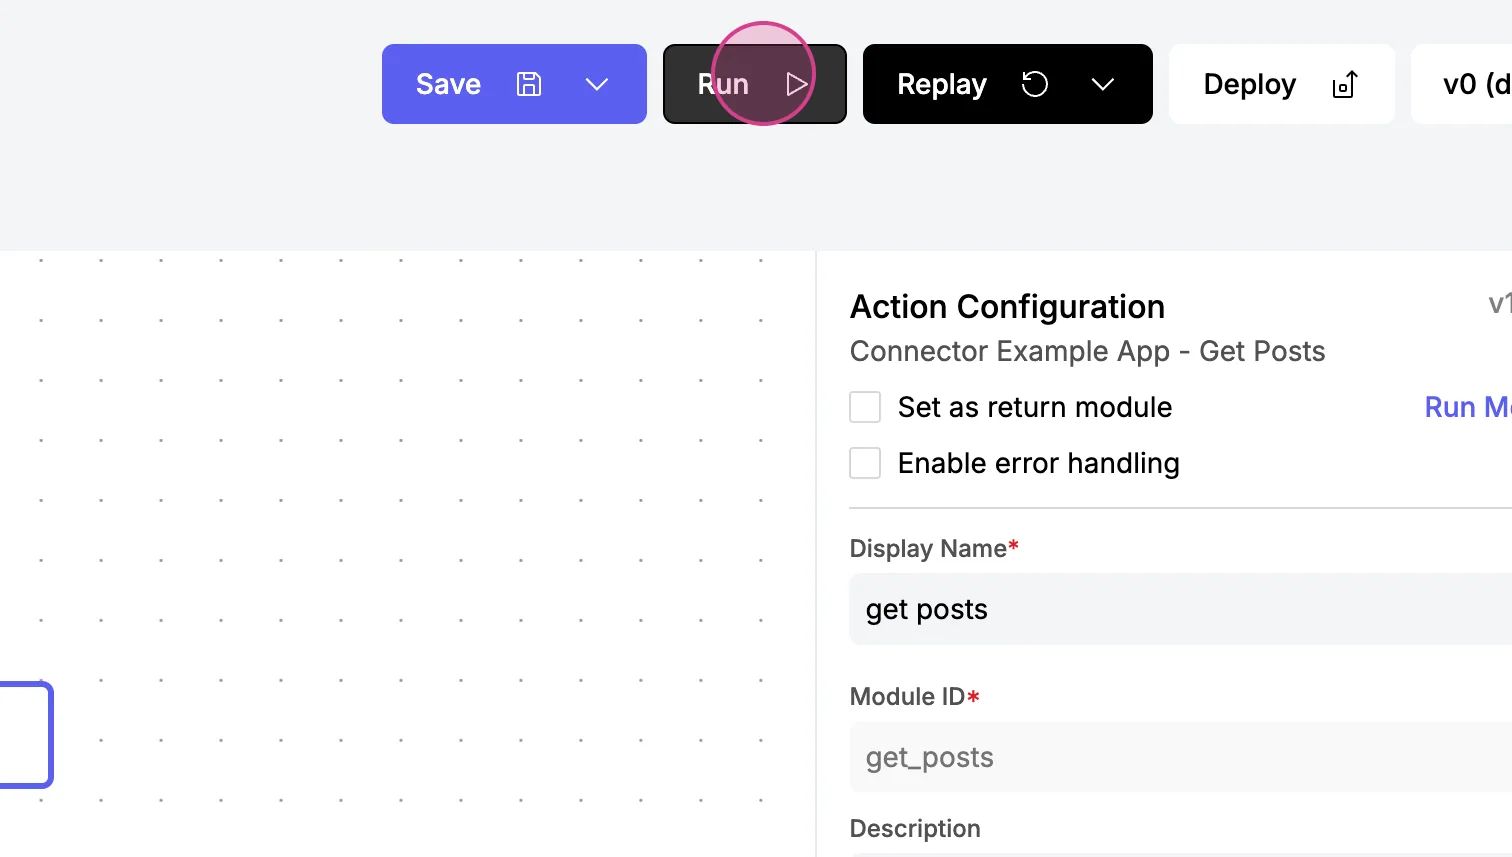
Step 10: Run the action. A new execution log will be created, processing your action and fetching posts with the provided API key and other information.
Adding Dynamic Fields
Step 1: Add a new field to obtain dynamic data. Begin by adding a field named Users ID User.
Step 2: Specify the type of data for the new field. Do not type "string" but set the label for the field.
Step 3: Define the validation for the Users ID User field by marking it as required.
Step 4: Prepare to specify choices for the field. At this point, add an option called choices.
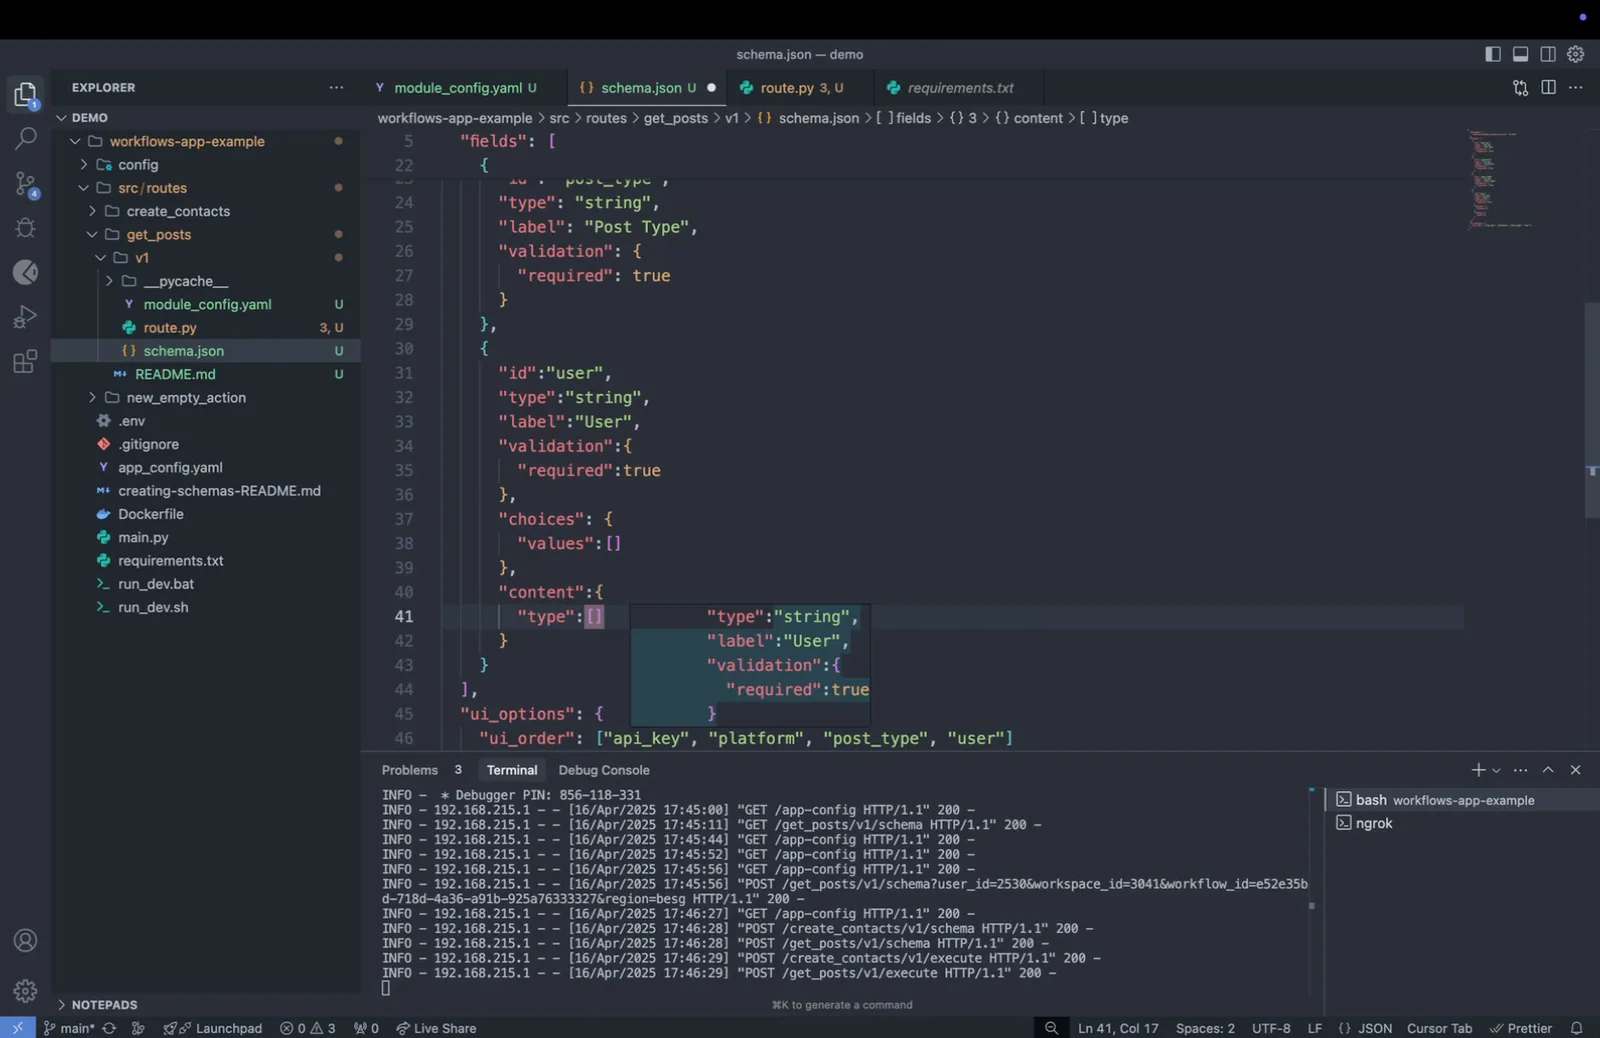
Step 5: Inside the choices option, add a parameter called values. Keep this list empty as it will be dynamically filled later.
![schema.json "user" field with "choices": {"values": []} left empty and "content" type set to ["managed"]](/_next/static/media/schema-user-field-choices-values.55c822ce.webp)
Step 6: Add a new keyword called content to handle dynamic data loading.
![schema.json "user" field whose "content" block has type ["managed"] and "content_objects" with id "users"](/_next/static/media/schema-user-field-content-objects.6b48deae.webp)
Step 7: Inside the content field, specify the type of content to manage dynamic data loading.
![get_posts schema.json showing the "content" block of the "user" field set to "type": ["managed"] for dynamic data loading](/_next/static/media/schema-content-type-managed.b395906a.webp)
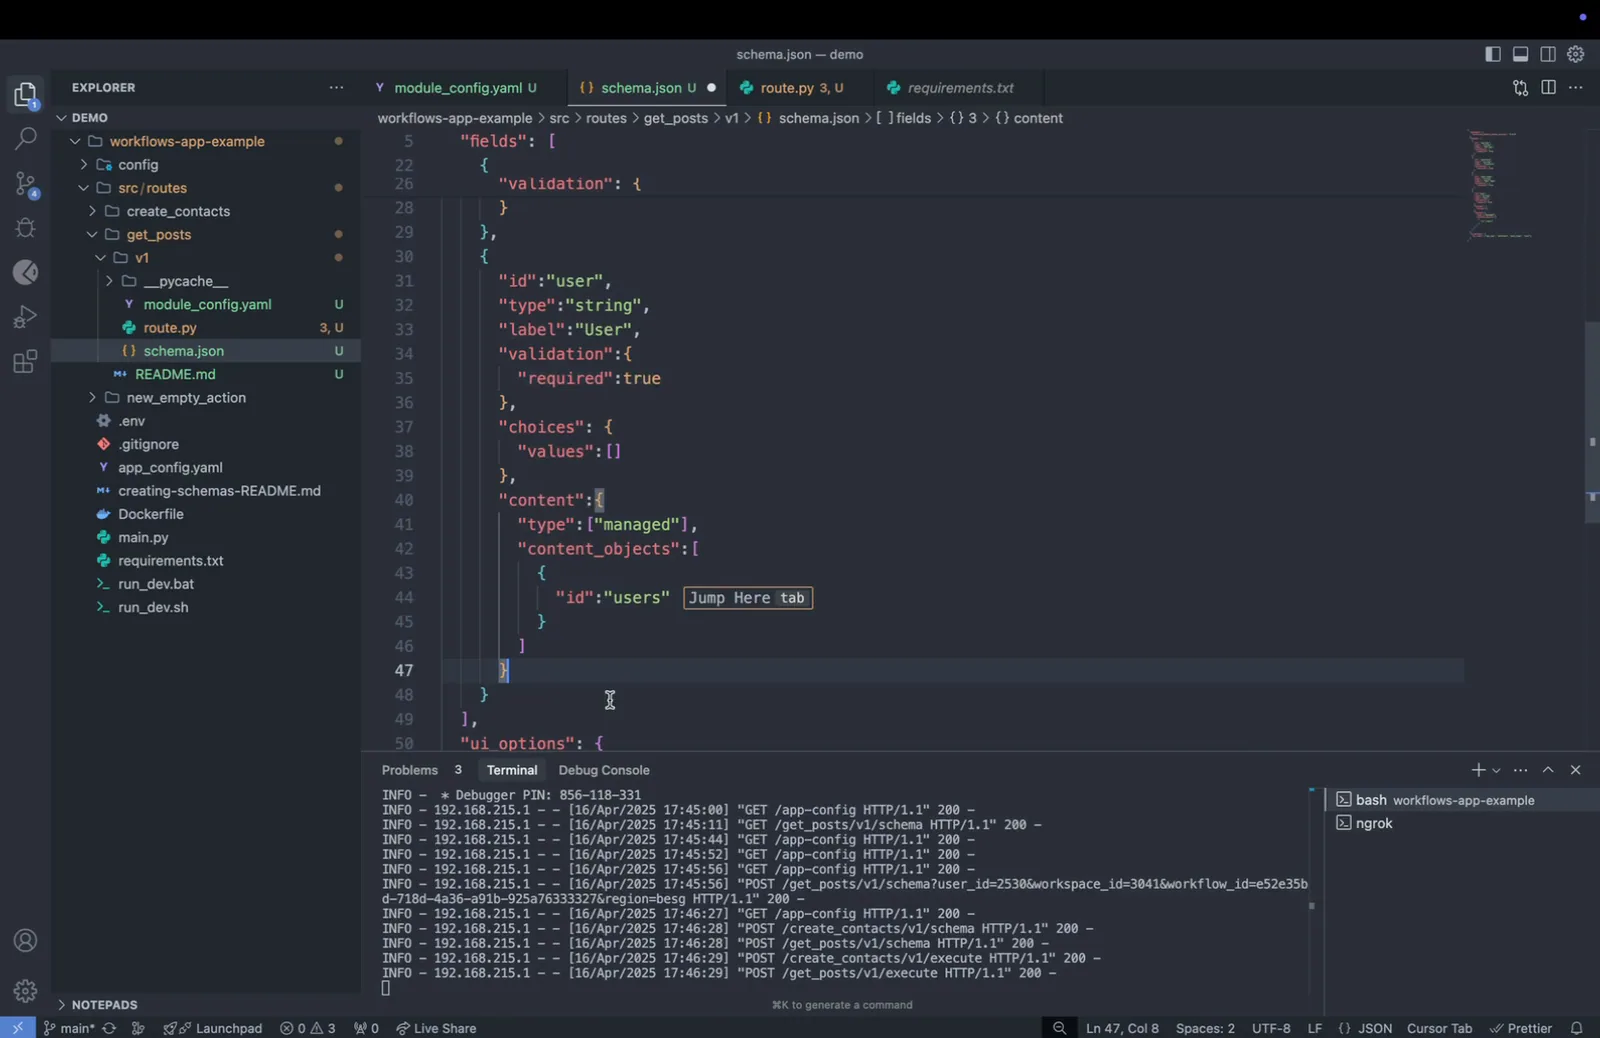
Step 8: Add content objects to the configuration. These objects should include an ID for users, allowing dynamic interaction with user data.
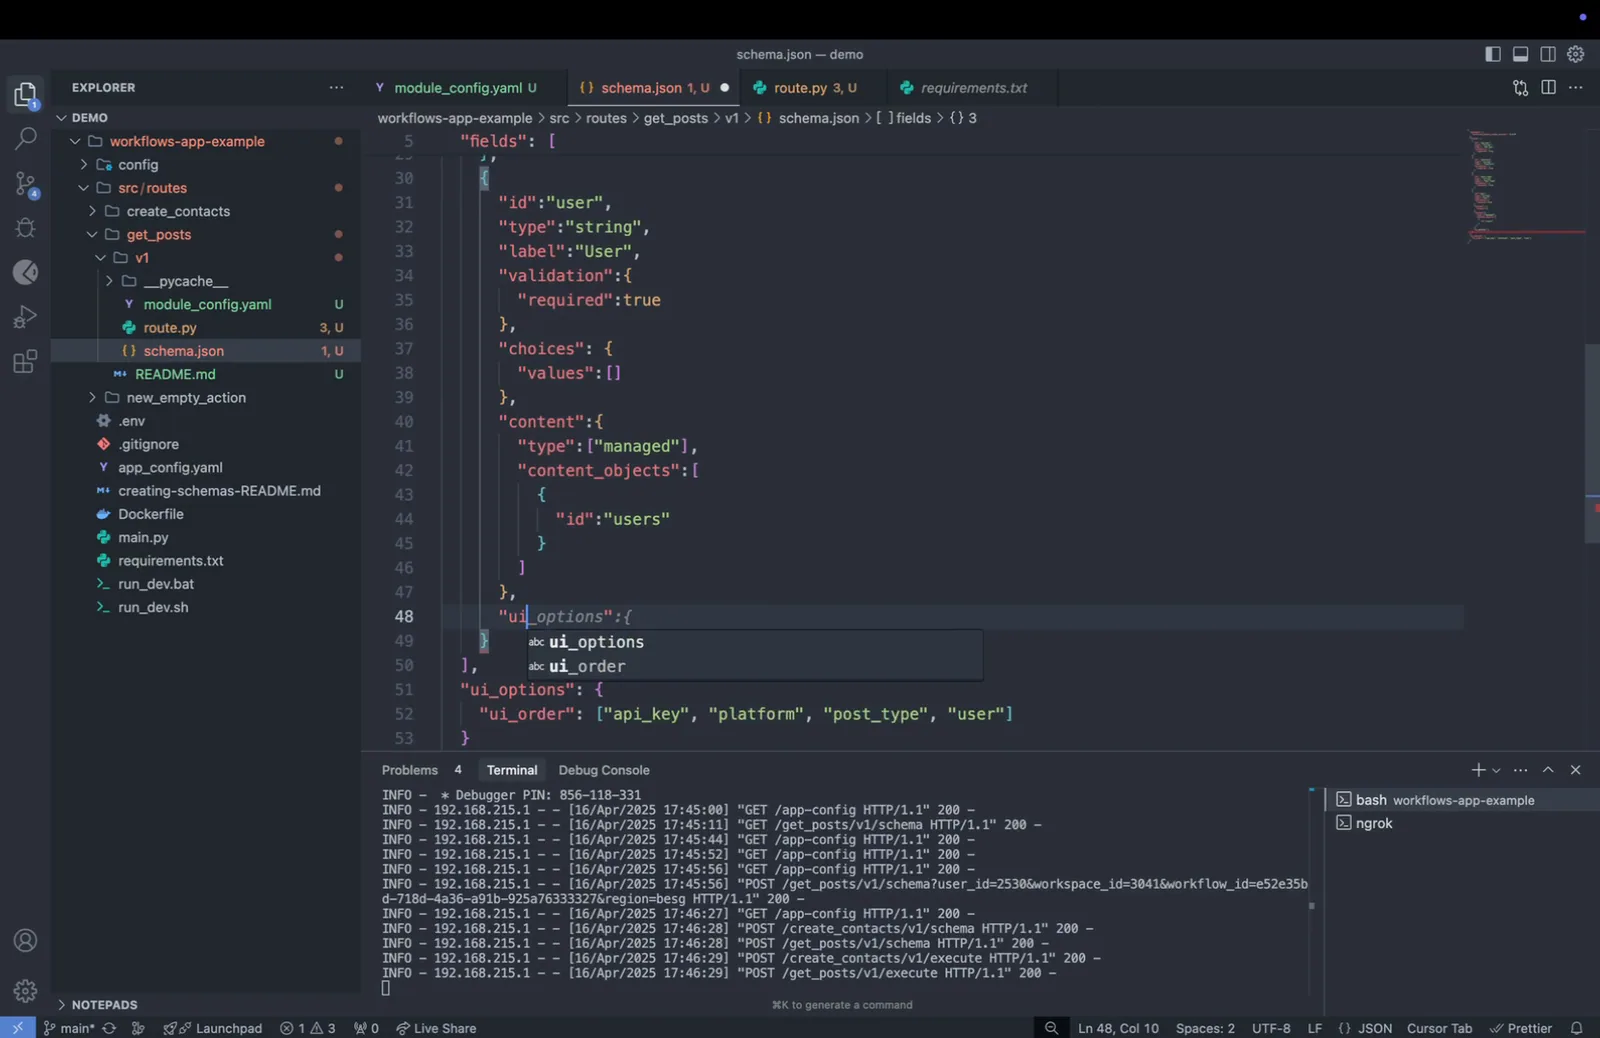
Step 9: Select the appropriate UI widget to display the dynamic choices effectively. Opt for a dropdown menu by setting the widget option to Select Widget in PascalCase.
Setting Up Dynamic Data Loading
Step 1: Add the user data under the "get user" section within your route. Check the setup in the following screenshot.
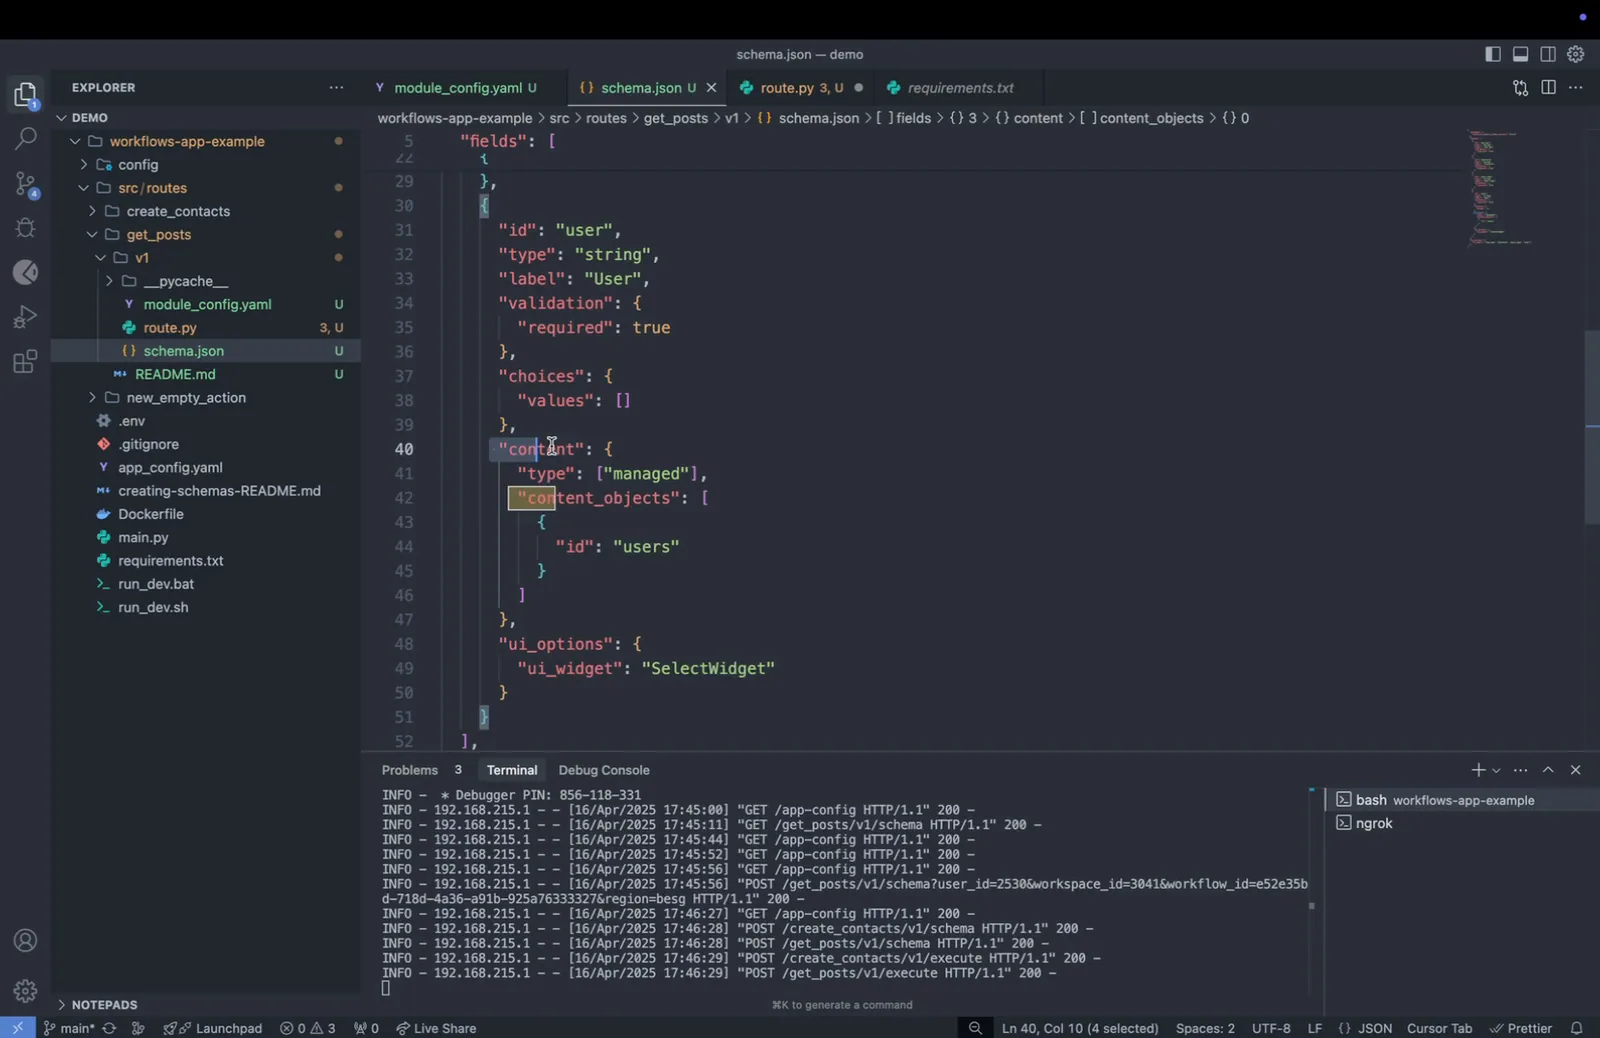
Step 2: Insert the user data into your content at the designated point as shown below.
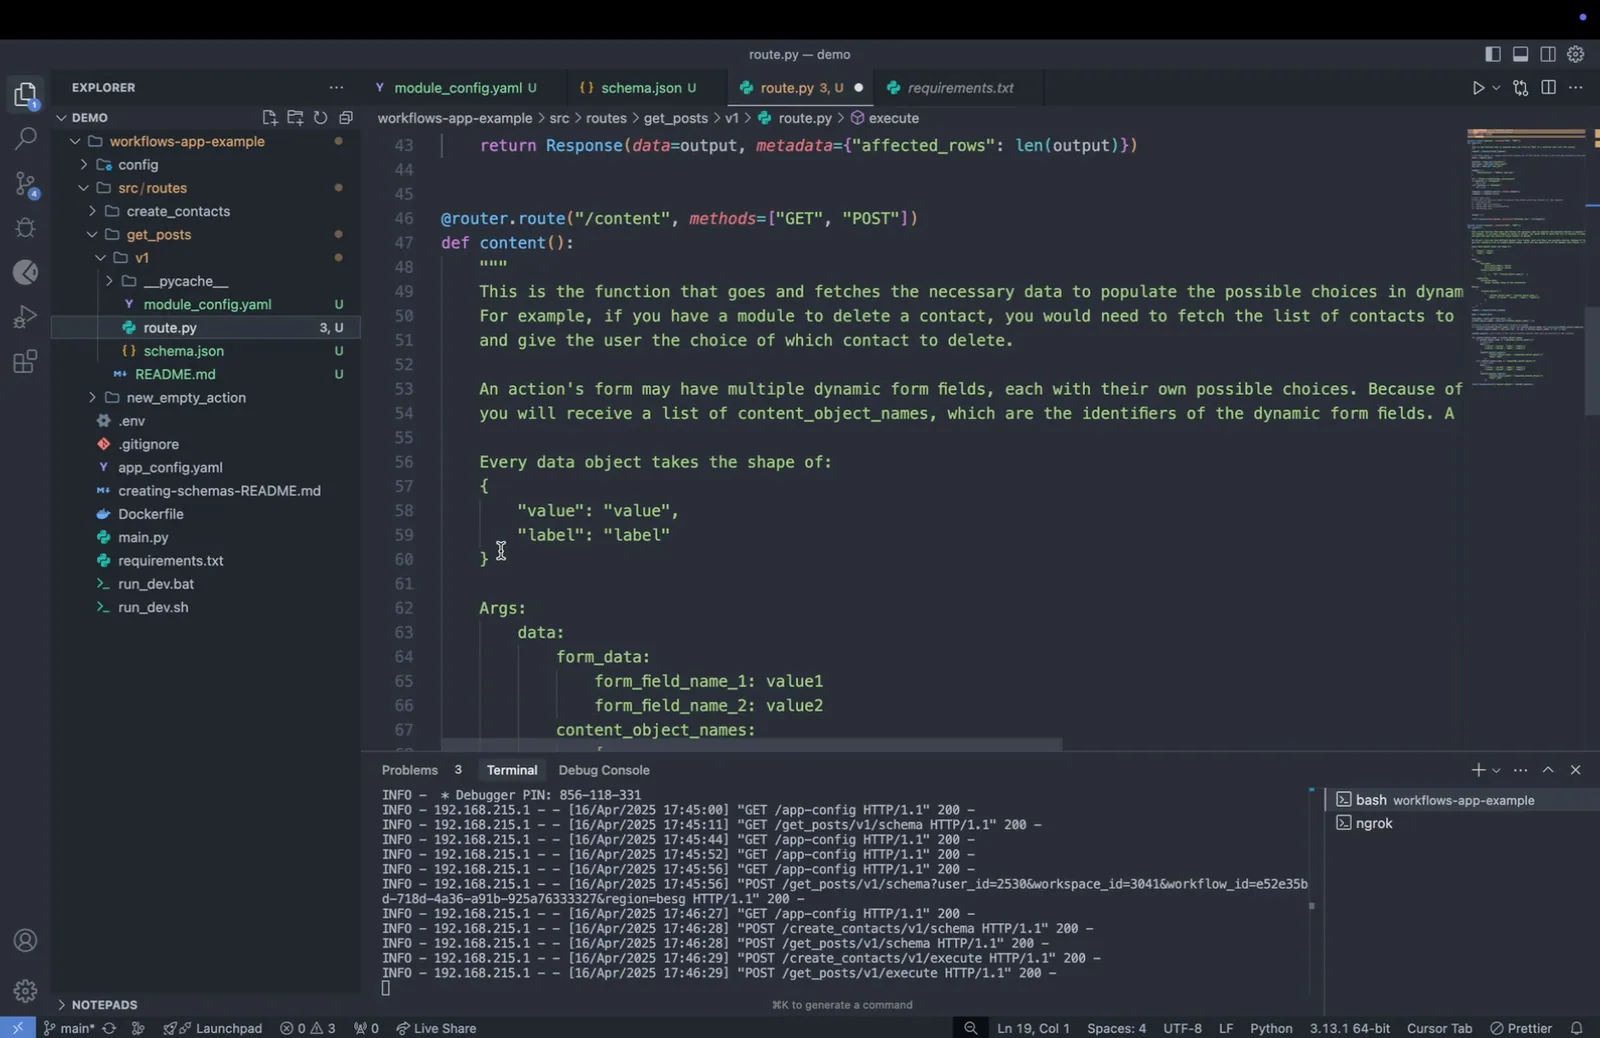
Step 3: Update your route to include the new user field by integrating it where data is being gathered. This change allows the addition of the new route.
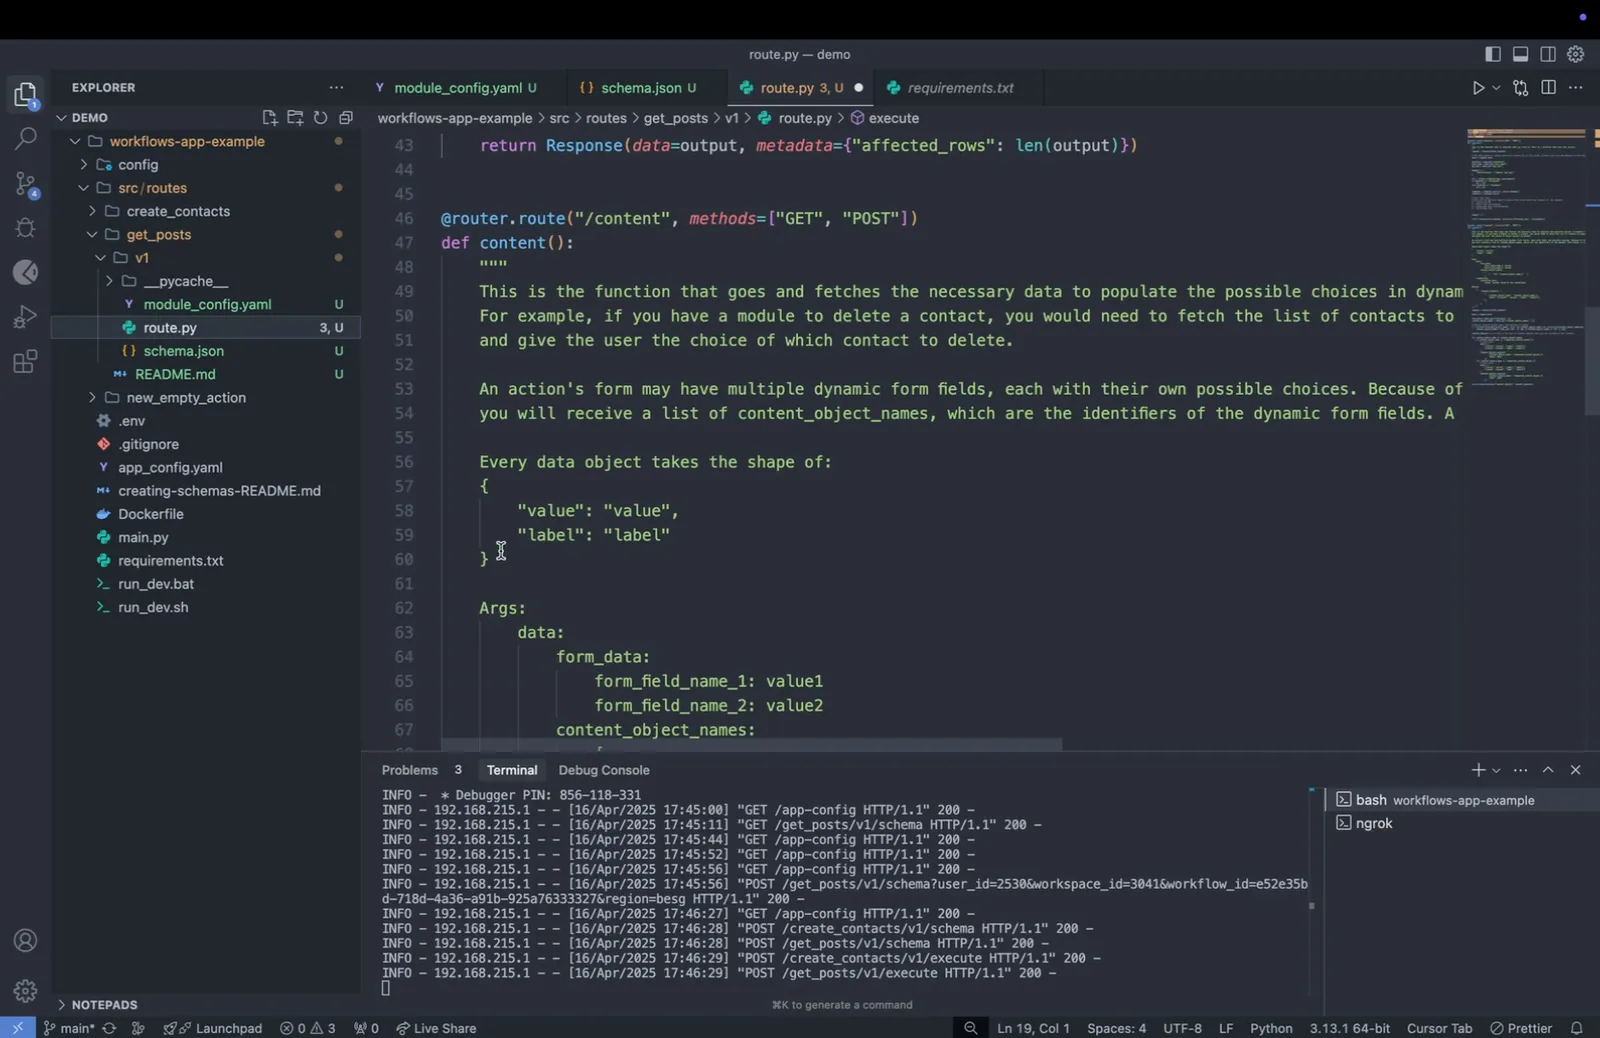
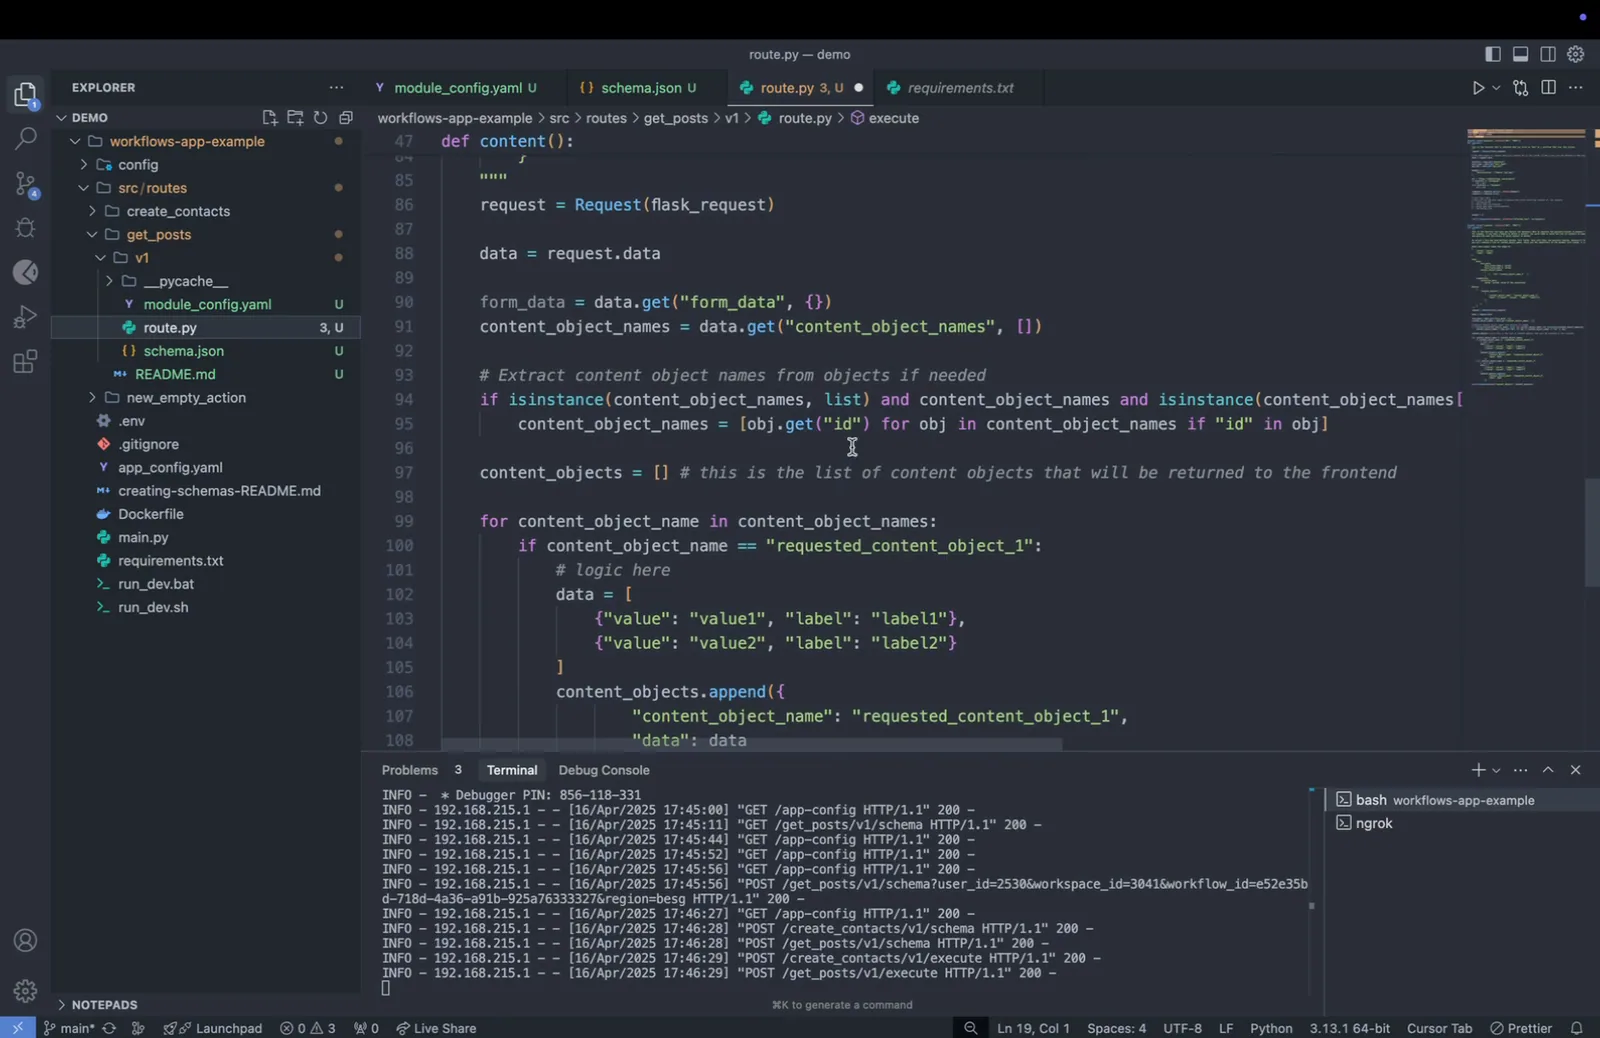
Step 4: Implement the new user field inside your schema. To fetch data for the UI, use the "content endpoint" located in route.py.
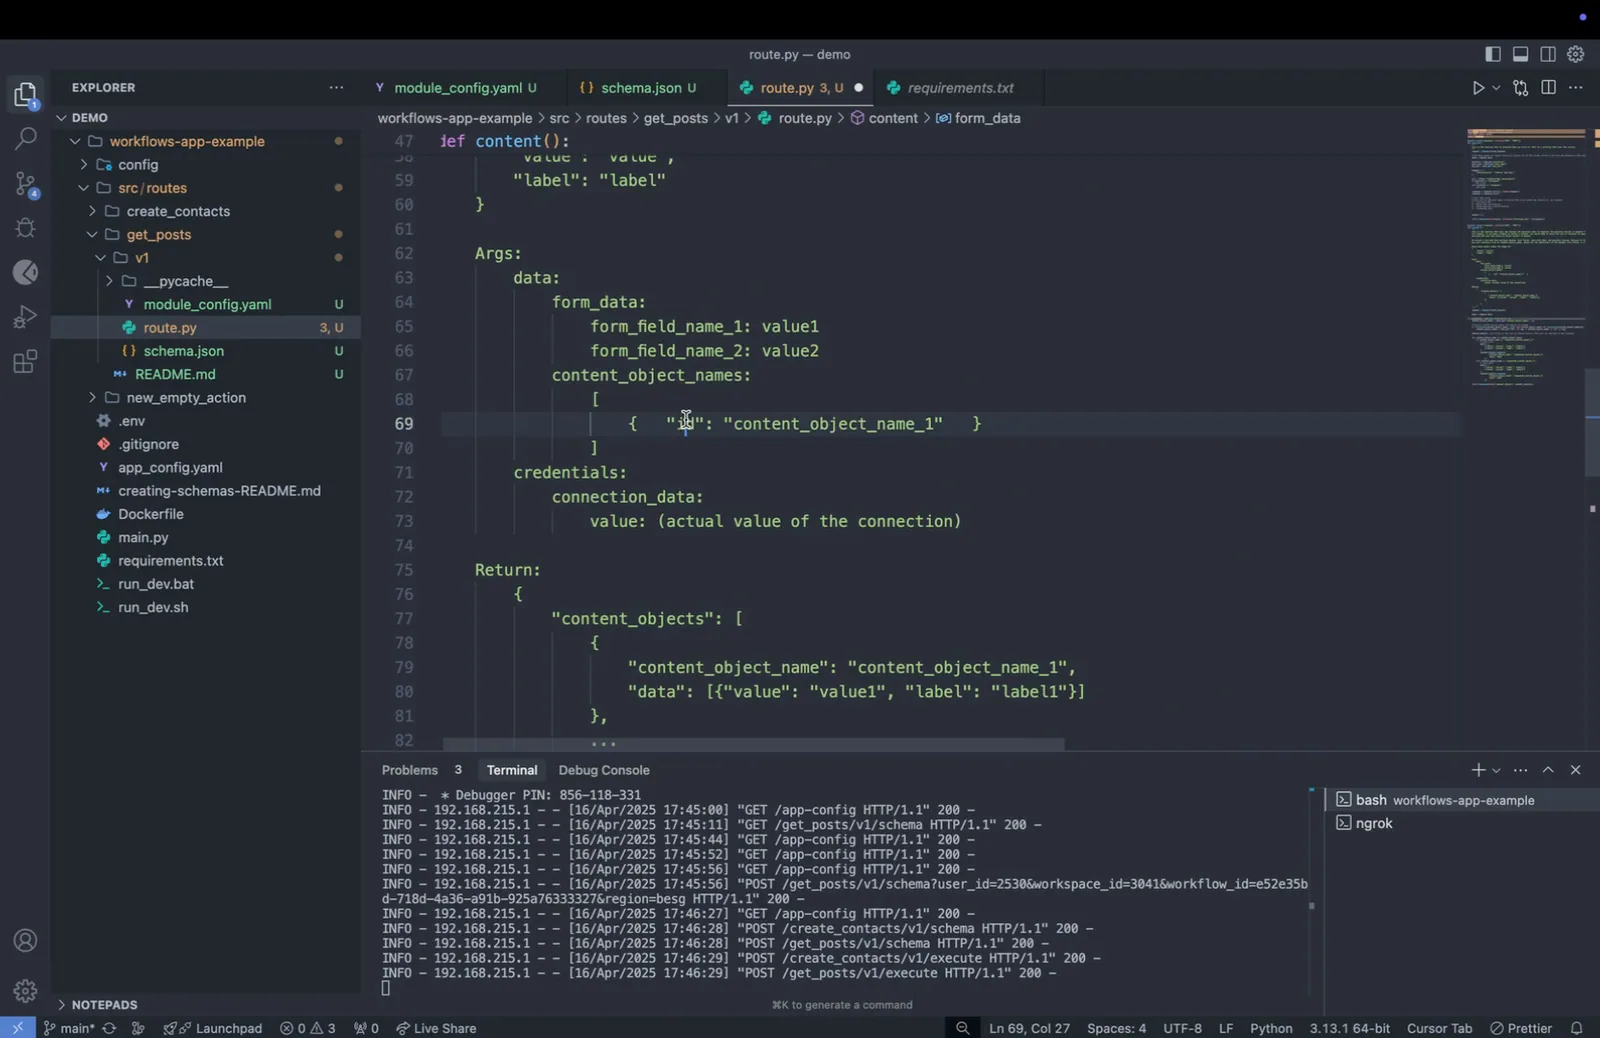
Step 5: Navigate to the content endpoint to observe how it populates the choices in the dynamic fields of the form.
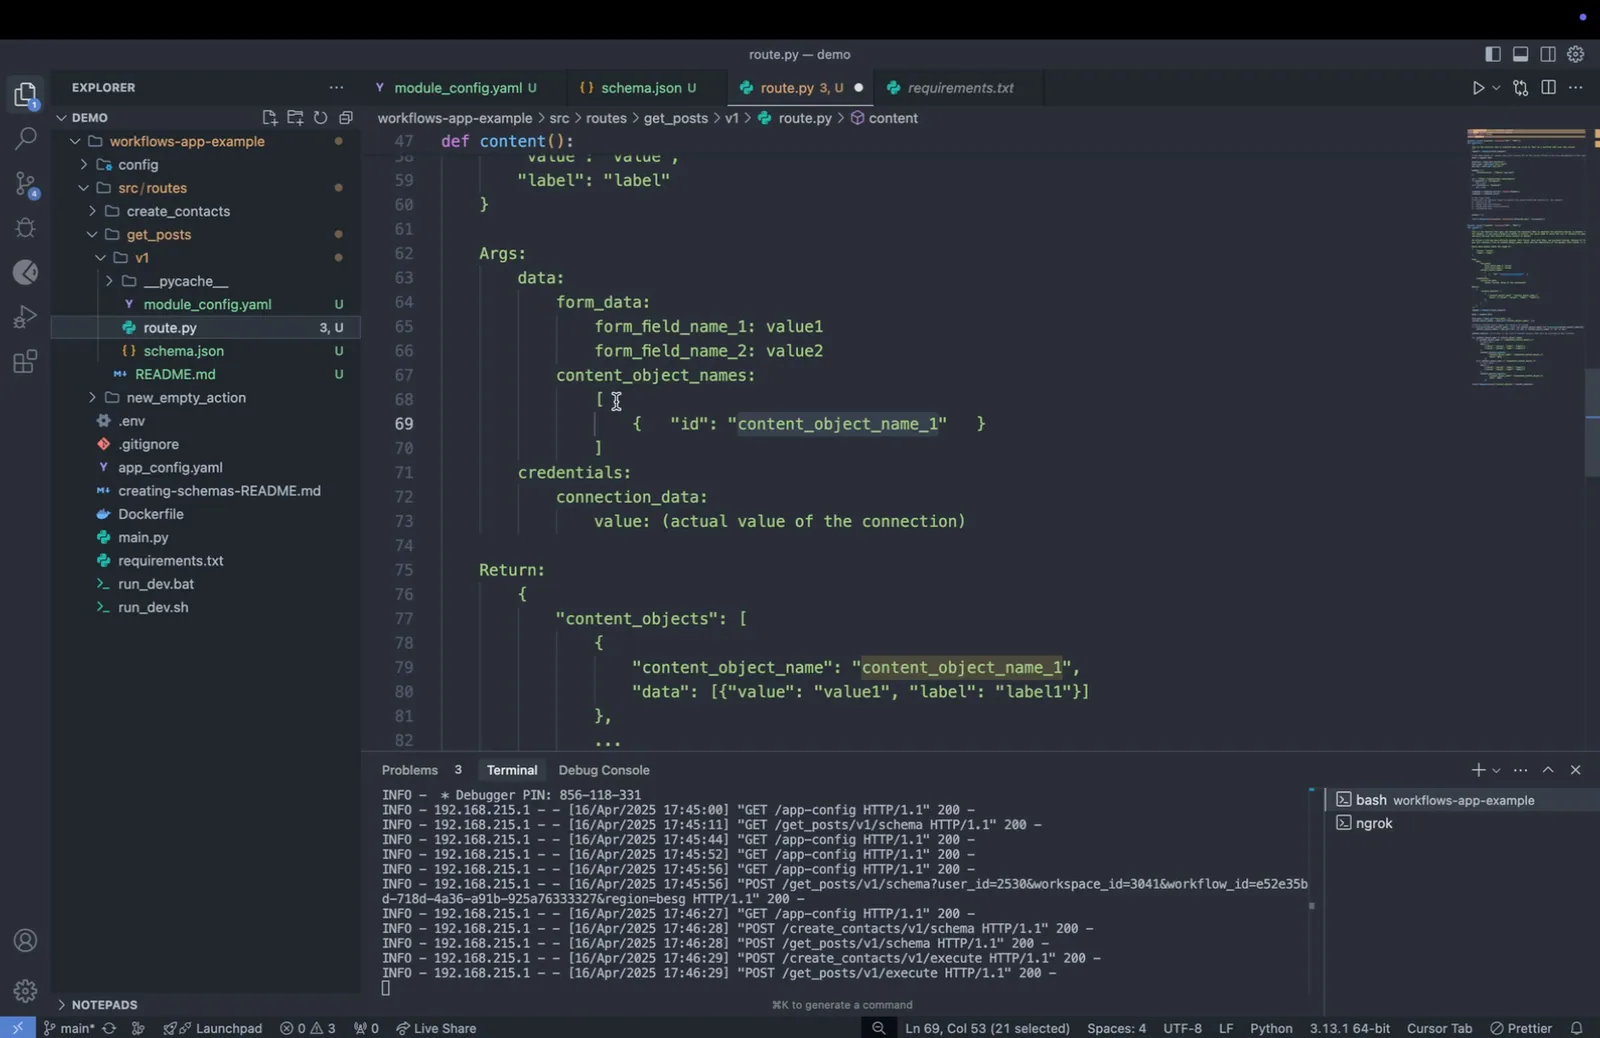
Step 6: Under 'data', you'll find 'form data', which includes all fields defined in your schema, and 'content object names'.
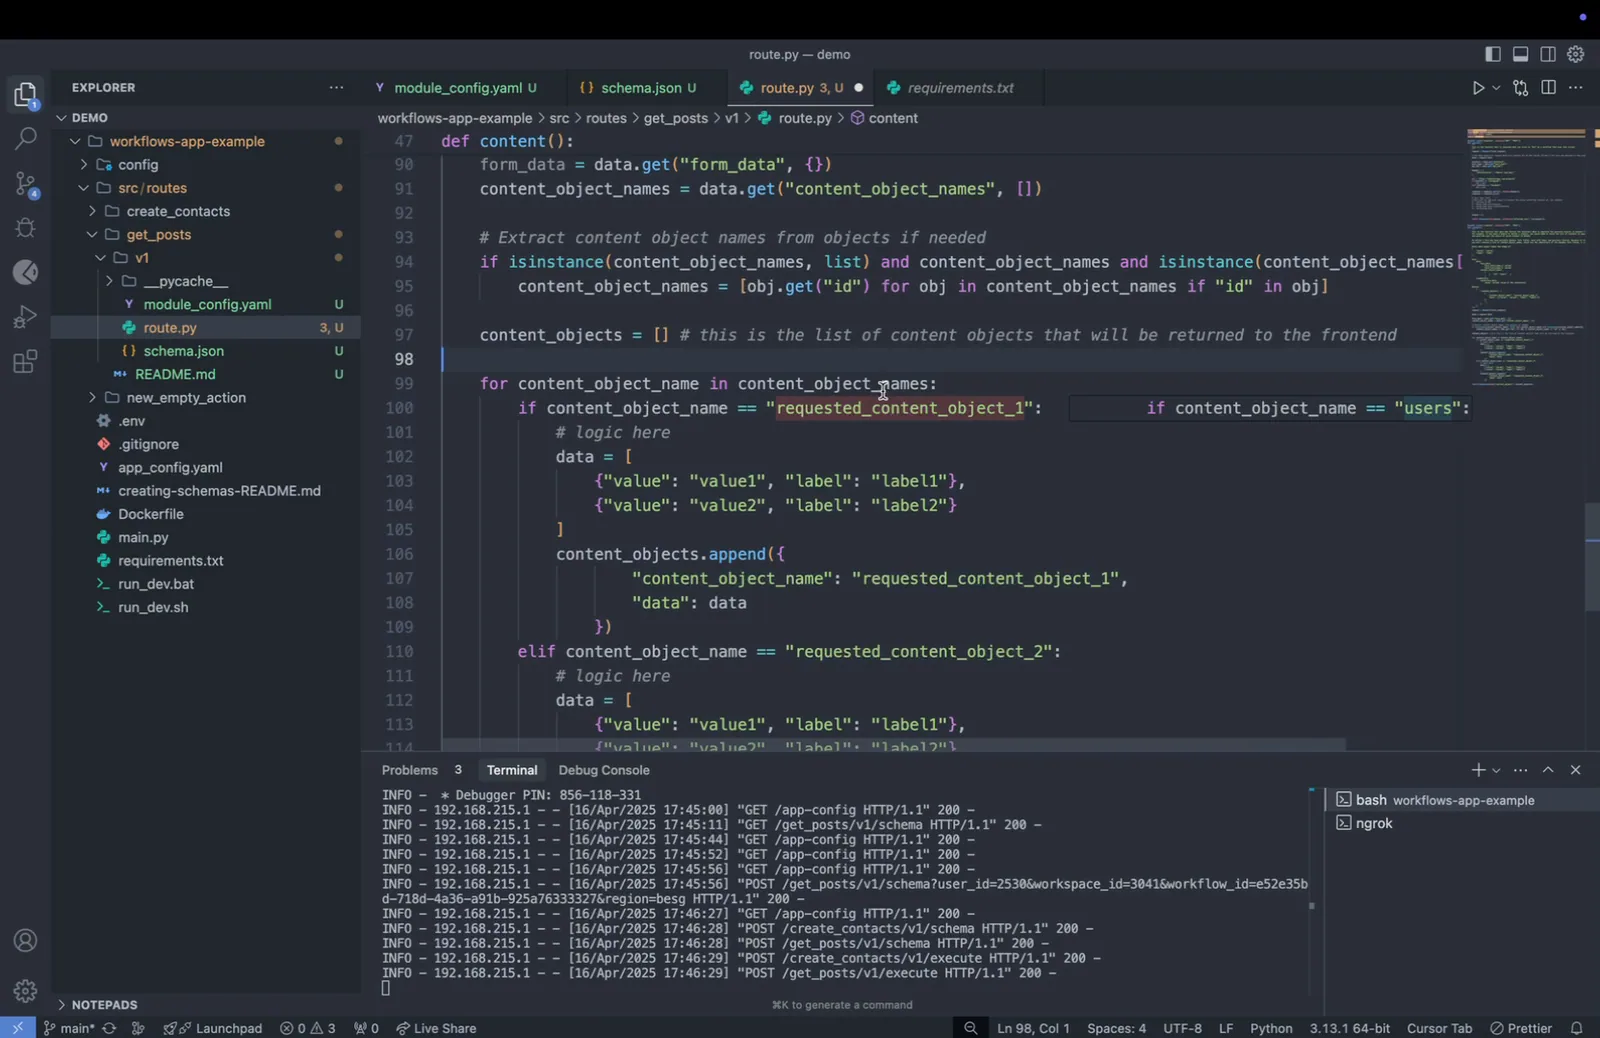
Step 7: Since you've defined 'users' as the content object name in your schema, expect the endpoint to return a JSON containing 'content object names' and 'ID users'.
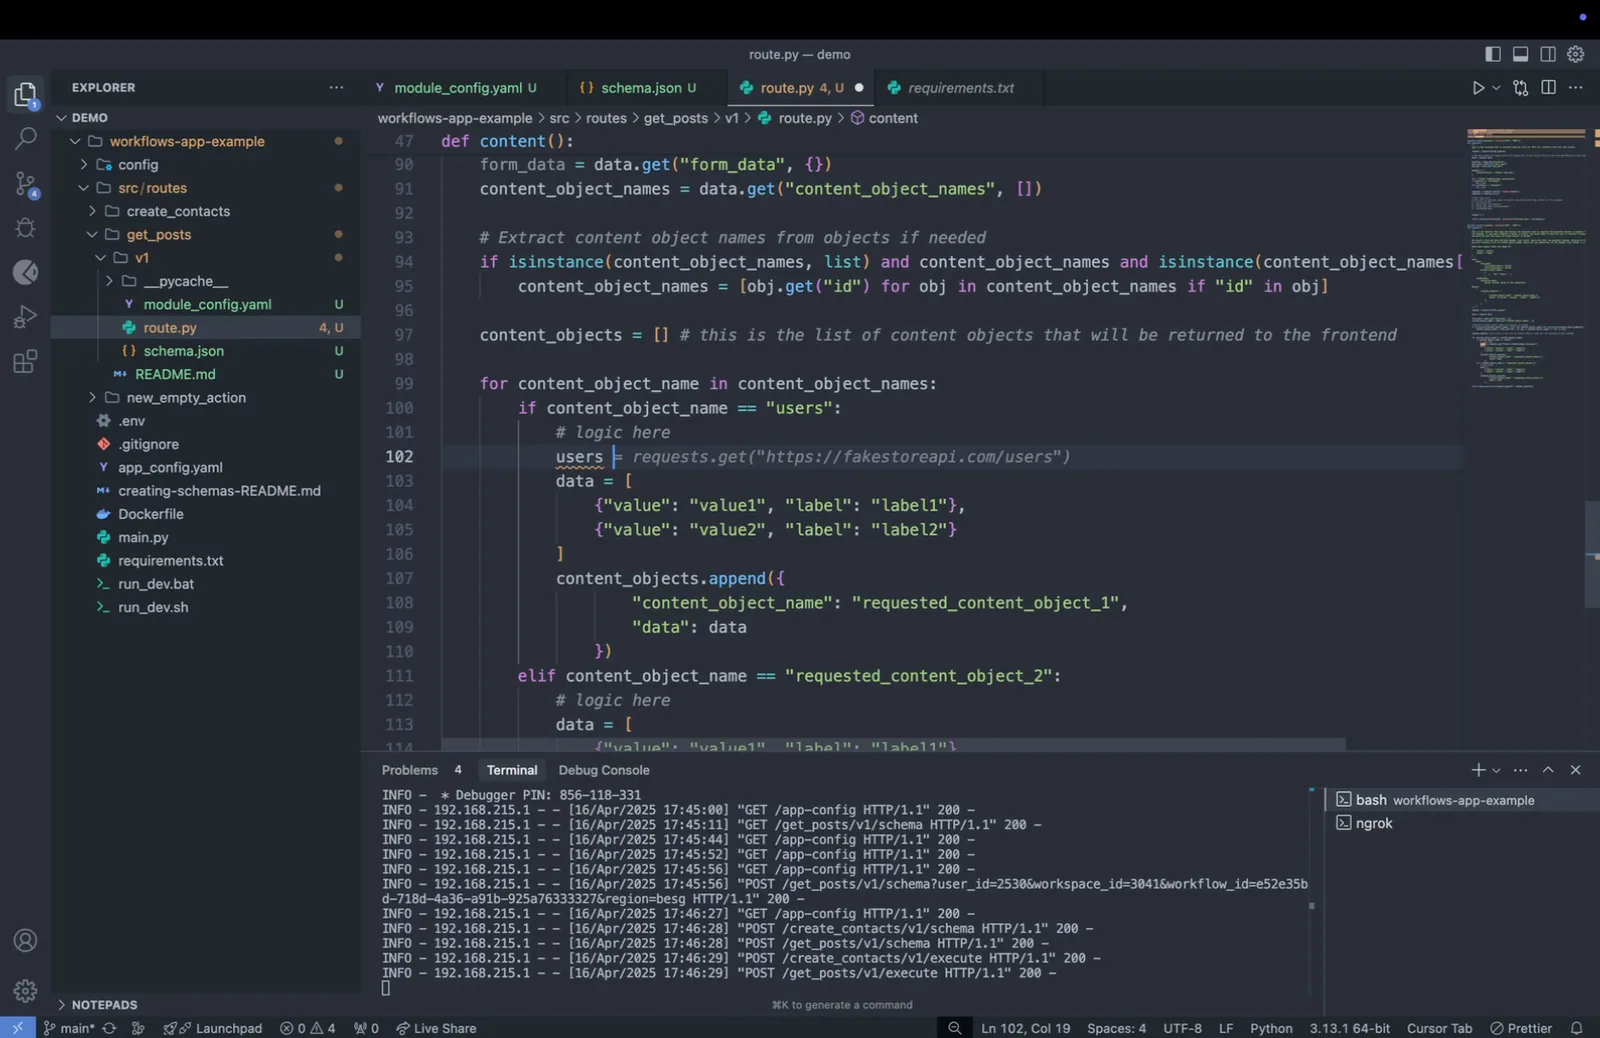
Step 8: After performing basic validation checks to ensure the uniqueness of 'content object names', add 'users' as your content object name.
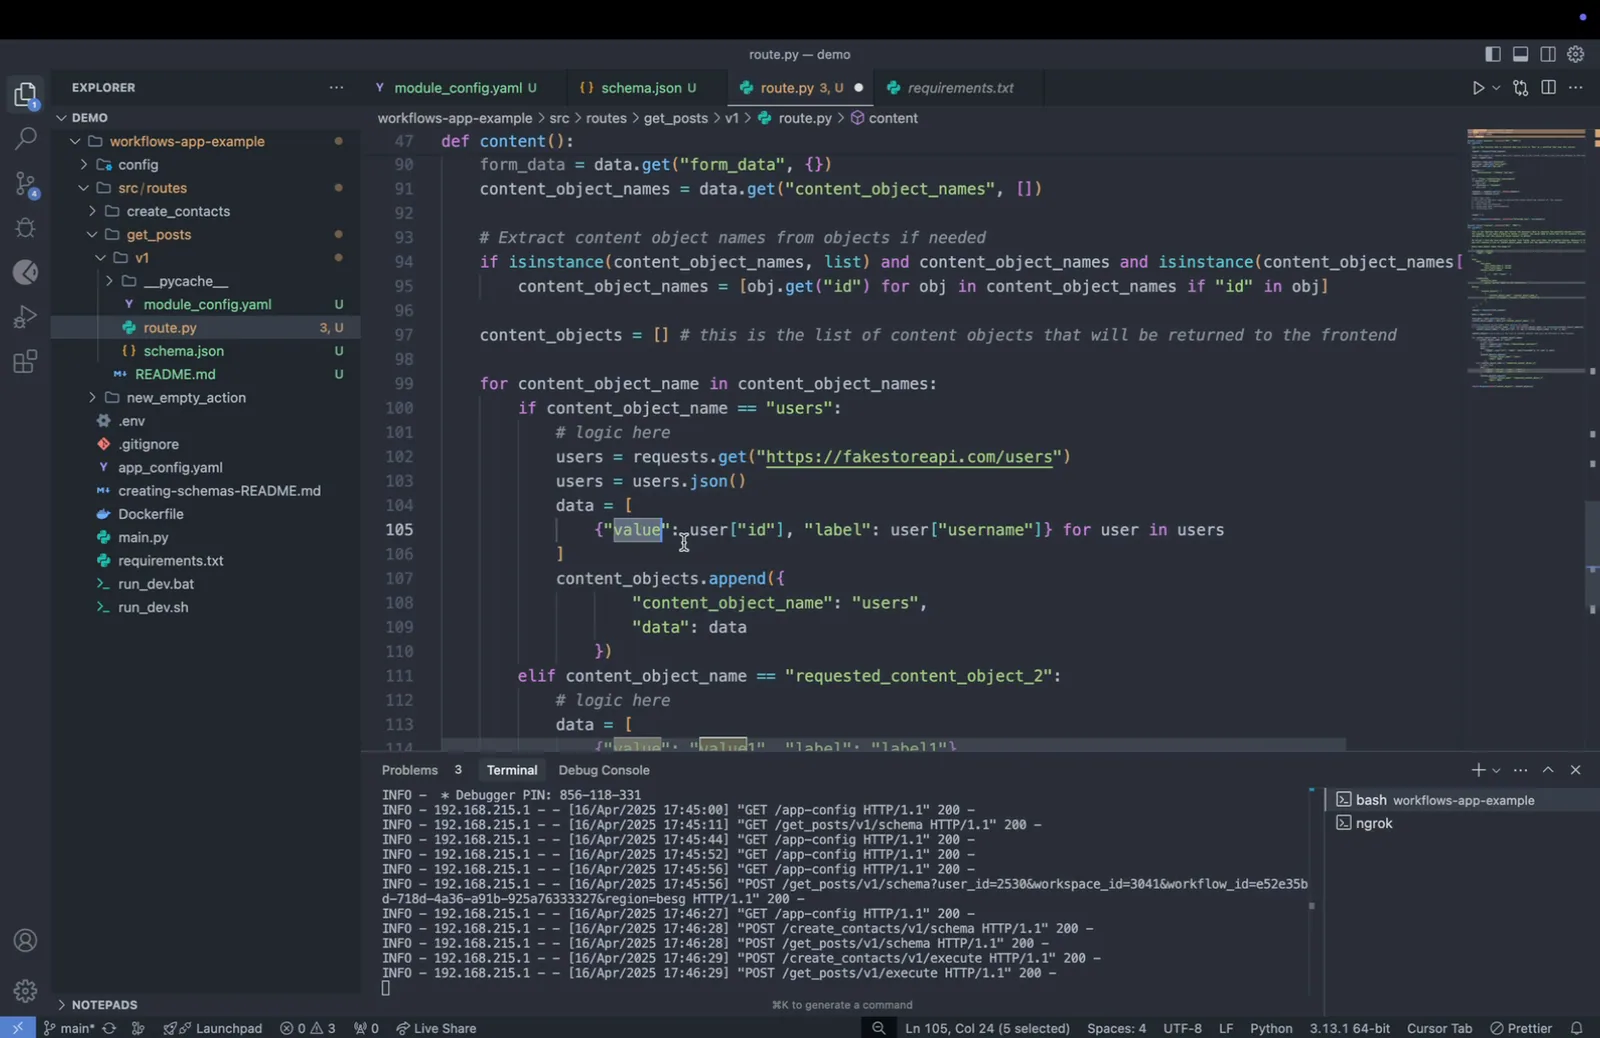
Step 9: To dynamically fetch data, access the 'users' endpoint and request user data. Remember to format the user data appropriately.
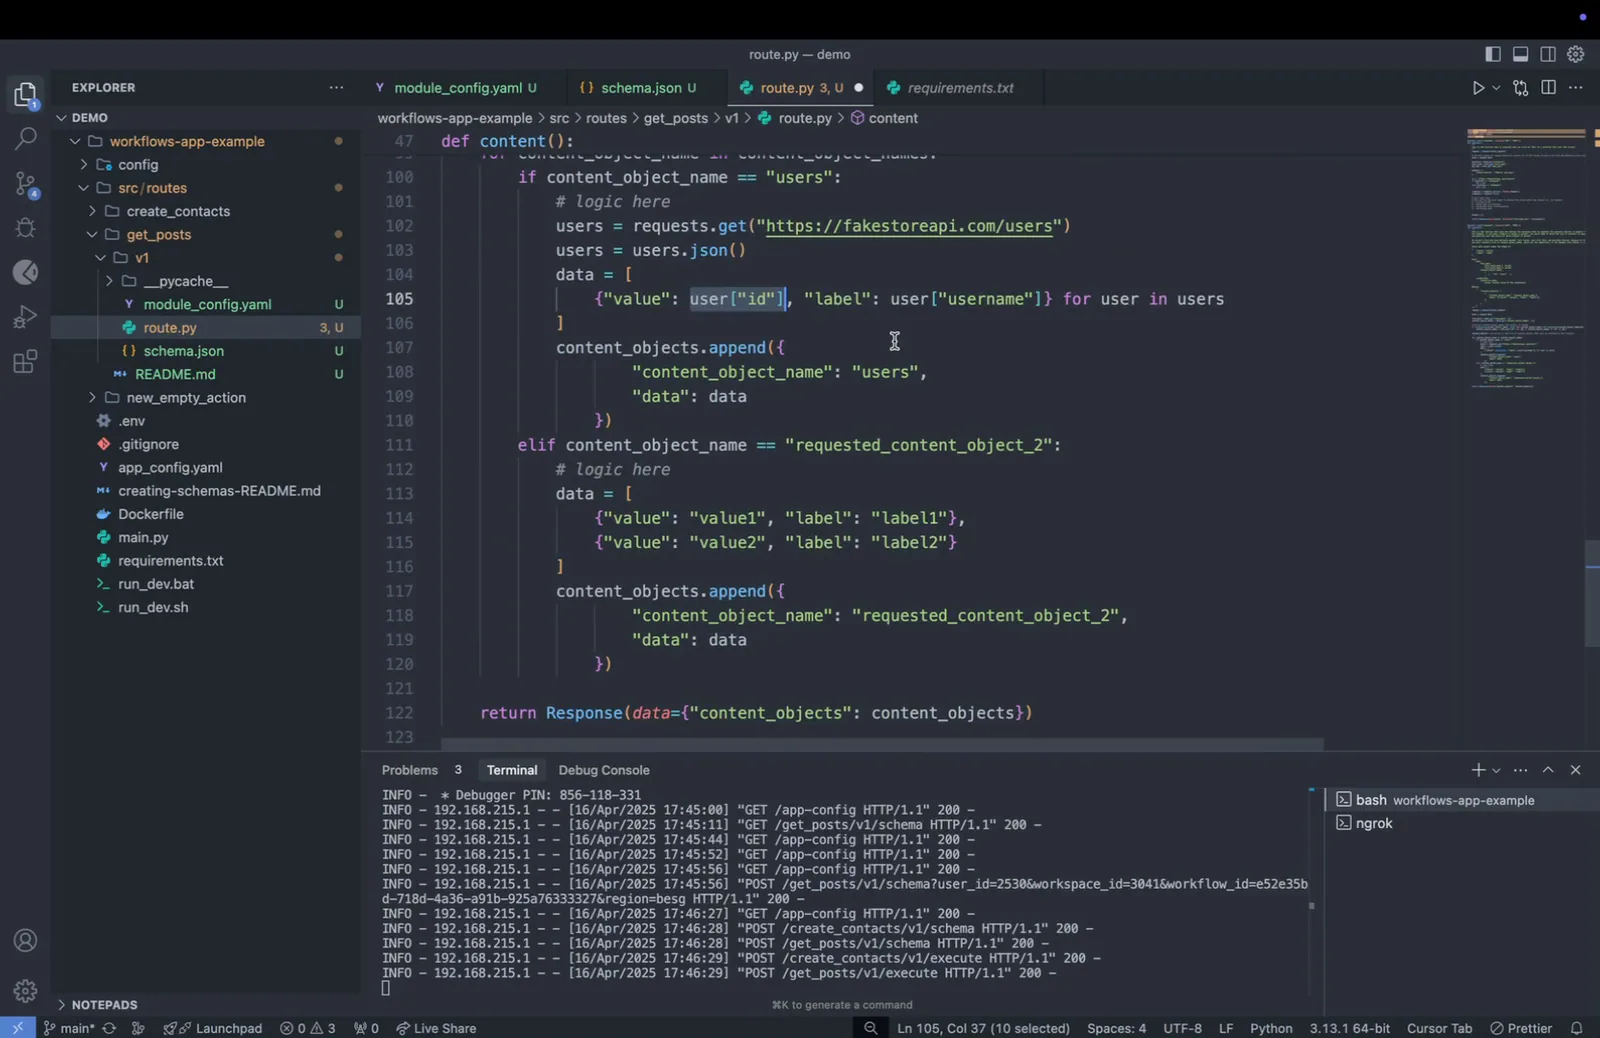
Formatting Dynamic Data
It's crucial to format our user data in a consistent format to ensure proper handling in our application. We'll focus on utilizing the 'format value' and 'label' to manage how data appears and interacts within our system.
Step 1: Identify the 'format value' and 'label' for the data. The 'format value' typically represents a unique identifier, such as a user ID, while the 'label' is a more readable format, like the user's first and last name.
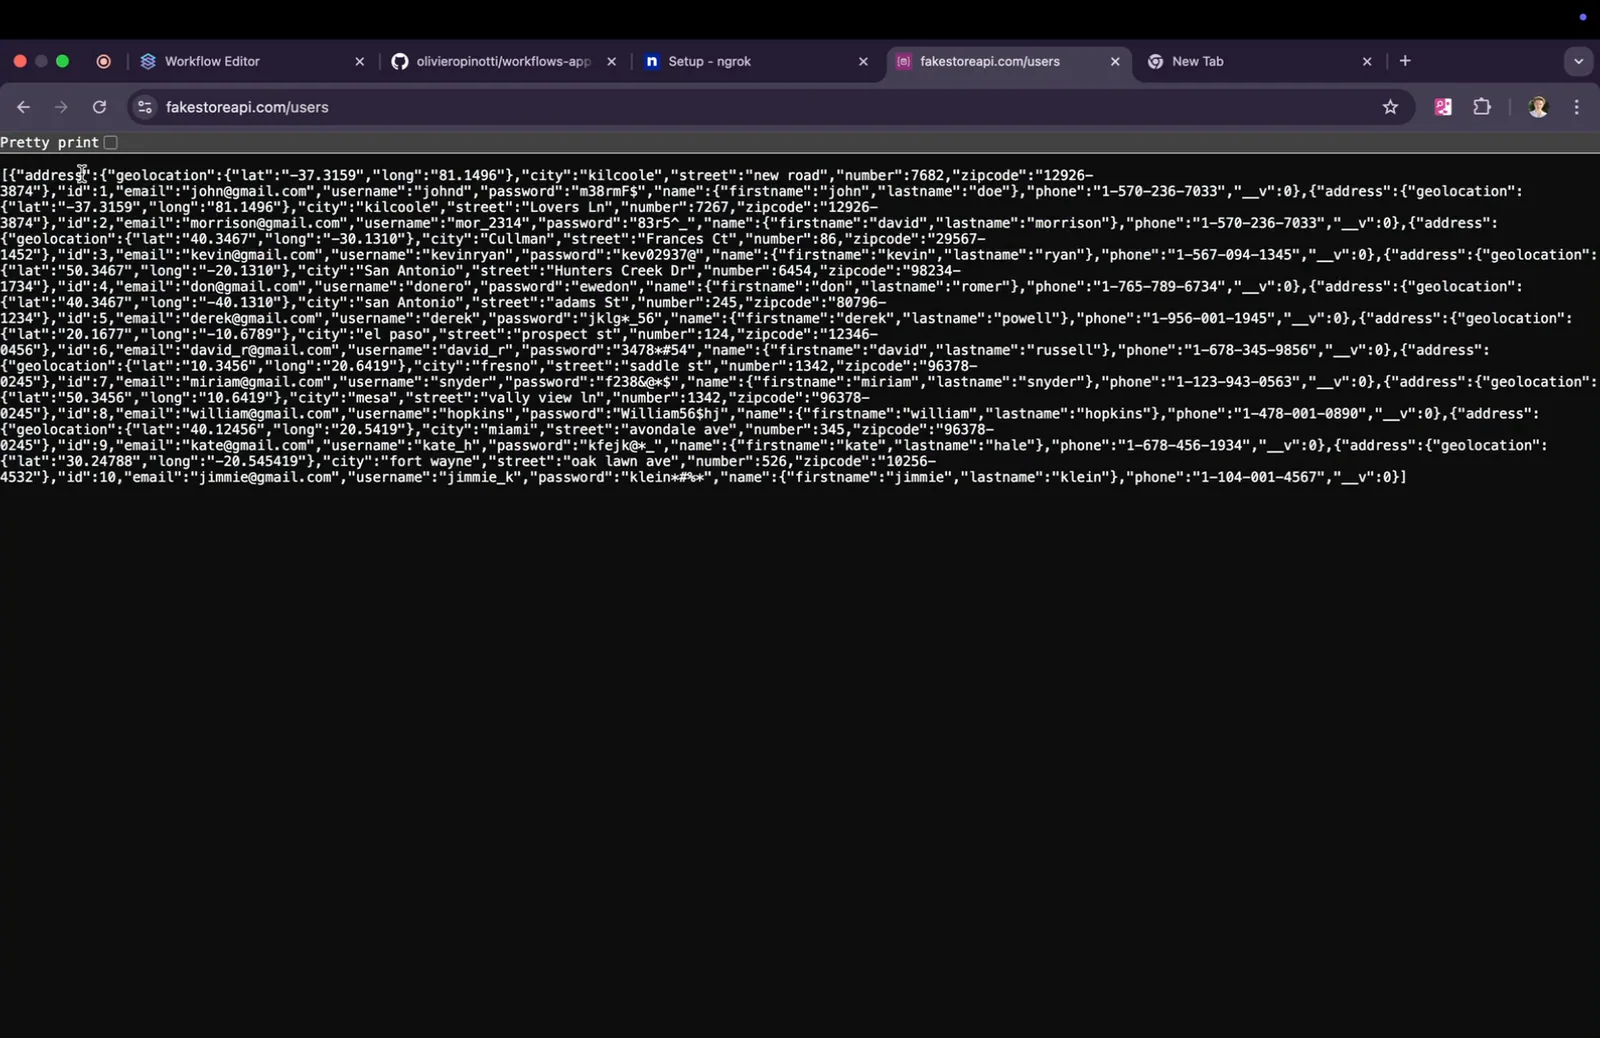
Step 2: Examine your current data structure to understand what information is available and how it's formatted. This step involves checking the user IDs and usernames.
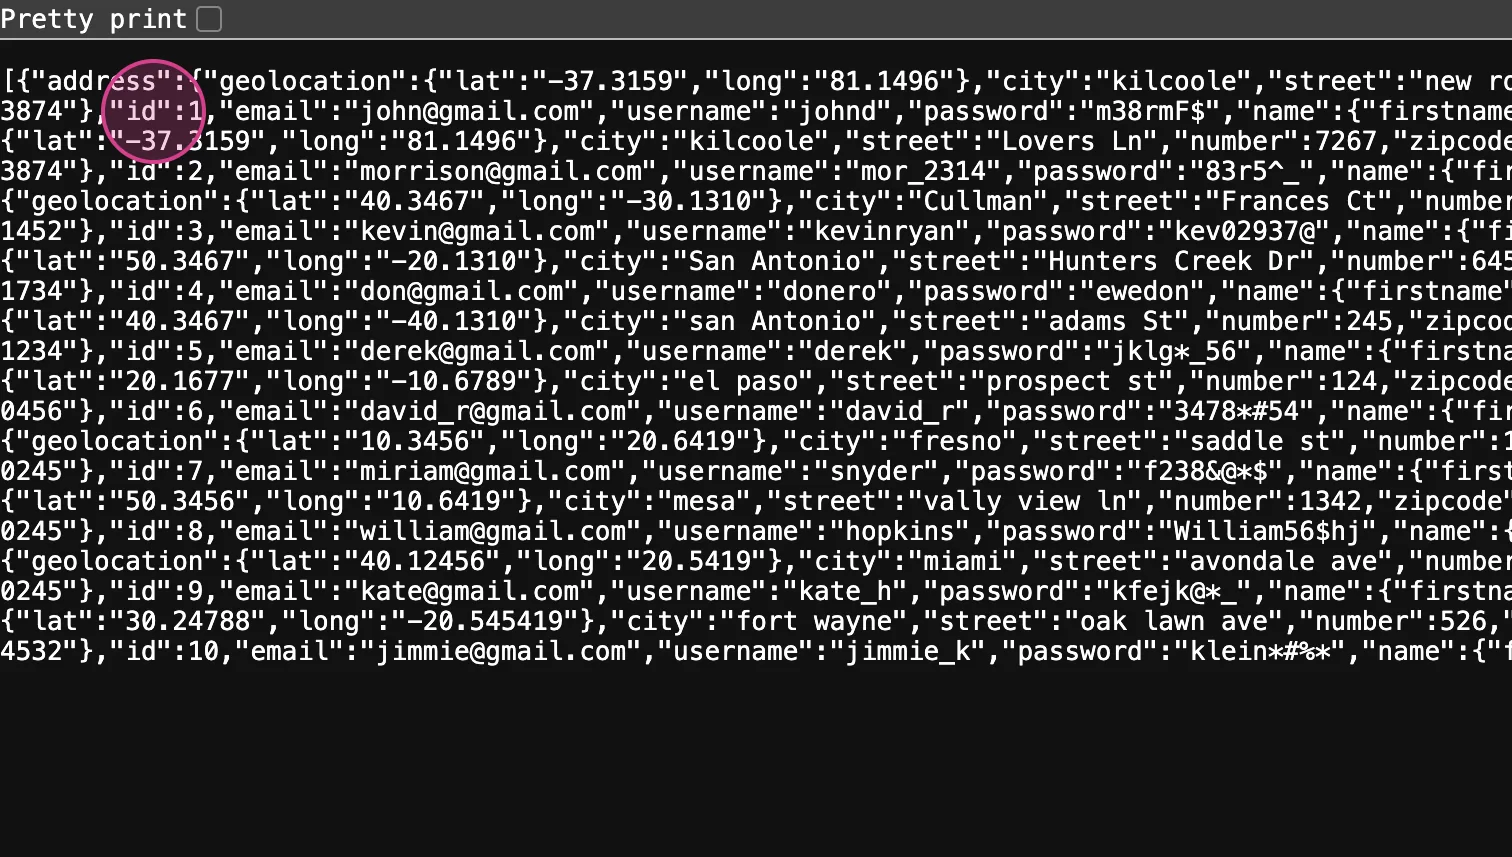
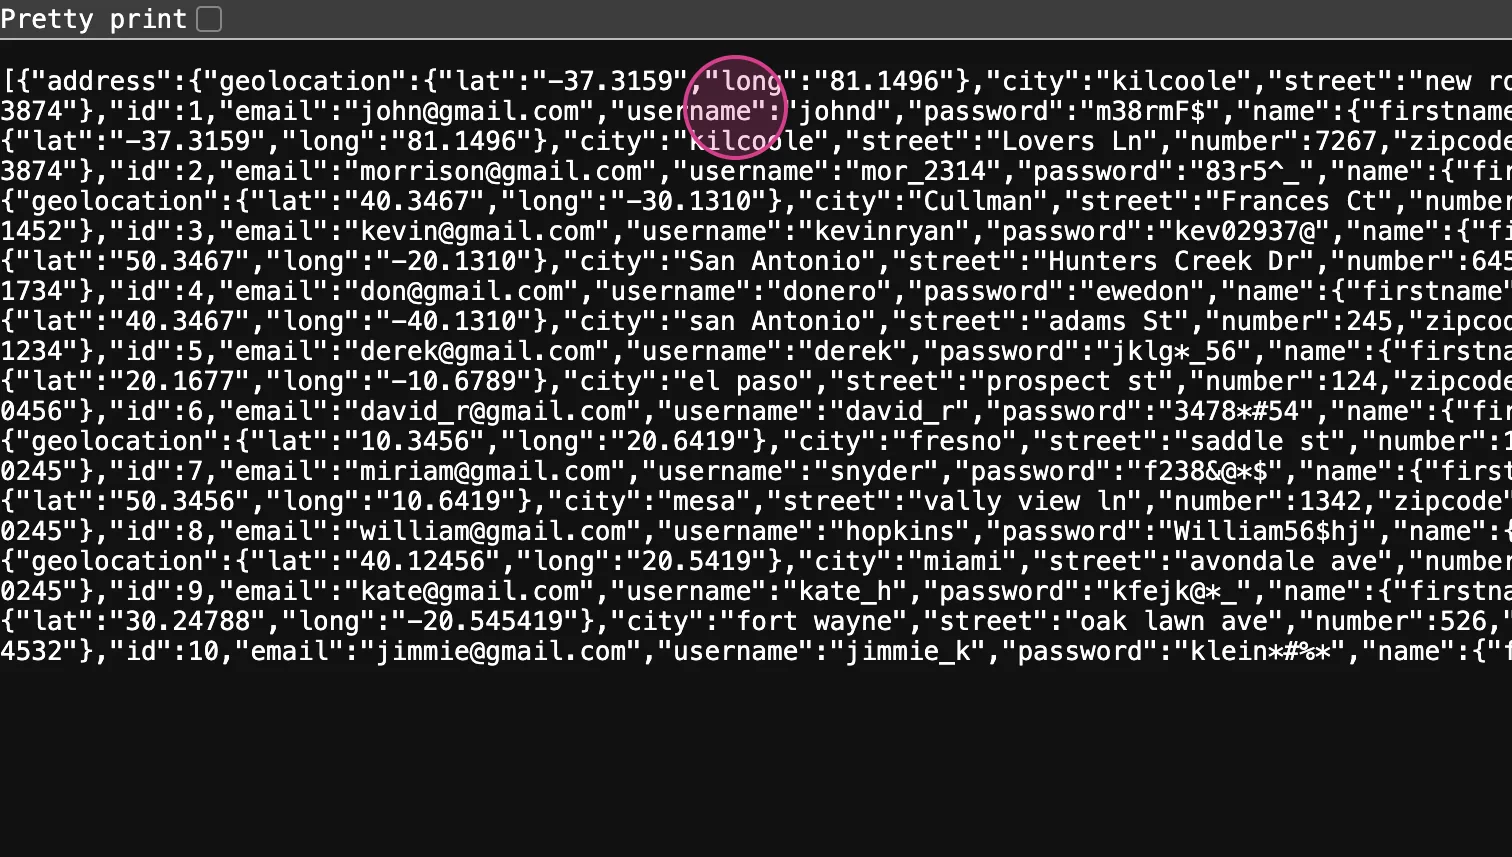
Step 3: Configure your data selection. Choose 'ID' as your 'format value' and 'username' as your 'label'. This selection is crucial for ensuring that the data interacts correctly with your endpoint.
Step 4: Remove any unnecessary data objects from your configuration. This step helps streamline the data processing and improves efficiency.
Step 5: Append the configured data to your content objects. Ensure the 'content object name' matches the previously used name, and include the newly configured data.
Step 6: Save your configurations and refresh your module focus. This step is necessary to apply the changes and to see the newly configured user data in action.
Step 7: Test the dynamic form field by navigating back to the 'get posts' function. This action triggers a new schema load from your backend, reflecting the updated user options.
By following these steps, you ensure that your application dynamically fetches and displays user data correctly, enhancing both backend functionality and frontend user experience.
Testing Your Dynamic Form Field
Step 1: Select the desired options then click Save.
Step 2: Confirm that all selections are correct. If you've made a mistake, correct it at this point.
Step 3: To test your new dynamic form field, click Get Posts. Scroll down to locate the User option and select it.
Step 4: After selecting the User option, verify that all necessary configurations are set to proceed with testing the dynamic form field.
Step 5: Repeat the process by clicking Get Posts again to reload the dynamic form UI.
Step 6: Select the User option once more to ensure the form is functioning as expected.
Step 7: Observe the dynamic loading of the content.
Step 8: To refresh and load all users available in the API, click Refresh.
Step 9: After refreshing, click Save to preserve your settings.
Step 10: Click Run to execute the form with the new settings.
Step 11: Review the results to confirm that the new data is correctly retrieved and displayed.
Step 12: Finally, integrate the new field into your execution endpoint. Add it in the headers or wherever necessary in your form configuration, then click Save.
Step 13: To ensure everything is set up correctly, go back and click on the Get Posts module.
Final Testing in Stacksync Workflows
This section will guide you through testing the dynamic form field in the Stack Sync workflows using the get post module.
Step 1: Navigate back to the main screen of Stack Sync and click on Okay to proceed.
Step 2: Click on Get Posts to test the dynamic form field in your workflow.
Step 3: Return to Stack Sync and click on the module to reload the user interface, incorporating the new dynamic form field.
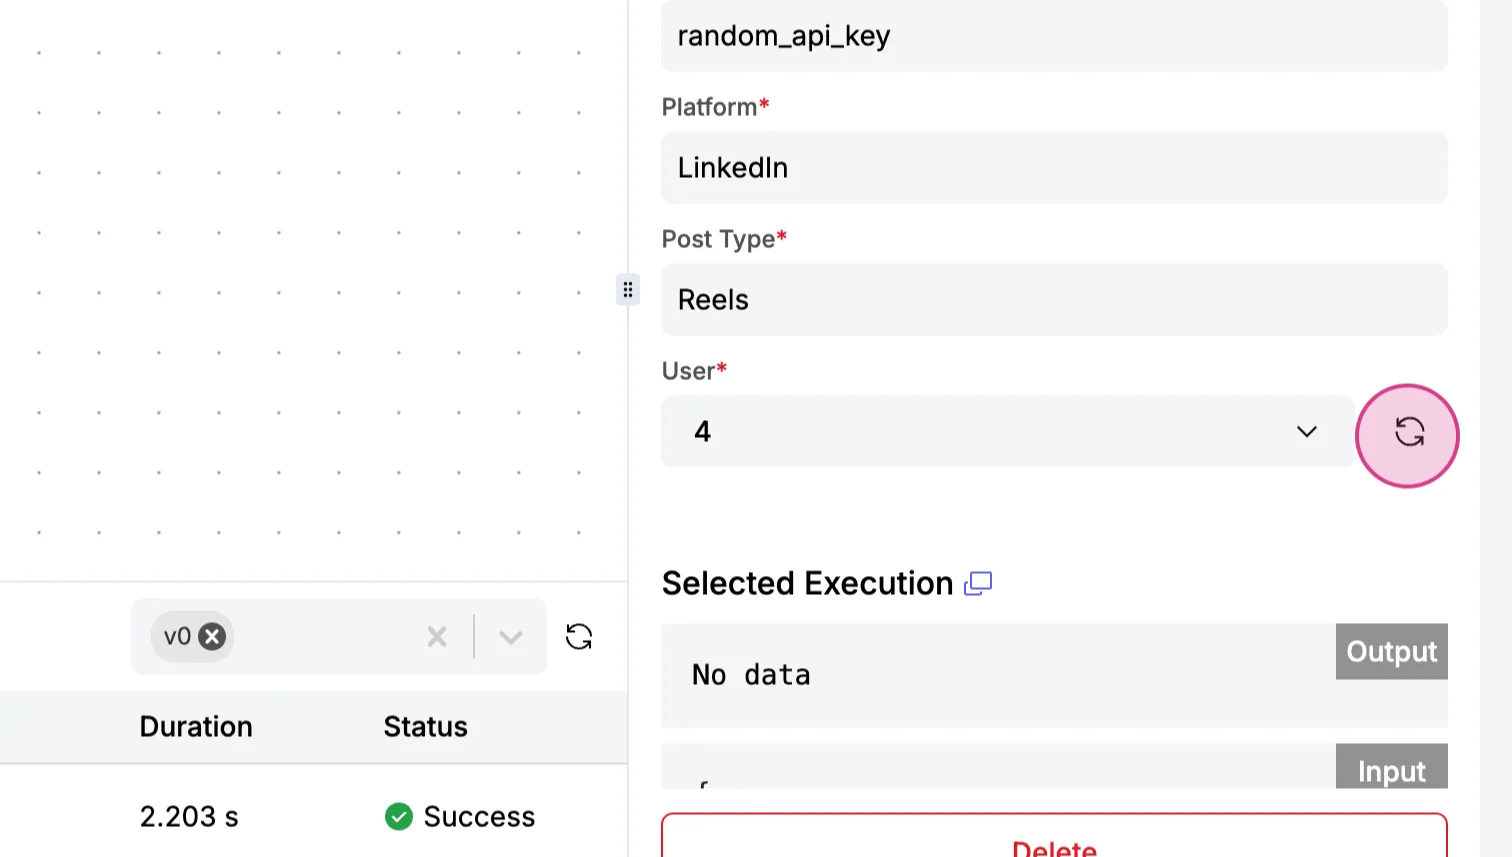
Step 4: Click Refresh to fetch live data for your module.
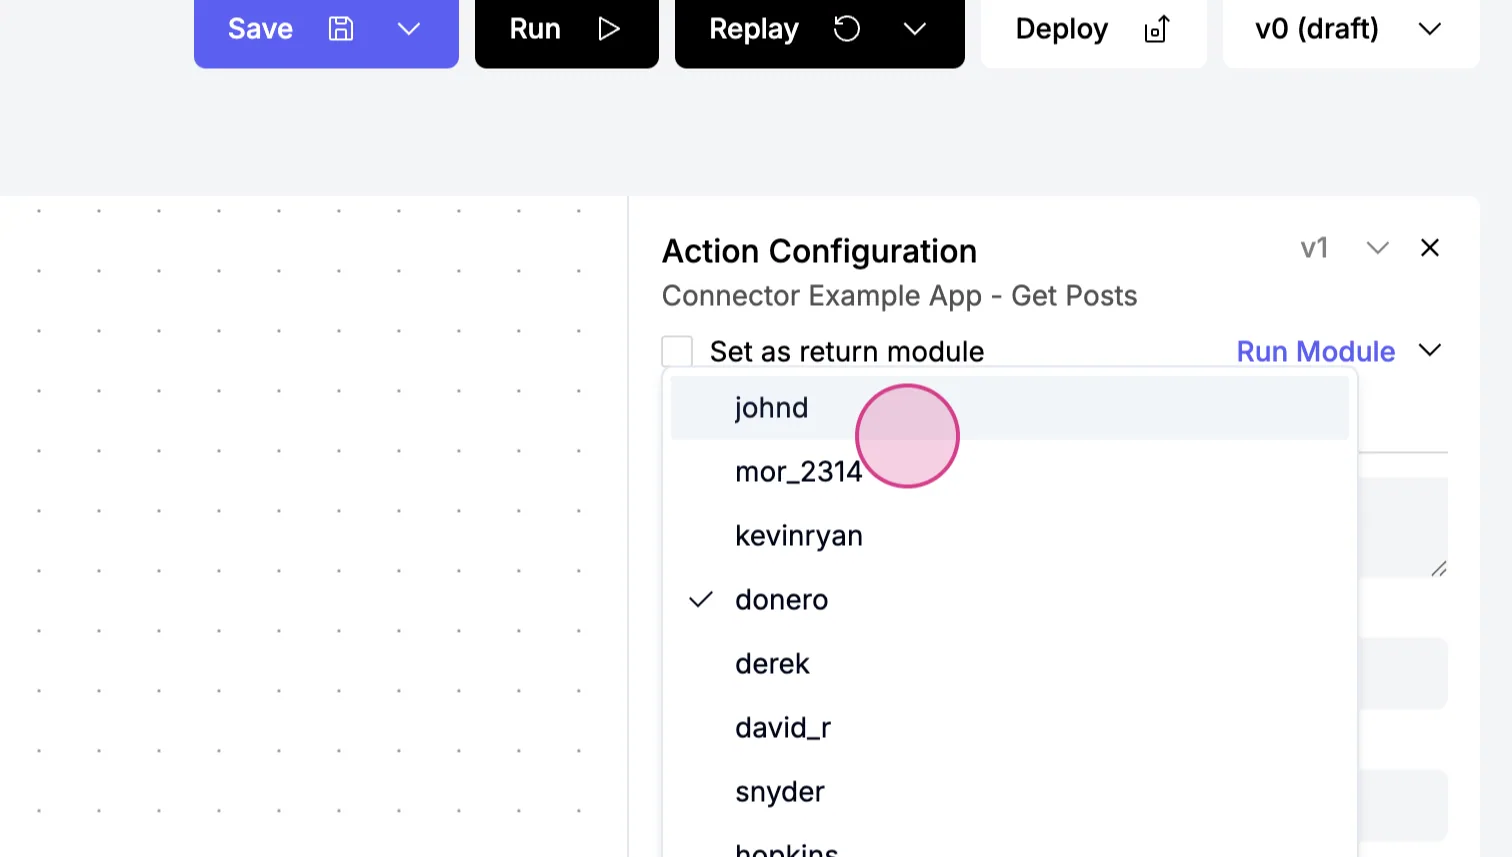
Step 5: Select any option from the dynamic choices available. The options will update automatically as the API changes, ensuring the form remains dynamic.
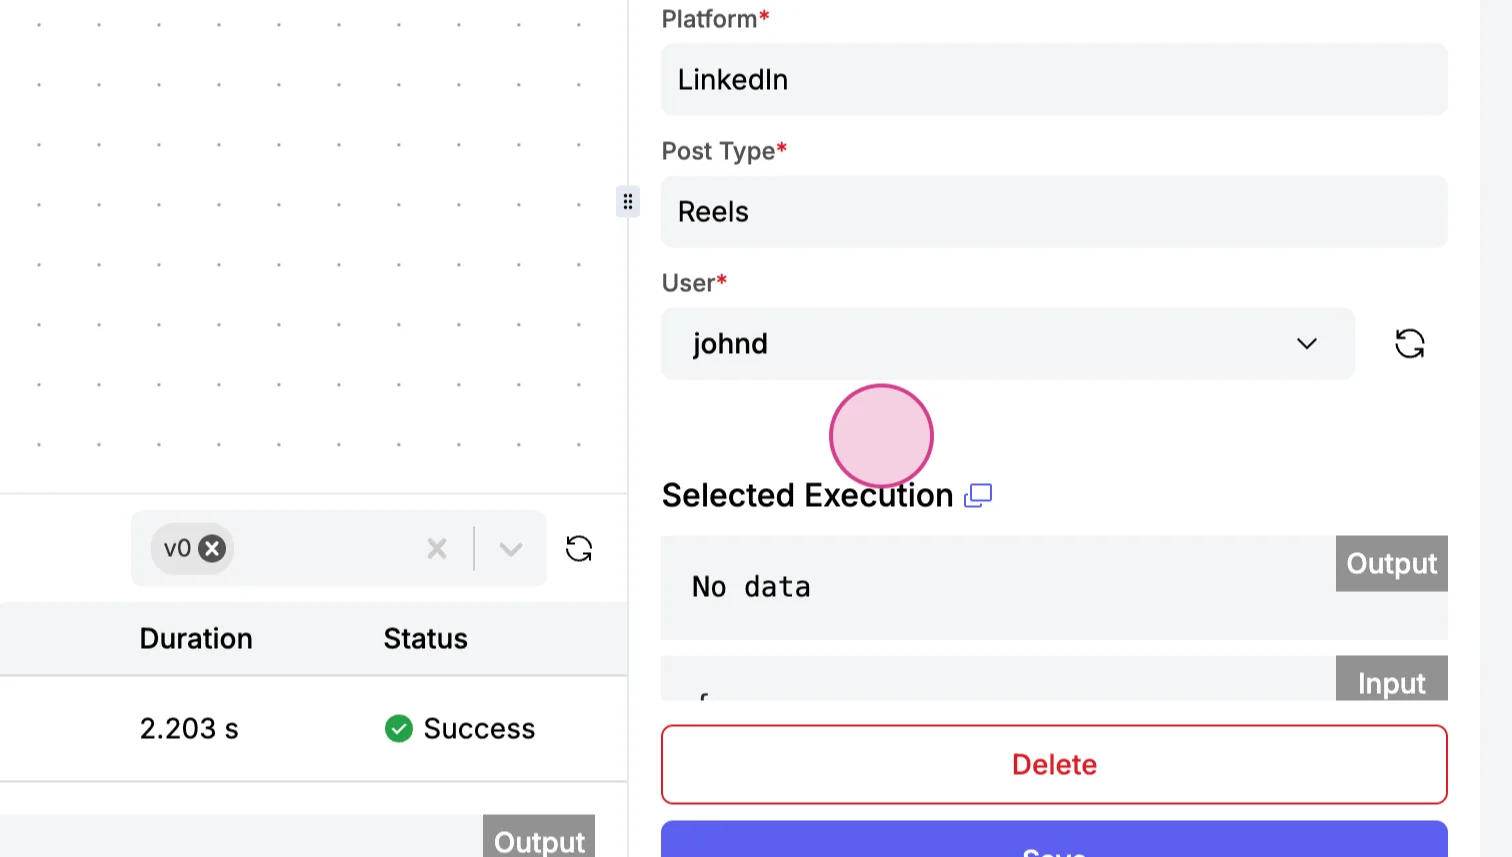
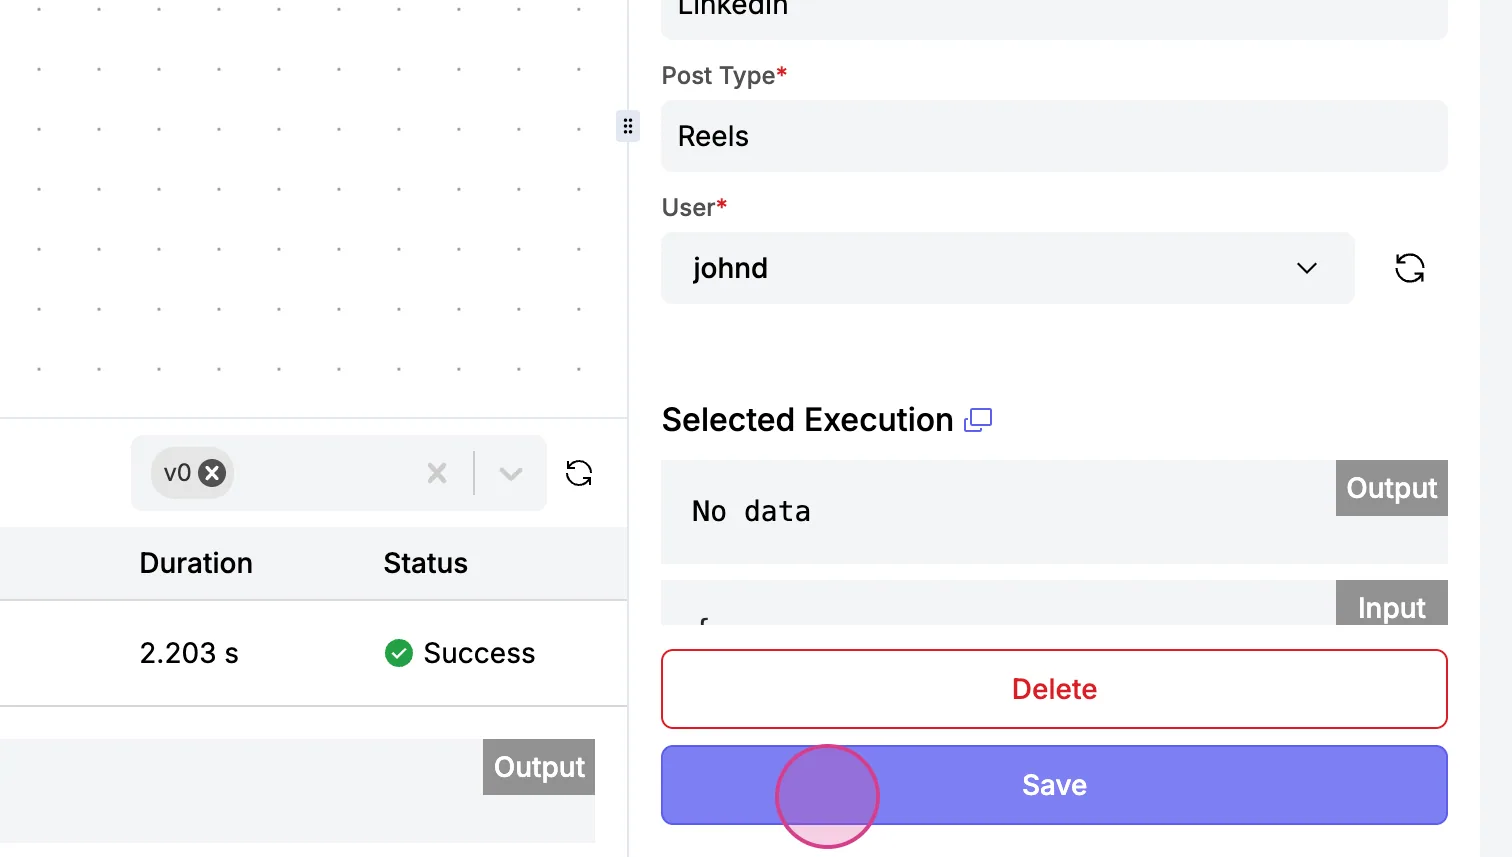
Step 6: Save your configuration by clicking Save.
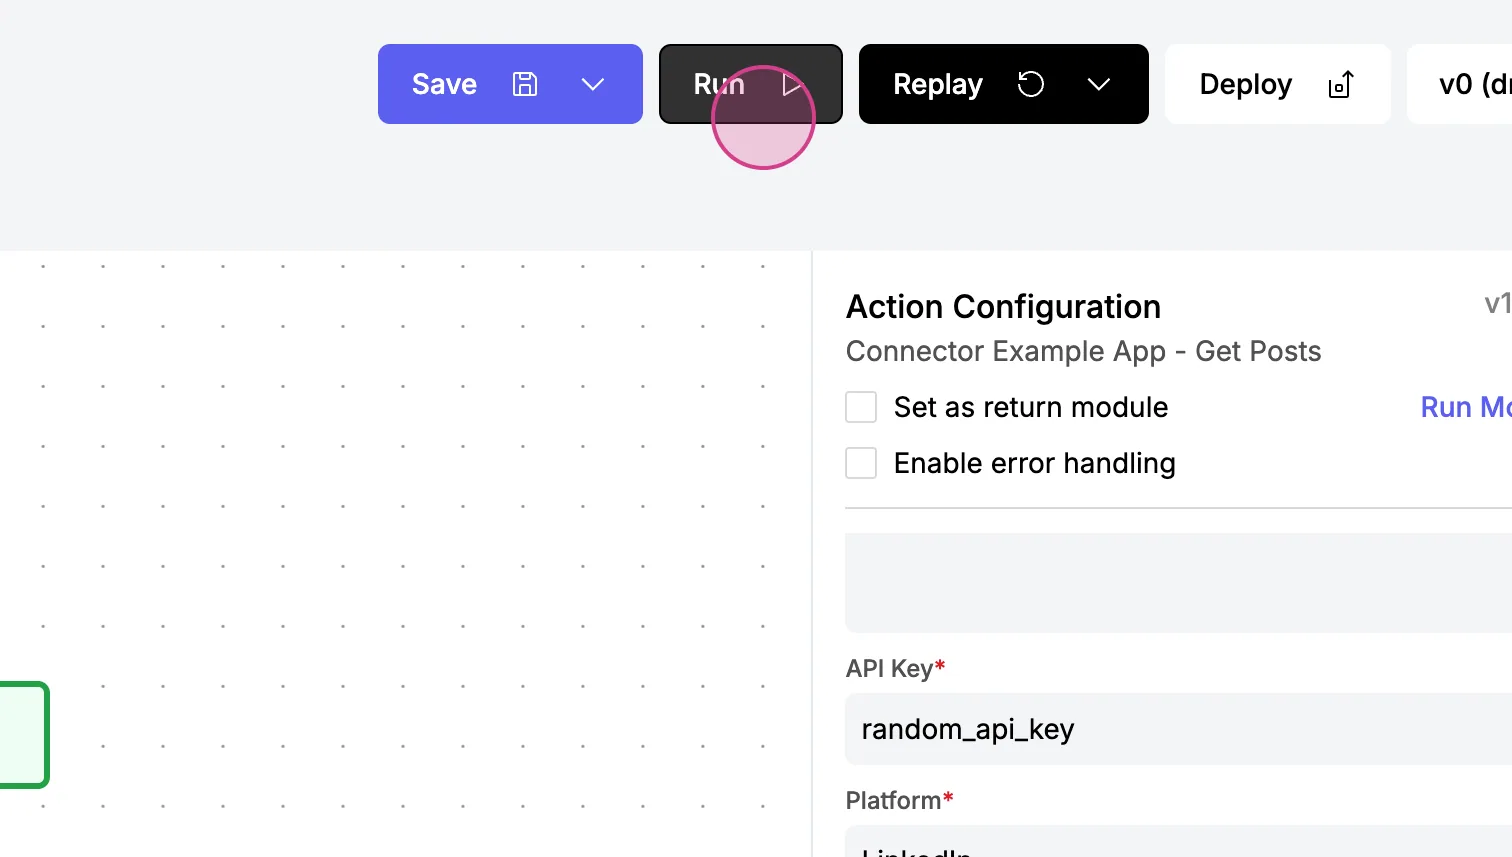
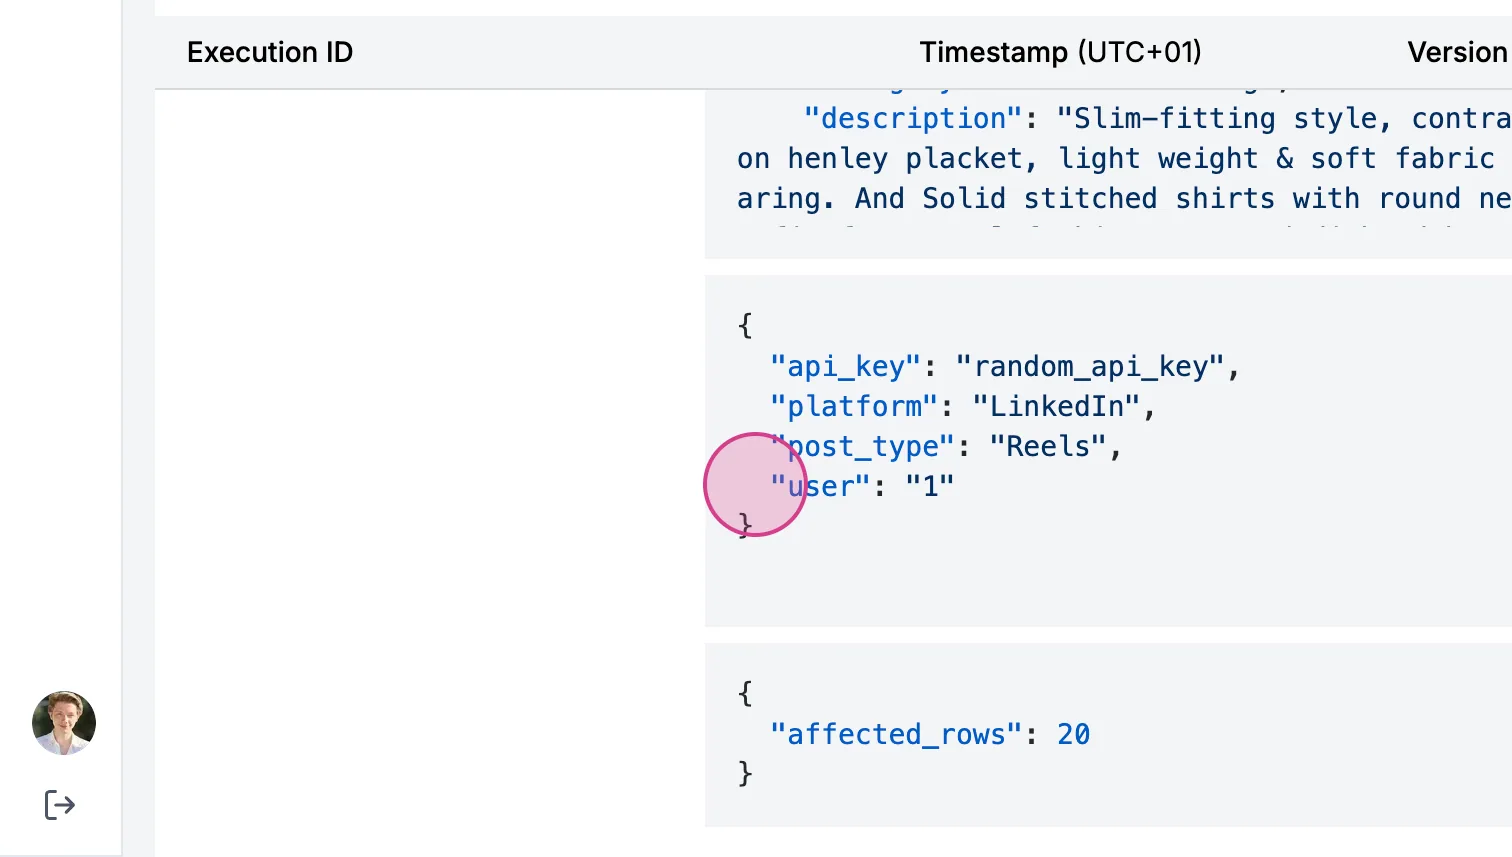
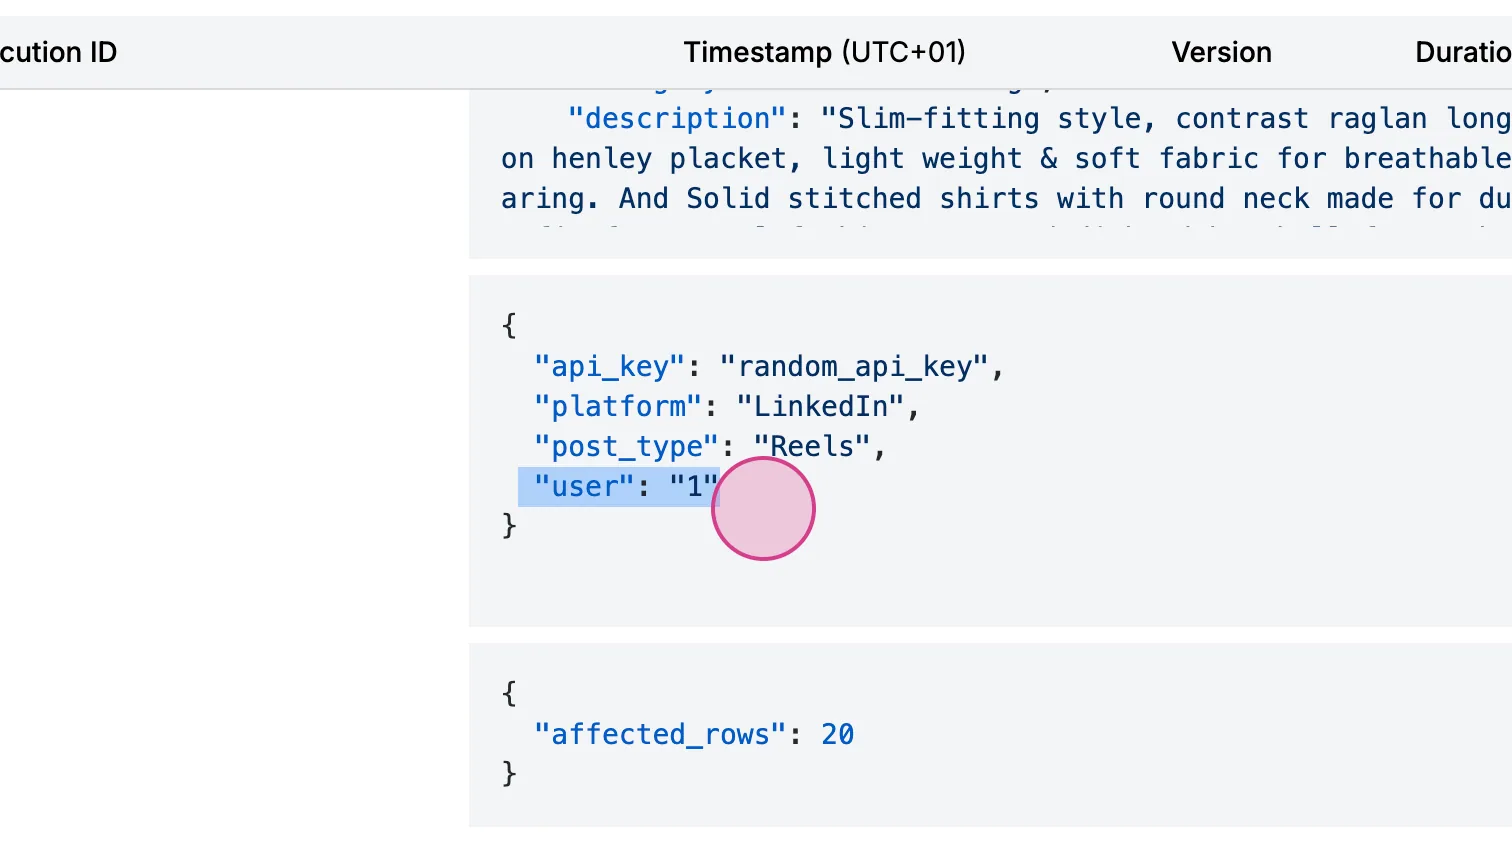
Step 7: Run the module by clicking Run and observe the API creating your new module.
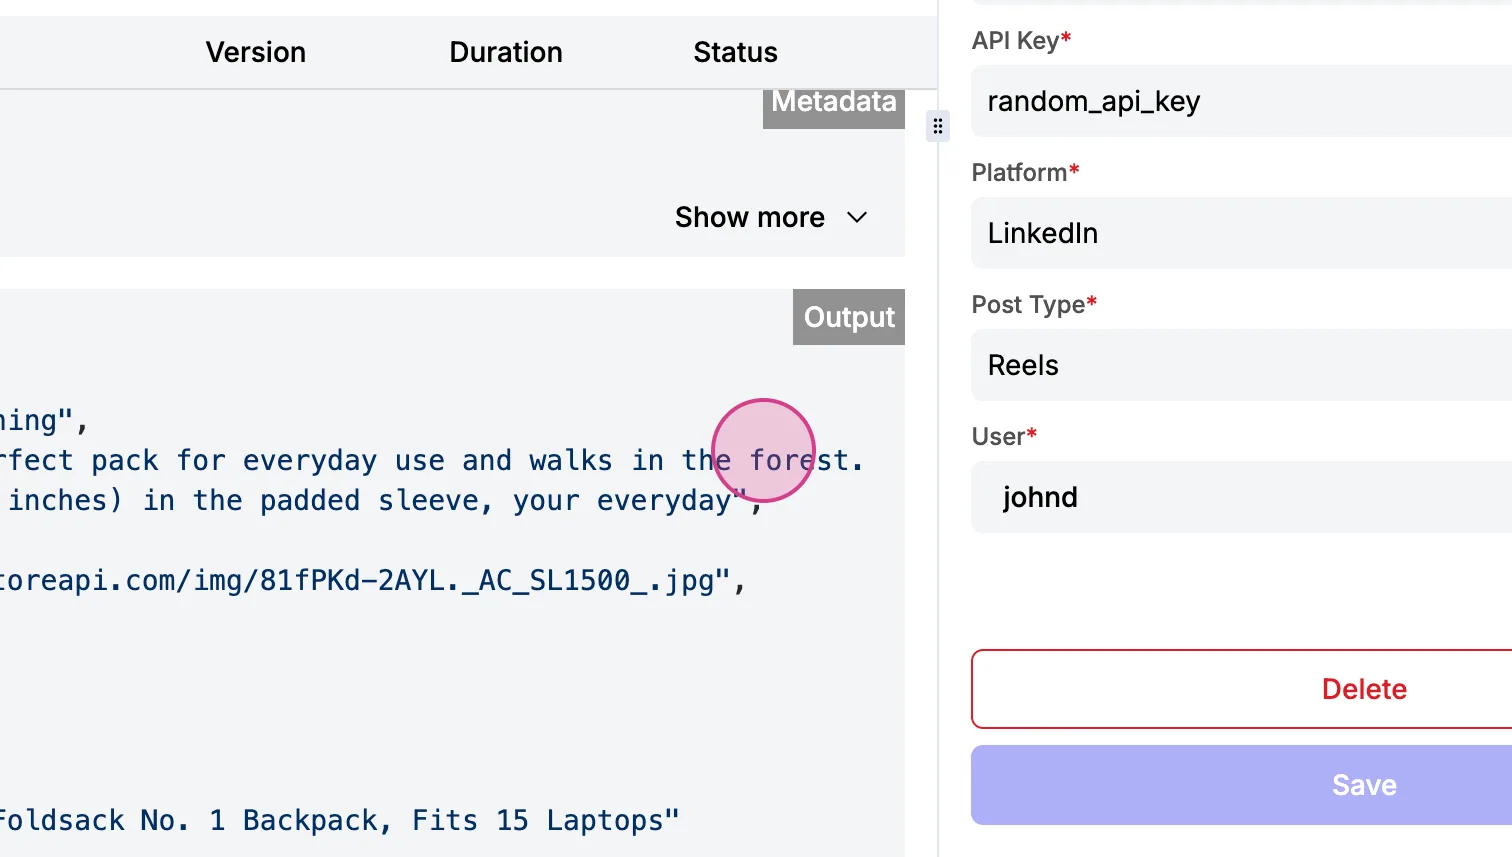
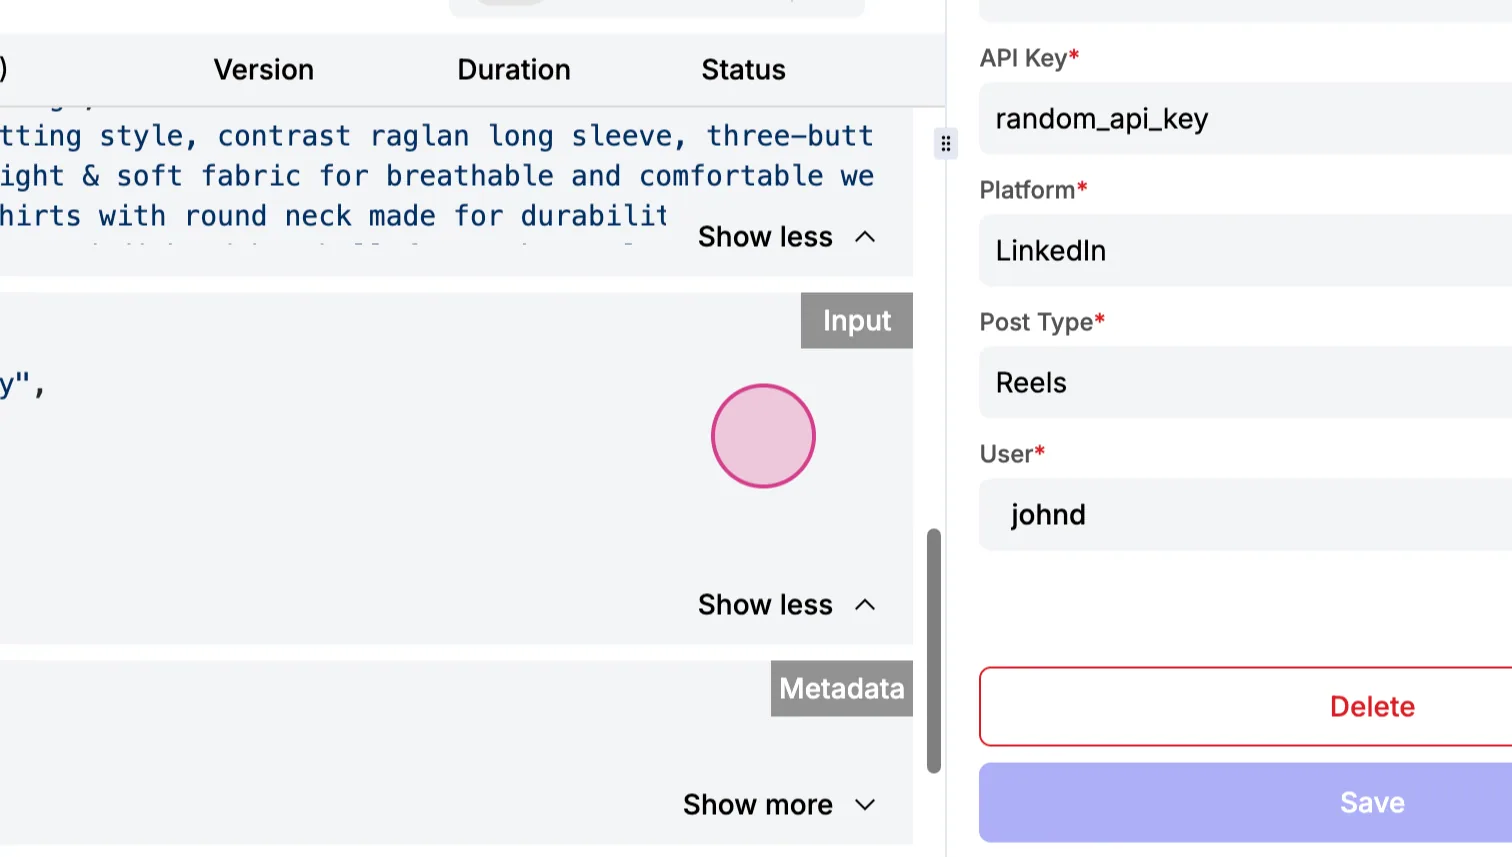
Step 8: Check the data output to confirm the module is functioning correctly. Look for User 1, which indicates the ID of your user.
Step 9: To further customize your module, consider adding a schema with a connection field of type connection. This allows for various connection types and management to be integrated into your module.
By following these steps, you'll effectively test and customize your dynamic form field in Stack Sync workflows. The flexibility of adding and managing connection fields enhances the module’s functionality, making it adaptable to various needs.
Get started with the Connector Development Kit
Create and use any connector on Stacksync Workflows, whether that's an internal enterprise application, a business system, database or else.
Create a Module Schema
In this tutorial, we'll guide you through creating module schemas step-by-step. Module schemas define the user interface forms for your workflow actions.