

Create a Sync between Supabase Postgres and Salesforce
You are 5 minutes away from your real-time and two-way sync between Salesforce and Postgres. This guide walks you through the 3 simple steps to get up and running!
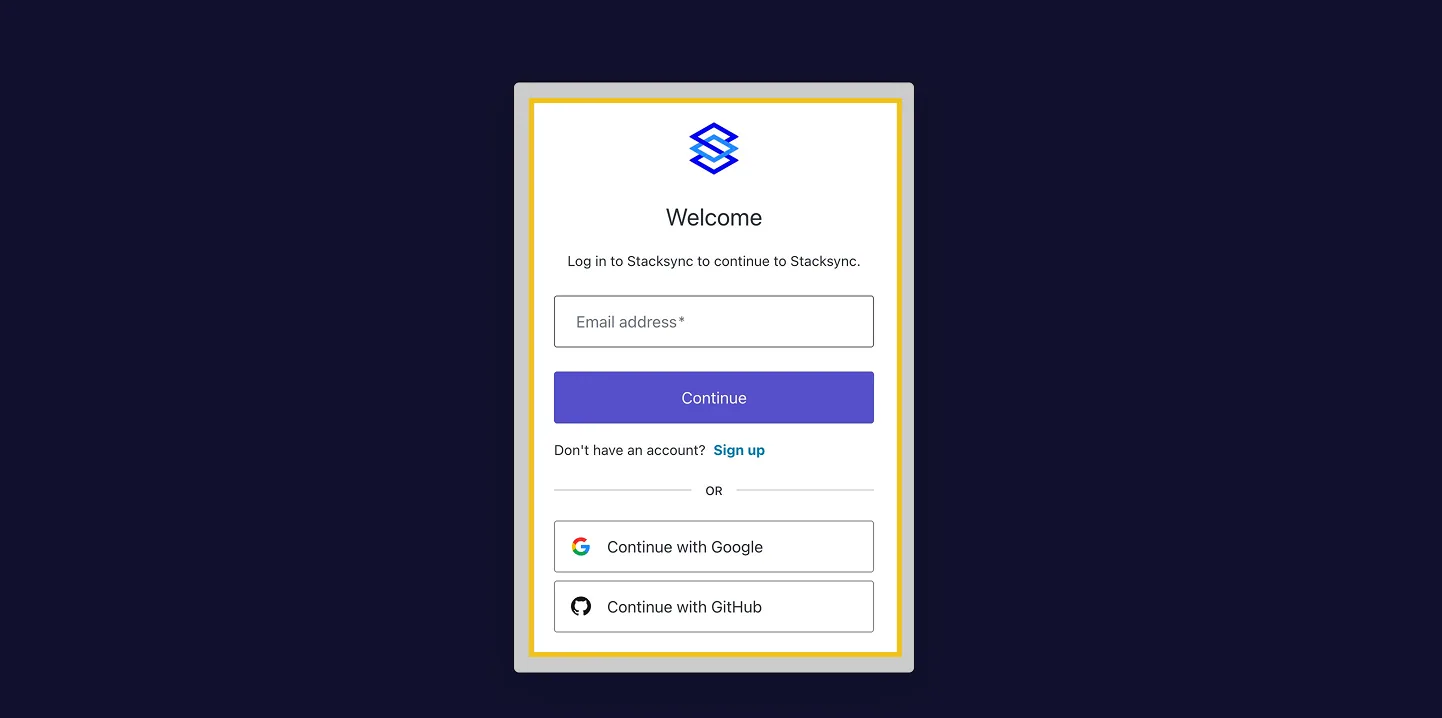
Go to www.stacksync.com
1. Sign in or create your account
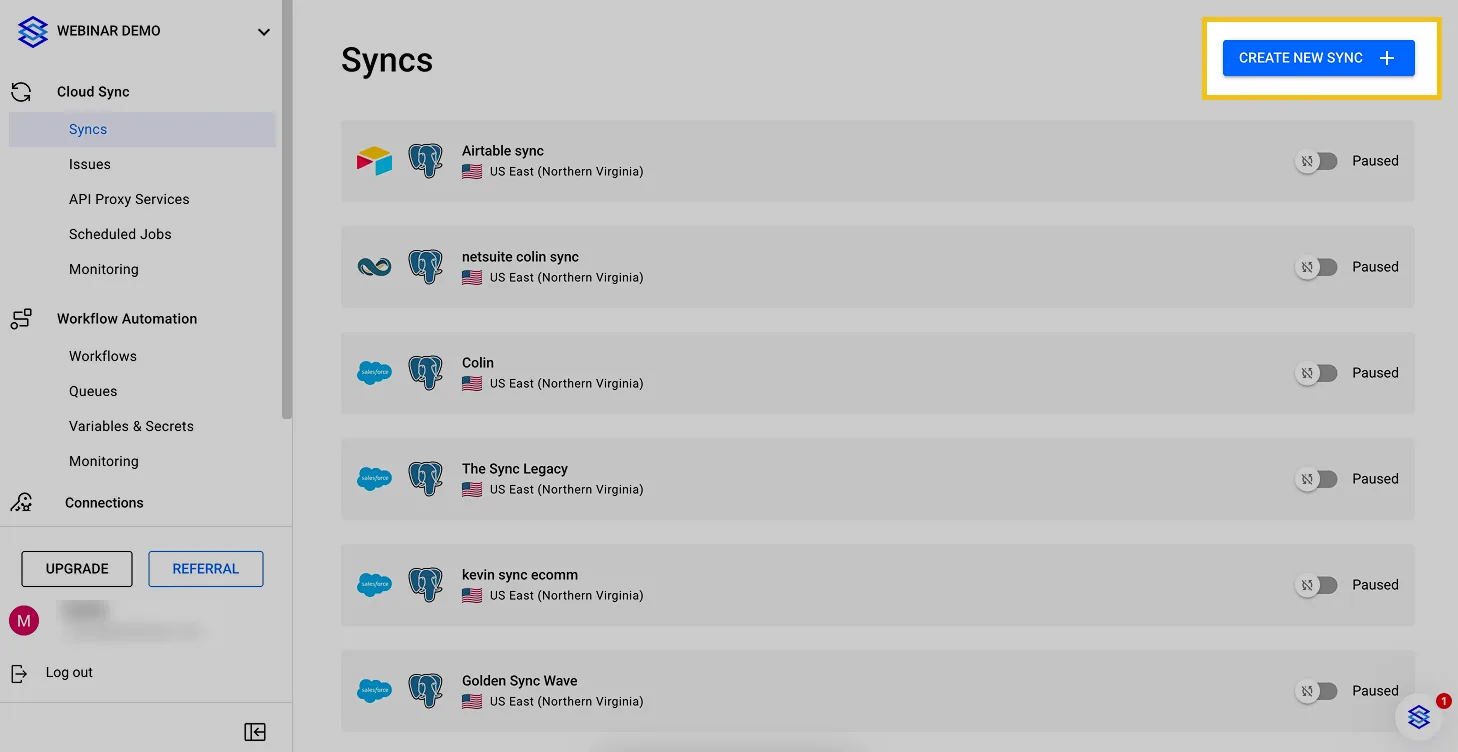
2. Click "Create a New Sync"
3. Select "Postgres" to connect this app
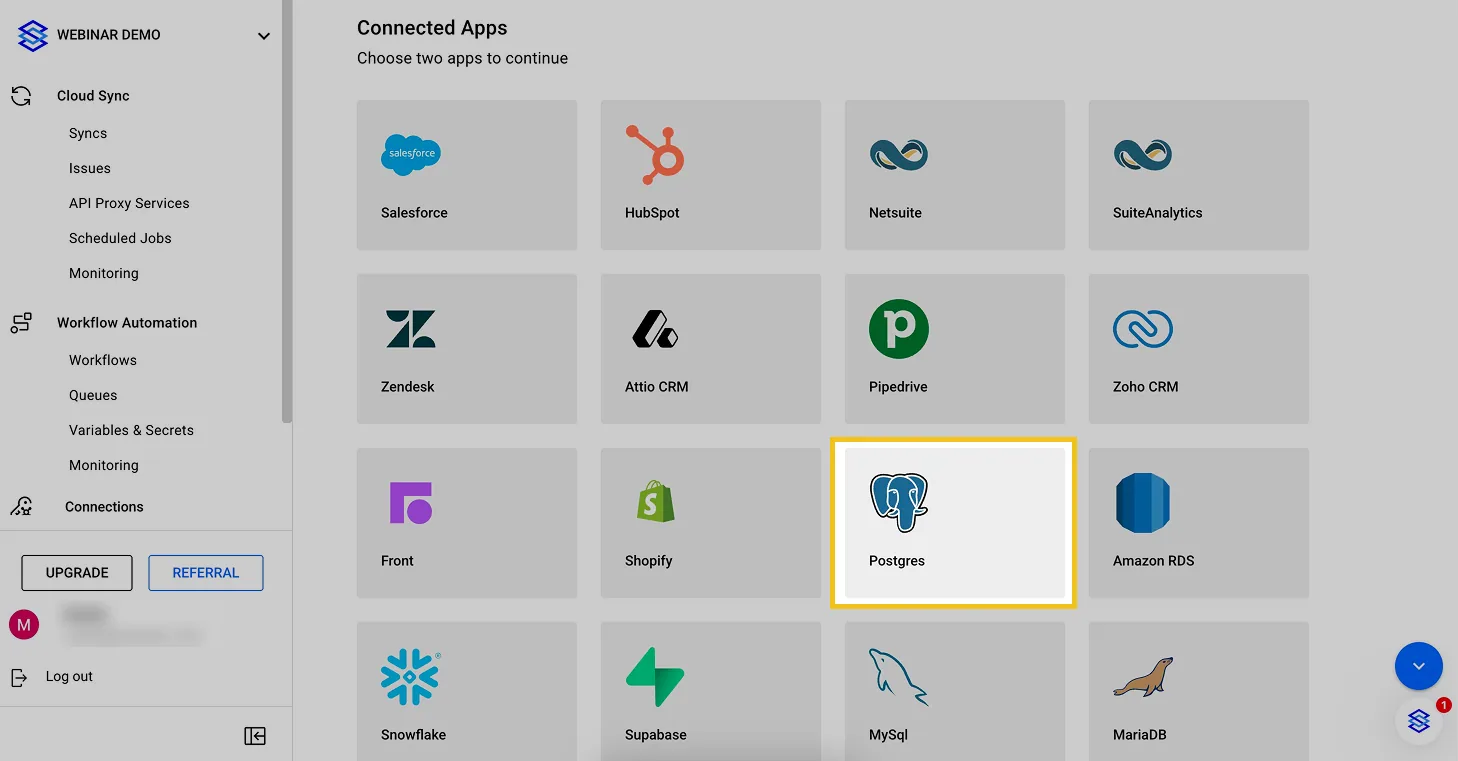
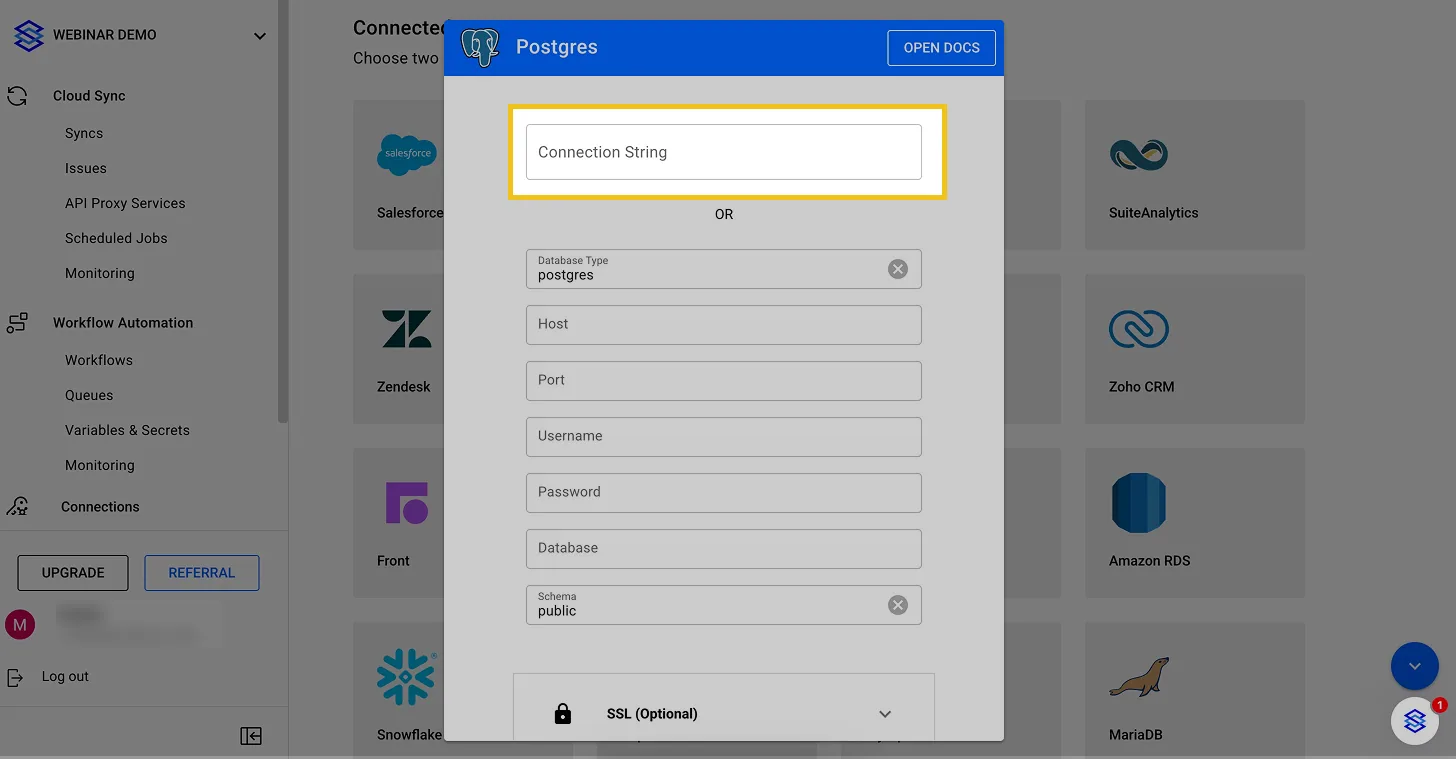
4. Paste your database 'Connection String' or manually fill in the connection credentials
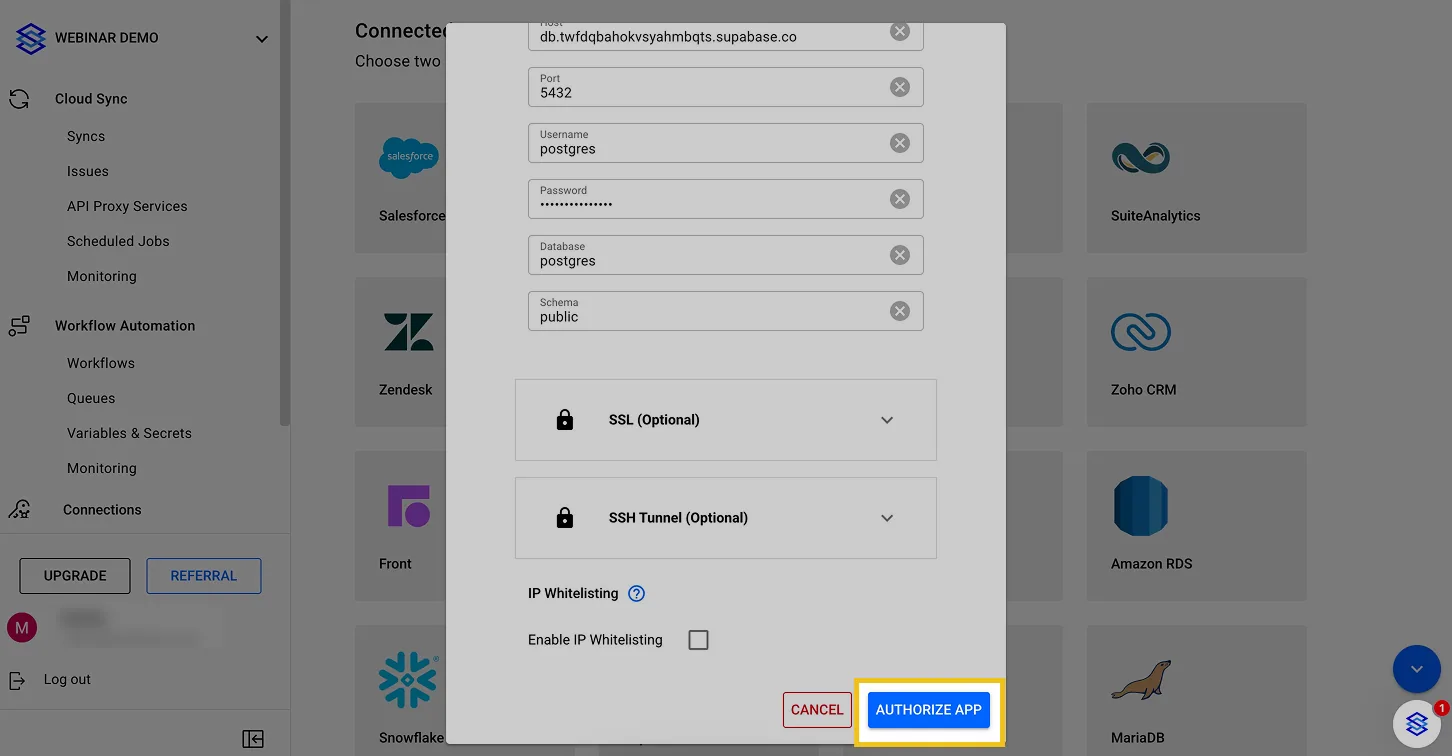
5. Click "Authorize App"
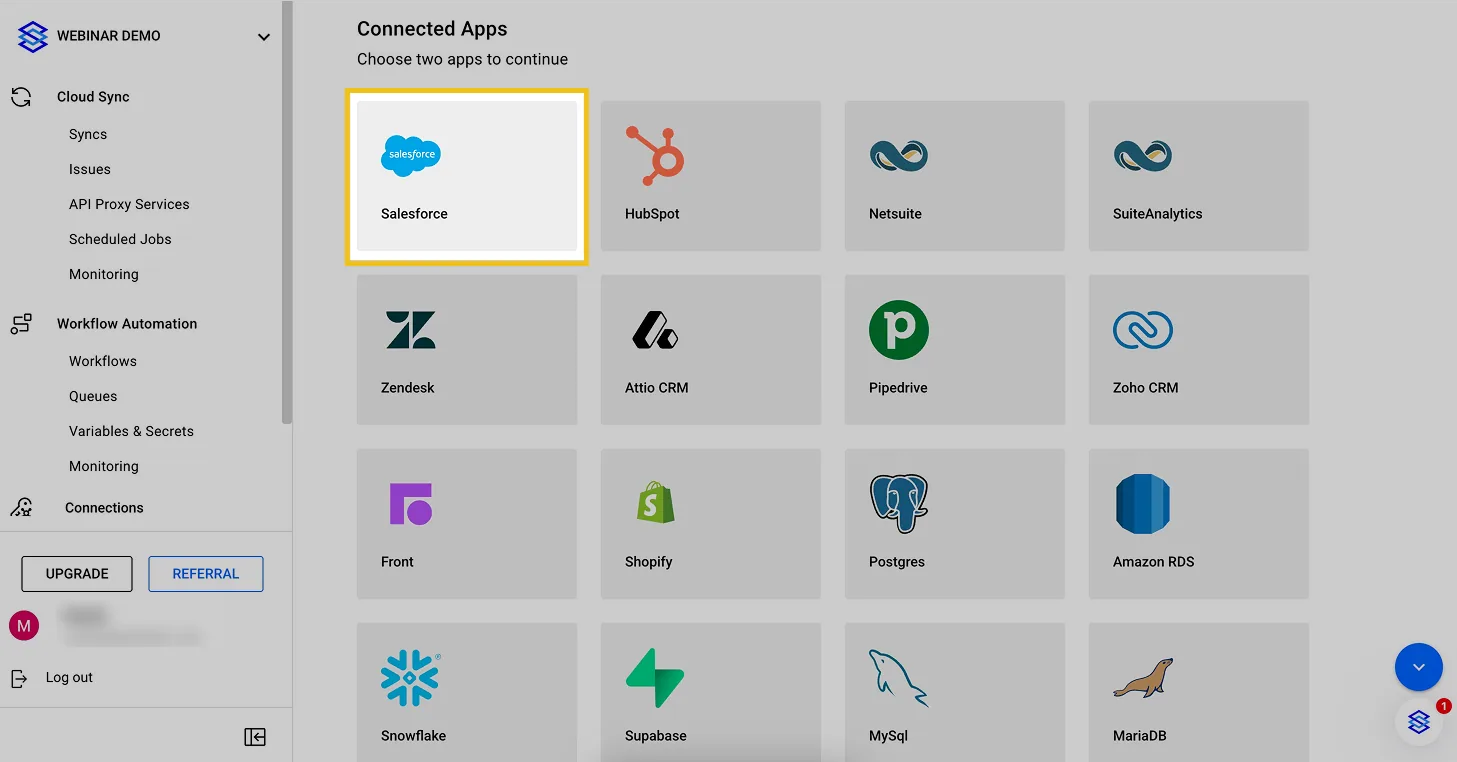
6. Click on the Salesforce icon to connect this app
7. Fill in your credentials and click "Log In"
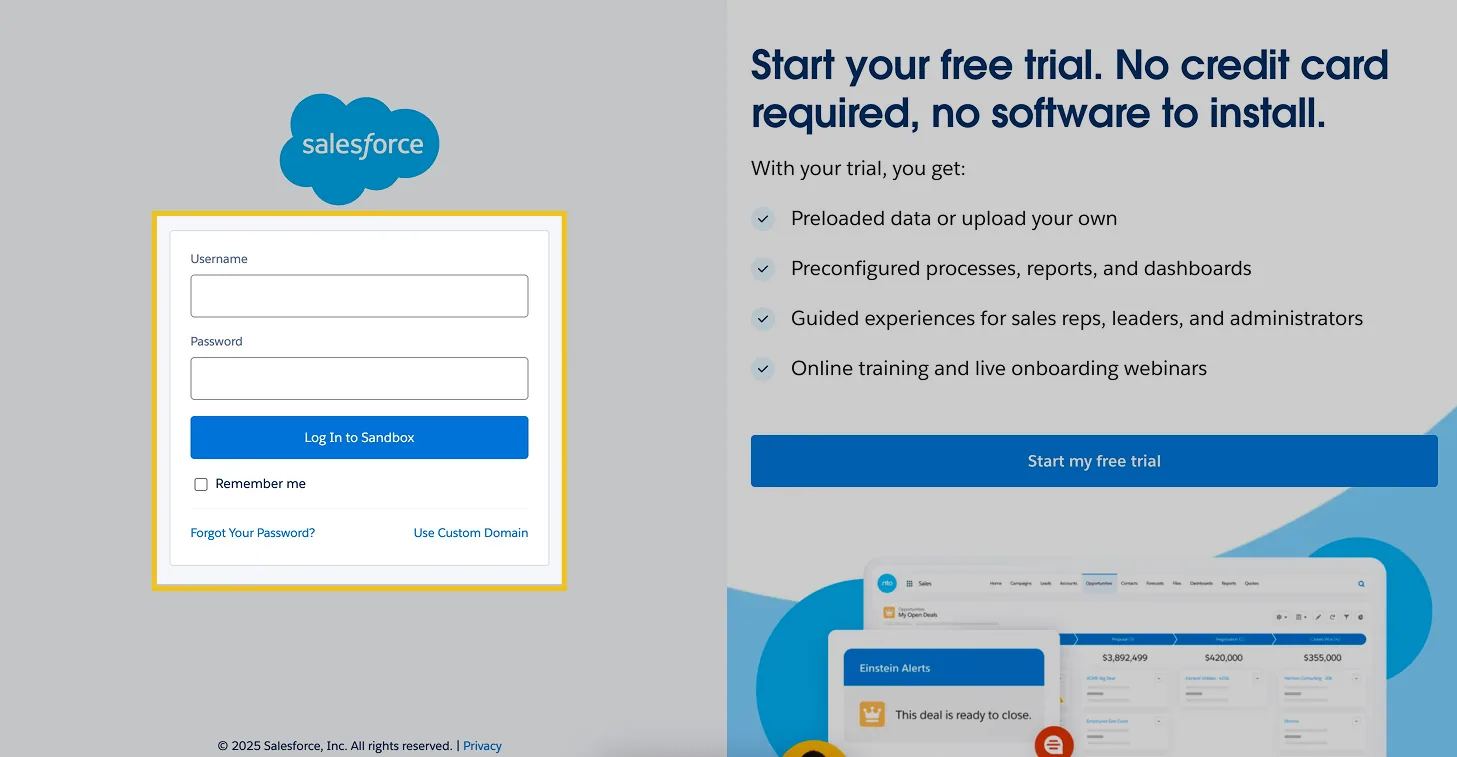
8. Click " Allow "
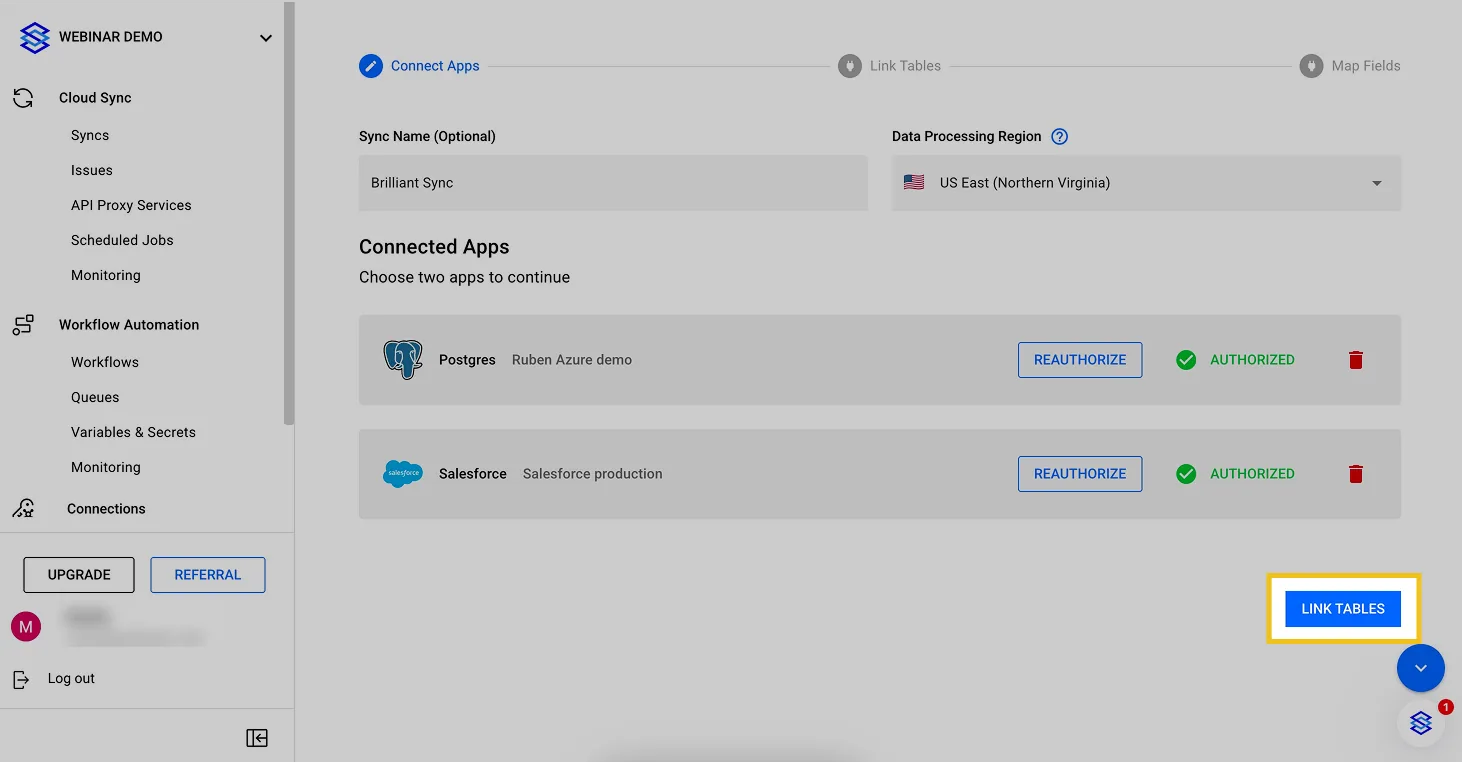
9. Click "Link Tables"
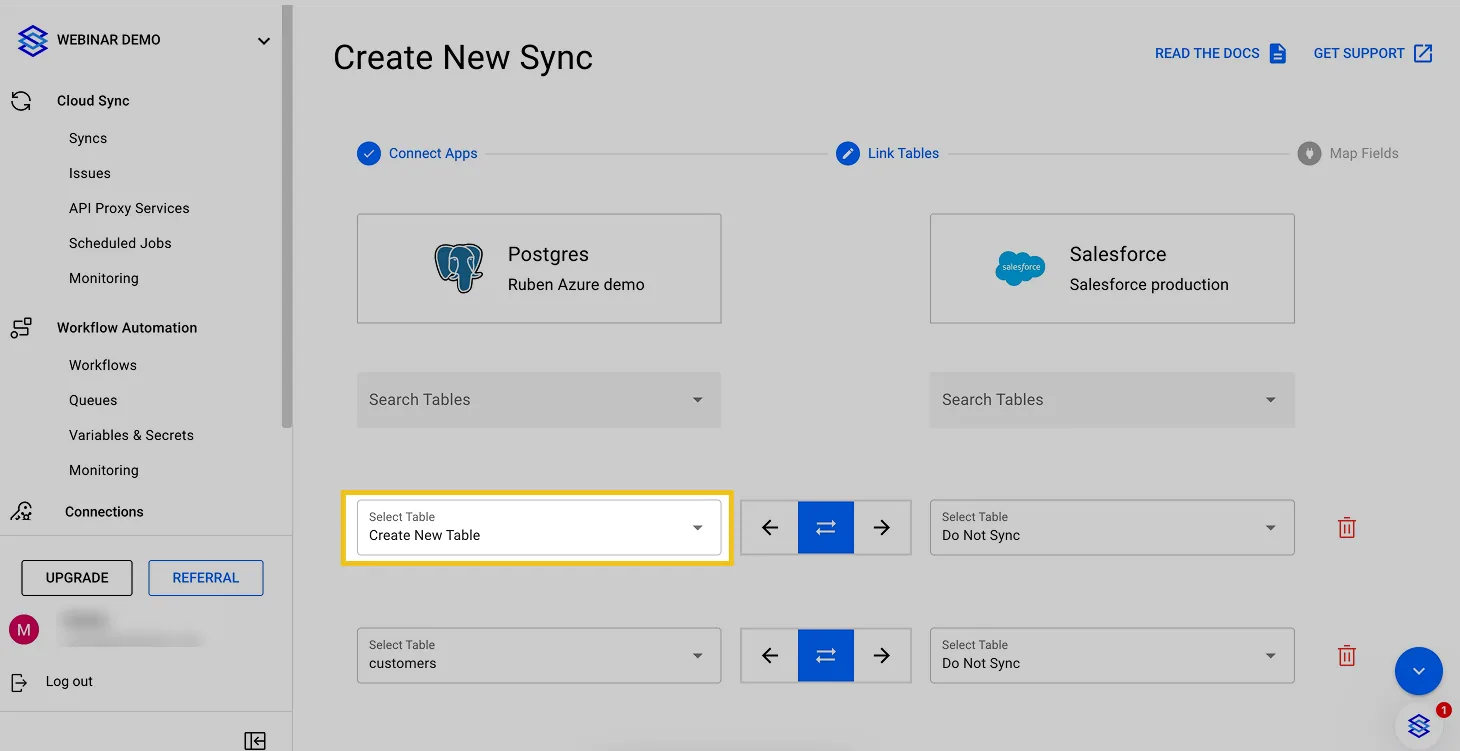
10. Click "Create New Table (Recommended)" or map existing tables as you prefer
Stacksync lets you map existing tables if both apps you want to connect already contain tables with the data you want to keep in sync (there’s no need for either to be empty). Alternatively, Stacksync can automatically create new tables for you if only one of your apps contains a table or schema with the data you want to sync.
In most cases, people will let Stacksync create tables as the new schemas created will always be pixel-perfect 😉.
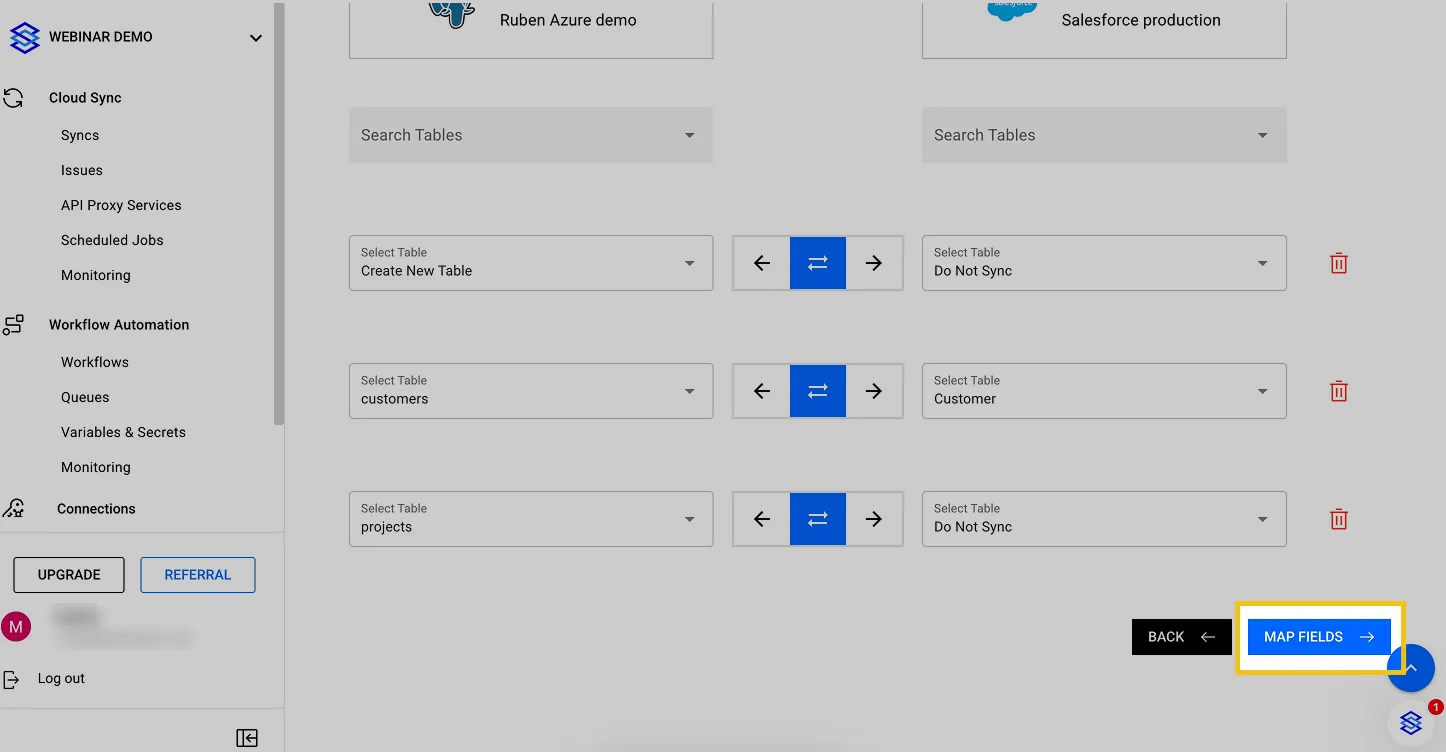
11. Click "Map Fields"
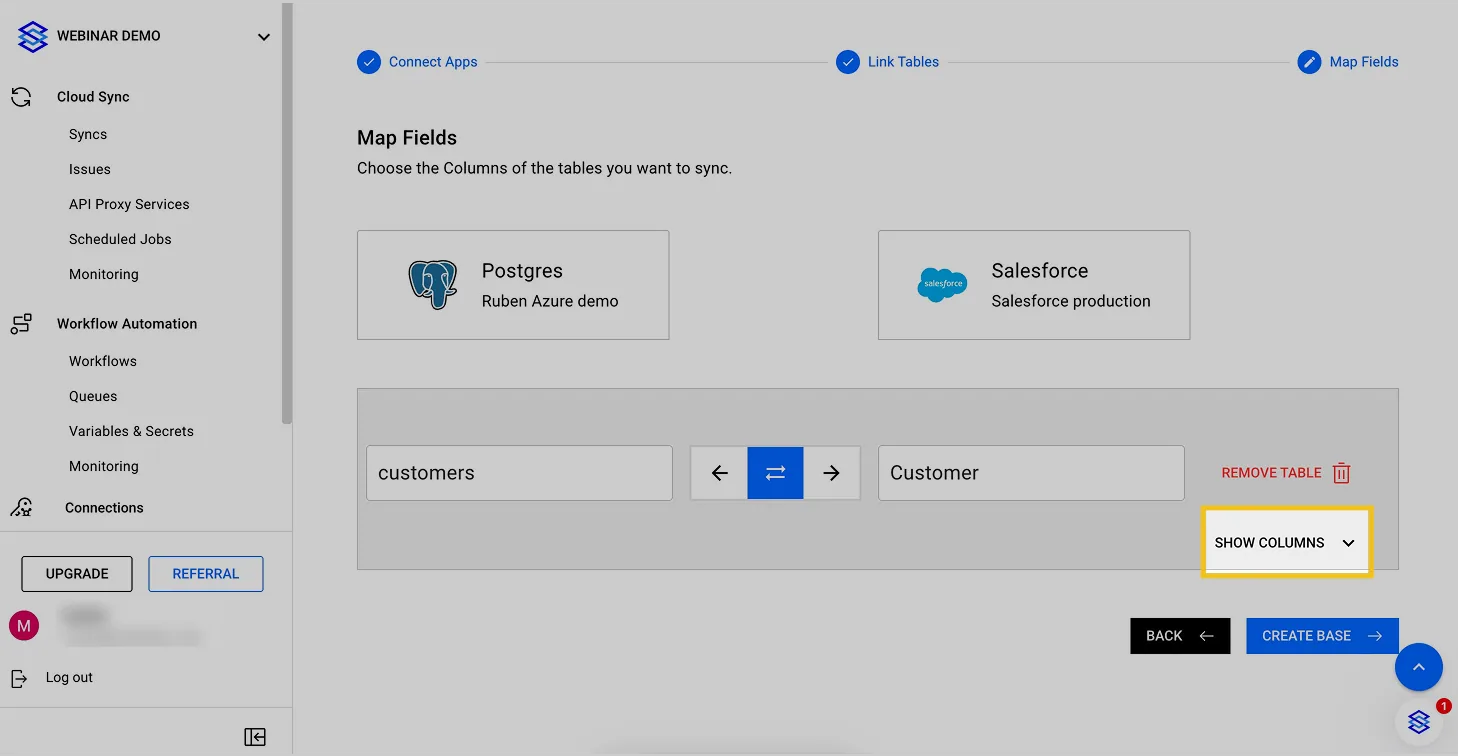
12. Click "Show More Columns" to review all the fields to be synced or select/unselect them
Now that you've mapped the tables, let's do the same for each of the fields you want to sync.
Stacksync will cleverly auto-map your columns. Some columns might need to be mapped manually if their names or meanings can’t be matched automatically.
Feel free to map, select, and unselect columns as you like.
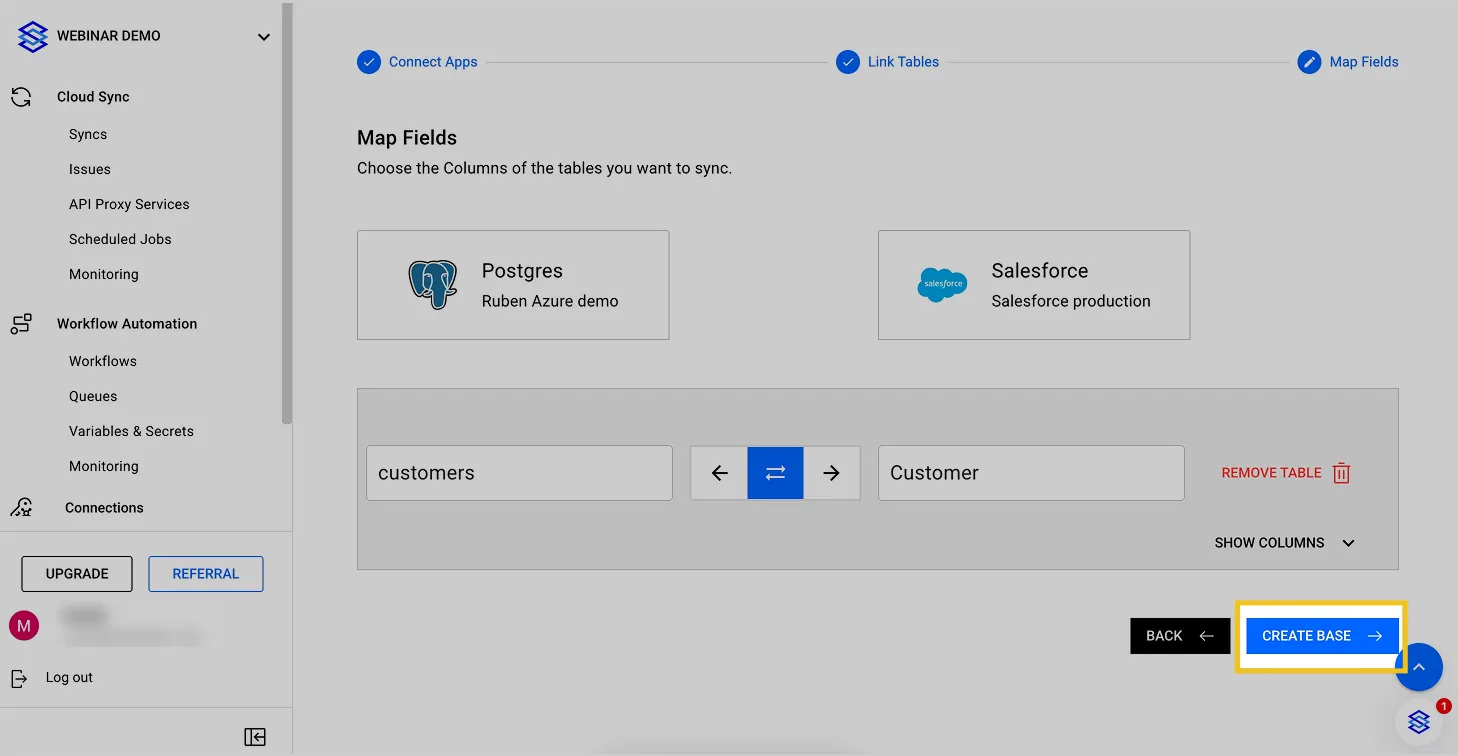
13. Click "Create Base"
14. Switch on the sync

15. Your data is syncing!

After turning the sync on, you can check the Issues page to view any sync errors from your connected apps. This can help you troubleshoot why some data isn’t appearing in one of your apps.
Yay! Your data is syncing! 🥳
Salesforce Developer Instance Free Forever – Create Yours in 4 Minutes (2025)
Set up your Salesforce Developer instance free forever in 2025. Follow this 4-minute guide and start testing your CRM integrations instantly with Stacksync.
Configure Event Triggers
Trigger a custom workflow in Zapier, Make or any HTTP REST endpoint of your choice (e.g. Slack and AWS Lambda functions!) or execute a database query when your data gets updated.