

Salesforce Developer Instance Free Forever – Create Yours in 4 Minutes (2025)
Set up your Salesforce Developer instance free forever in 2025. Follow this 4-minute guide and start testing your CRM integrations instantly with Stacksync.
Create a Salesforce Developer Instance in 4 minutes!
How to Create a Salesforce Developer Instance (Free Forever in 2025)
Want to build and test on Salesforce without paying a cent? In this 2025 guide, you’ll learn how to create a Salesforce Developer instance (free forever) in just 4 minutes. It’s perfect for developers who want to explore Salesforce apps, APIs, or connect their CRM with tools like Stacksync for real-time sync.
🧭 Steps to Create Your Salesforce Developer Instance
1. Visit the official Salesforce signup page:
👉 https://developer.salesforce.com/signup
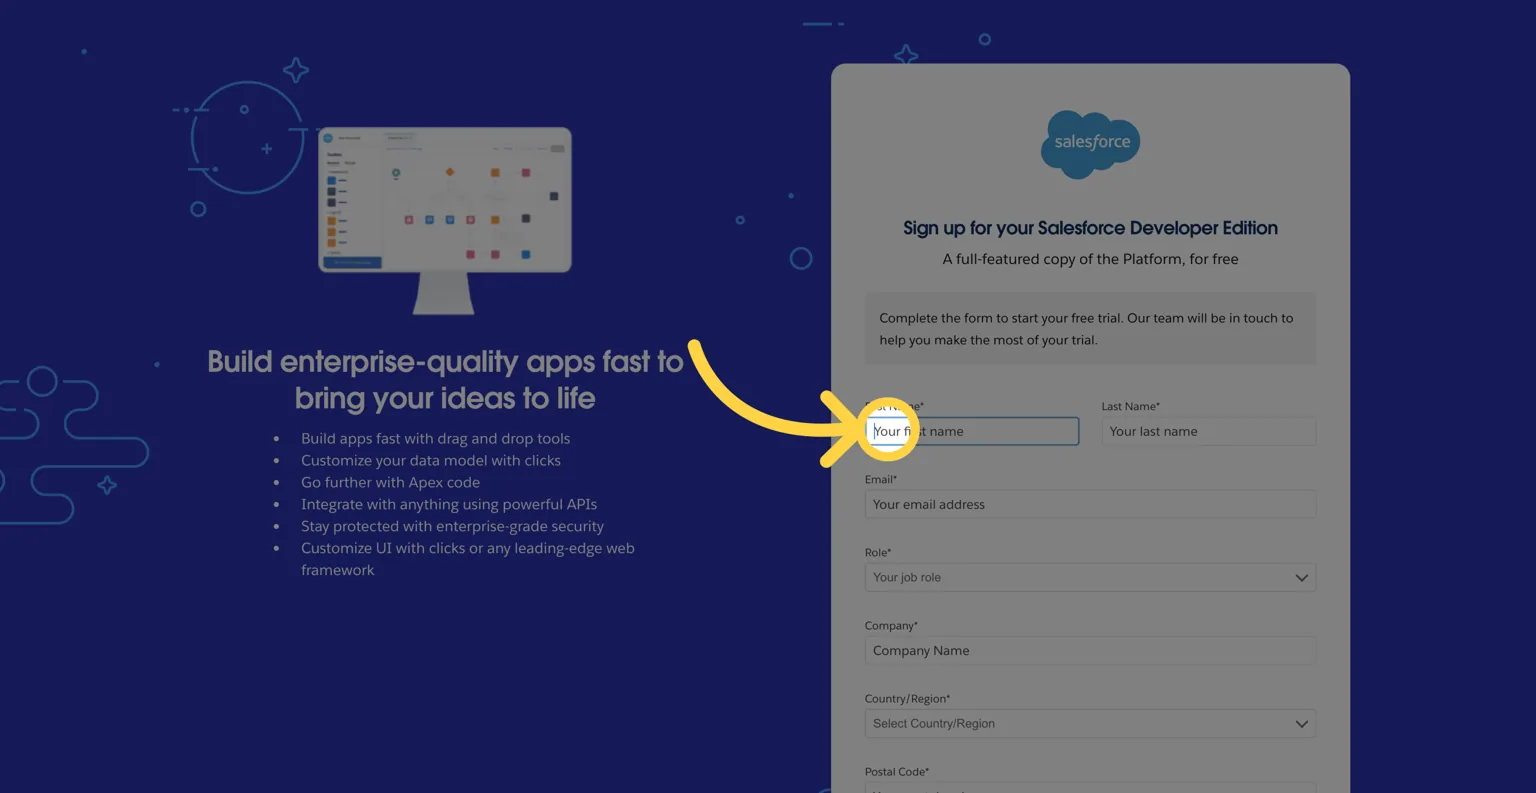
2. Fill in your details and click “Sign Up.”
- Use your work email for smoother integration later.
- Remember your username, you’ll need it to log in.
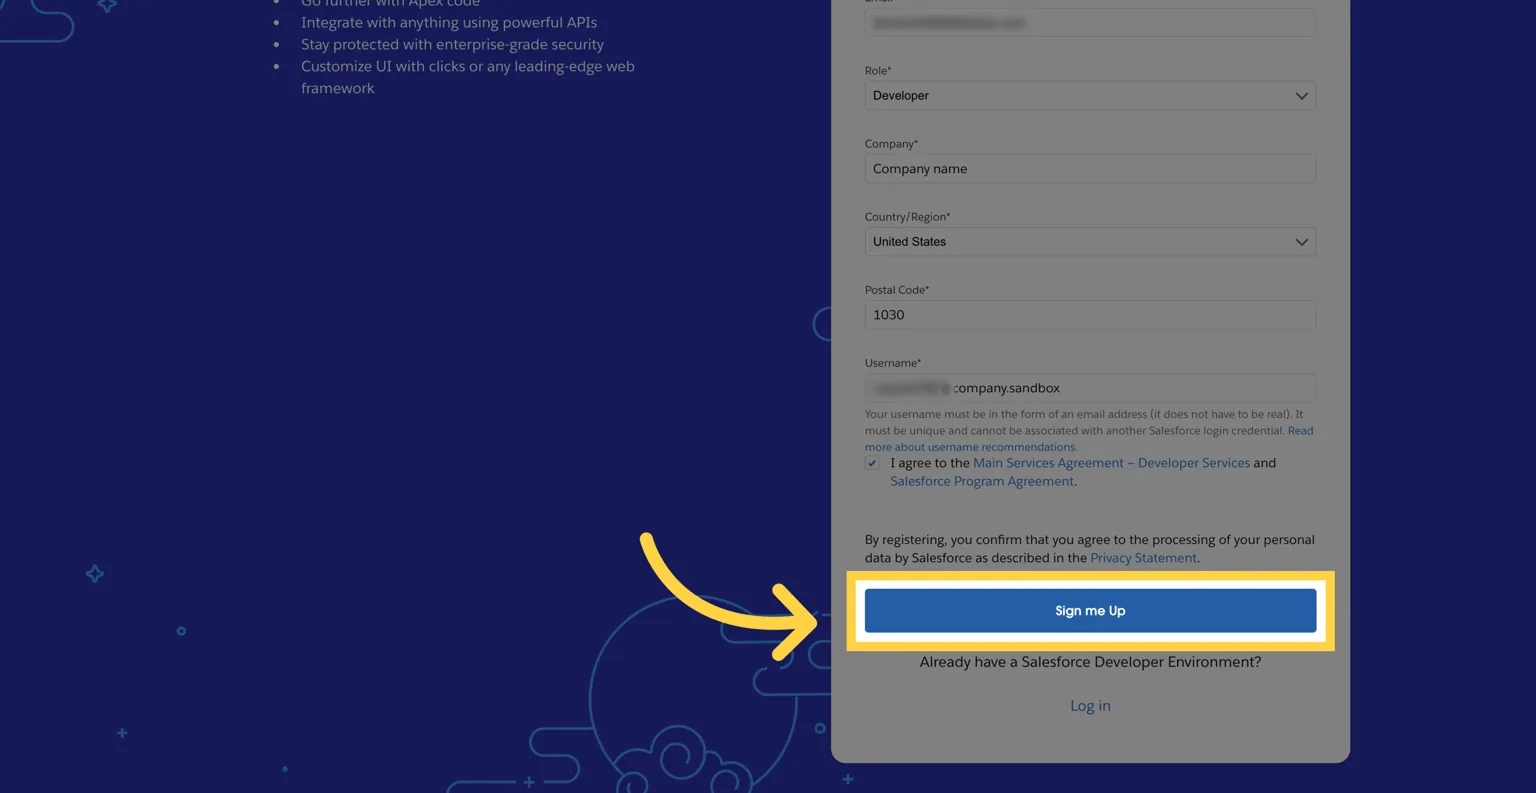
👉 Make sure to remember the username you chose so you can log in later.
3. Verify your email.
You will receive an email in your mailbox to validate your email and account creation. The email might take a minute to arrive, perfect time to clean up your desk for 50 seconds!
3. Access your instance
Switch to yourcompany-dev-ed.develop.my.salesforce.com (the link has been sent to you via email for validation).
This link leads to your developer instance. Make sure to remember or bookmark it so you can return to it anytime!
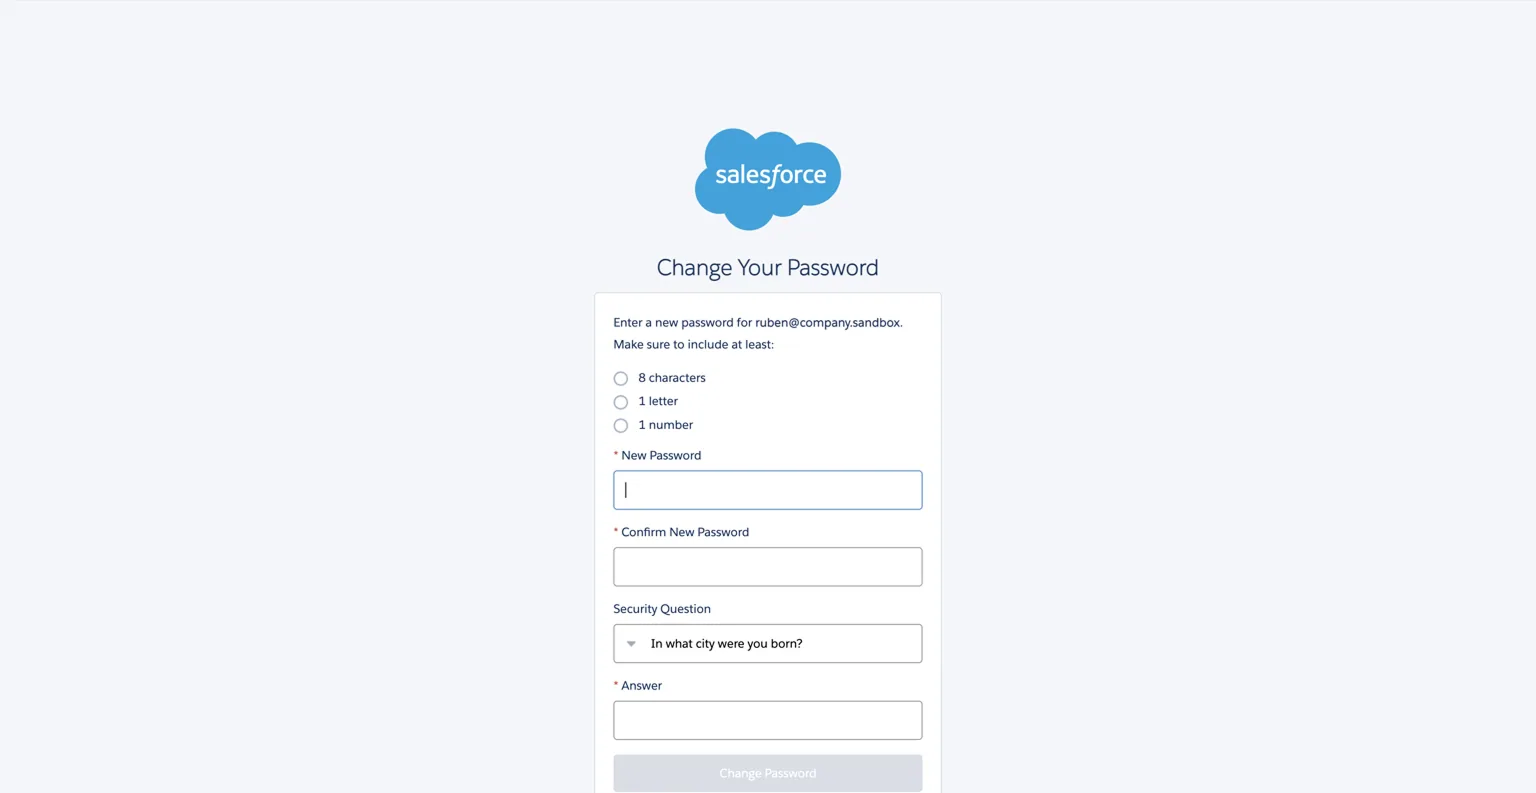
4. Create your password
You now have to create your secure password to connect to your Salesforce instance.
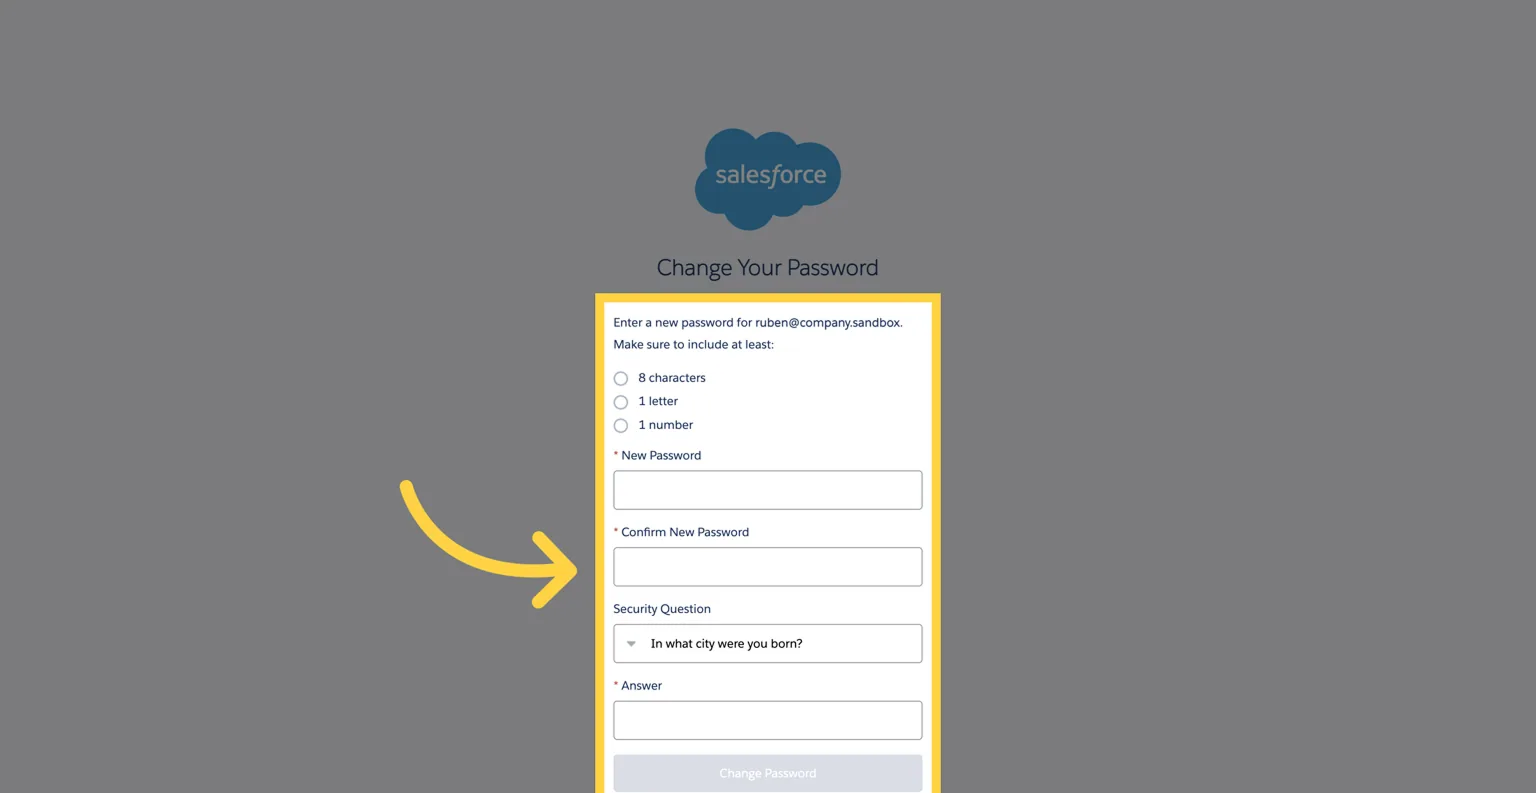
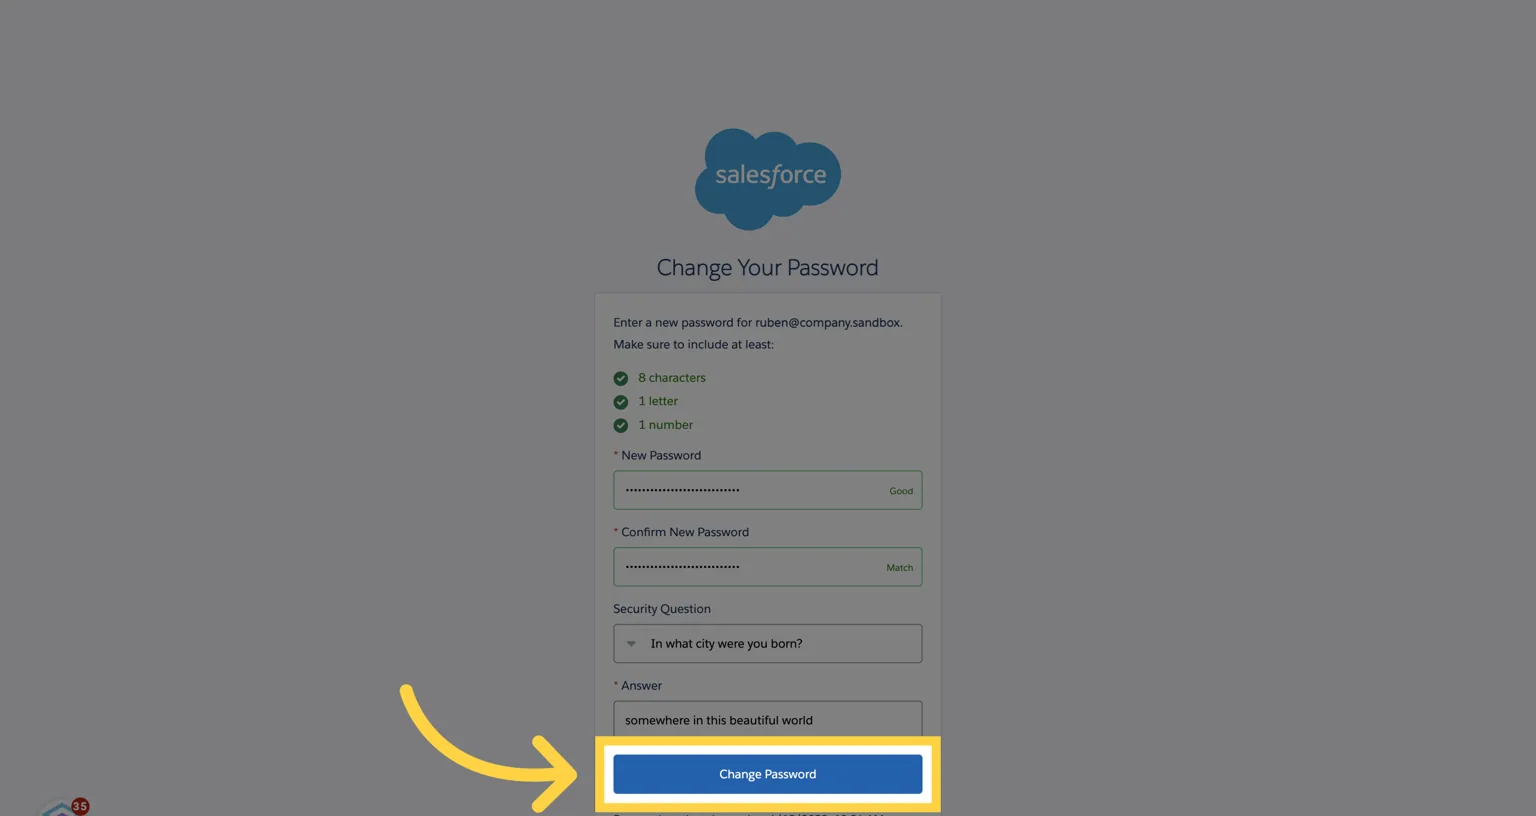
5. Click "Change Password"
6. Switch to yourcompany-dev-ed.develop.lightning.force.com (you should be automatically redirected)
You are now in your Salesforce instance! 🎉
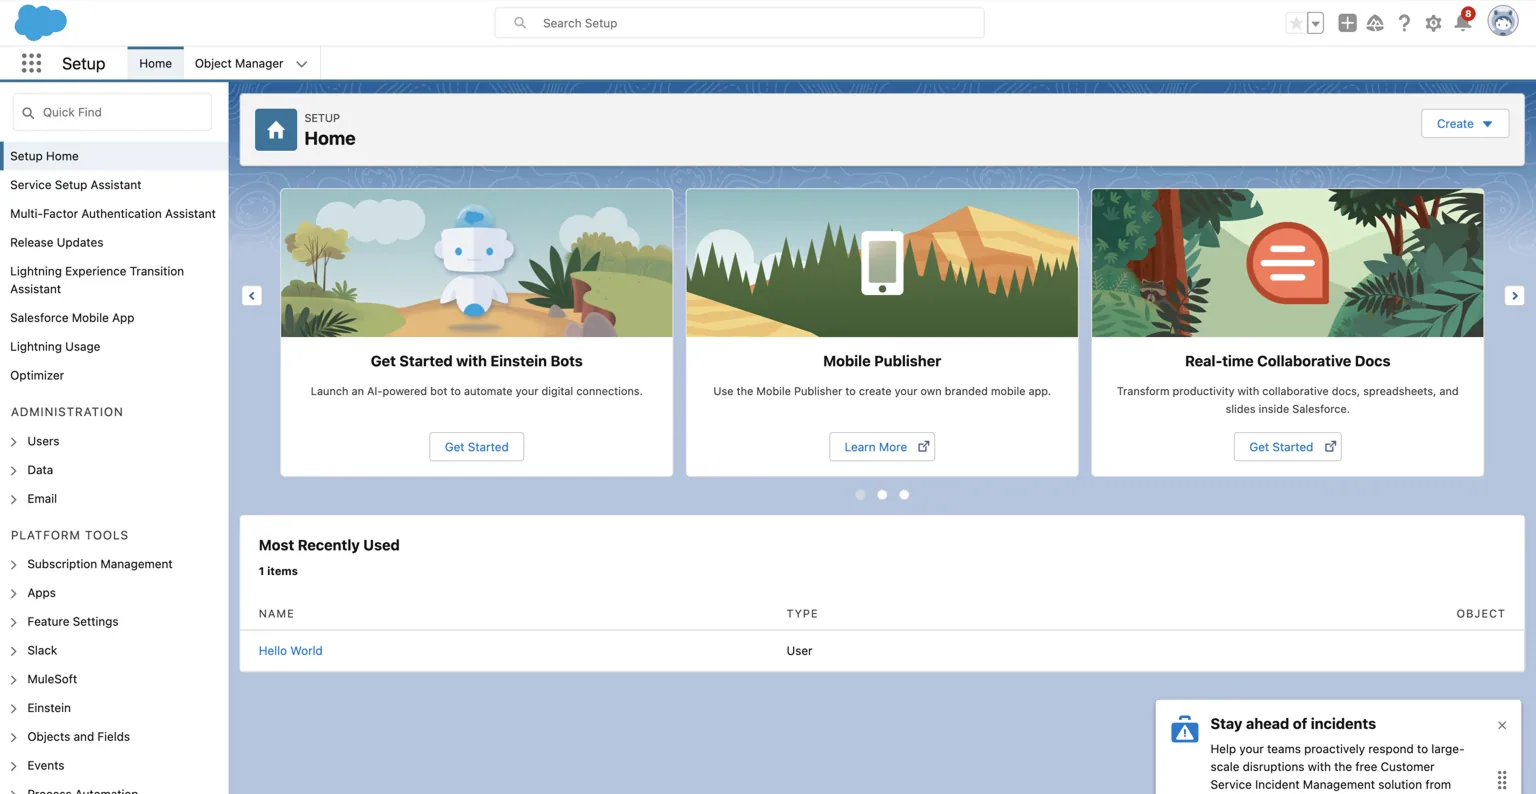
Once inside, explore Salesforce’s core objects: Accounts, Leads, and Opportunities.
These are your main data tables.
To view them:
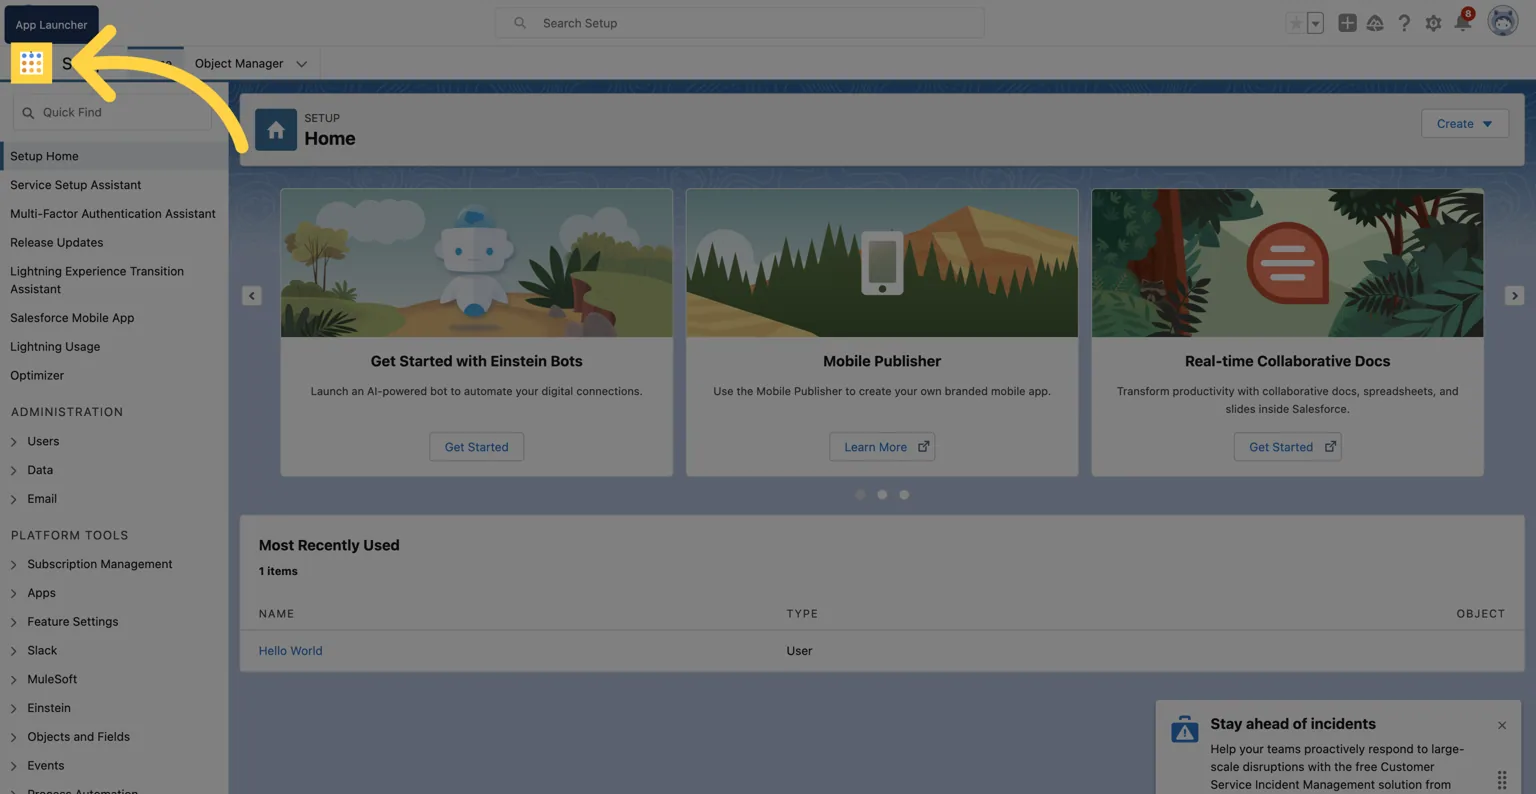
- Click the App Launcher (grid icon).
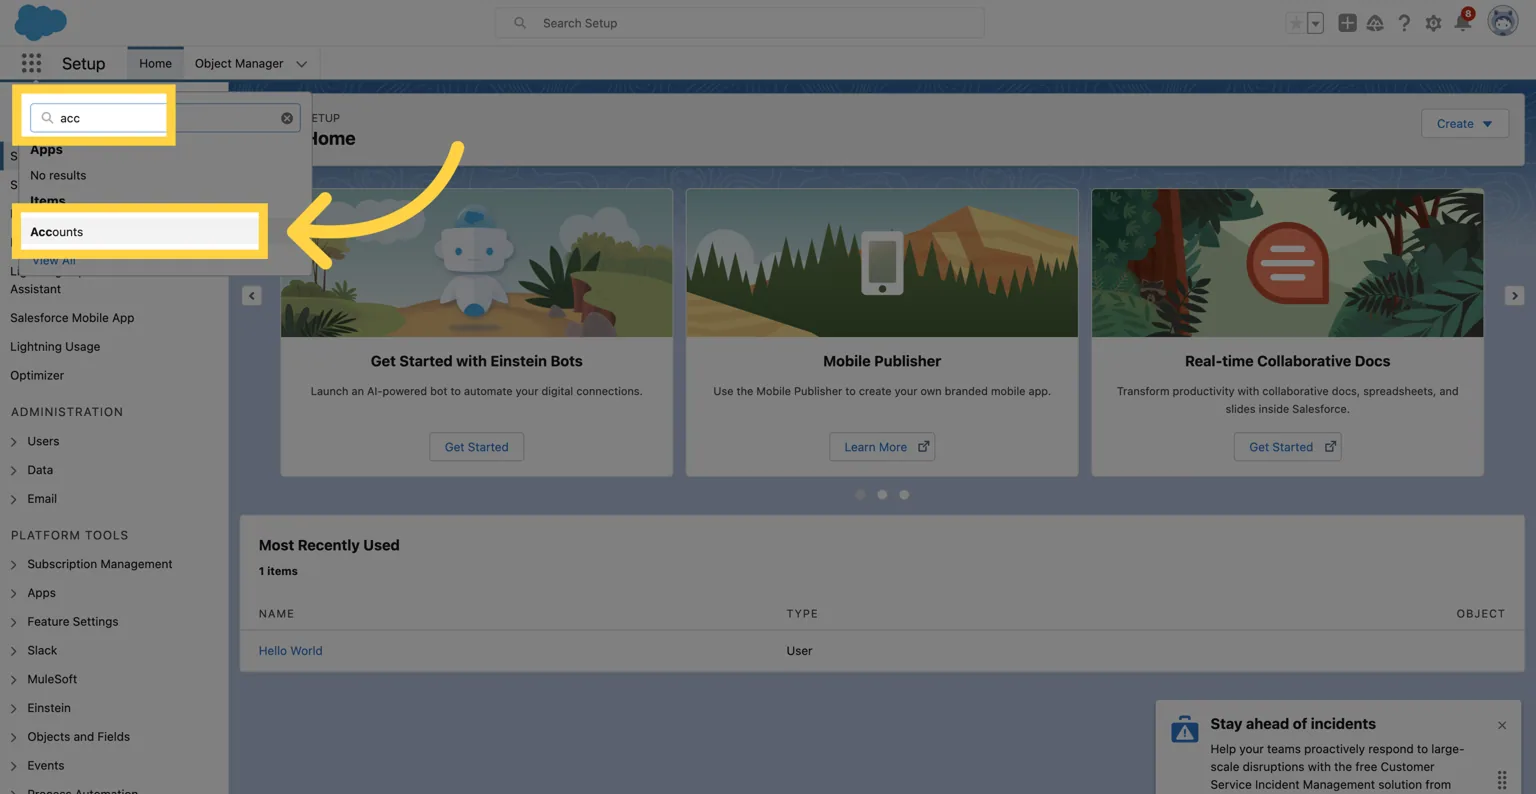
- Type “Accounts” and select it.
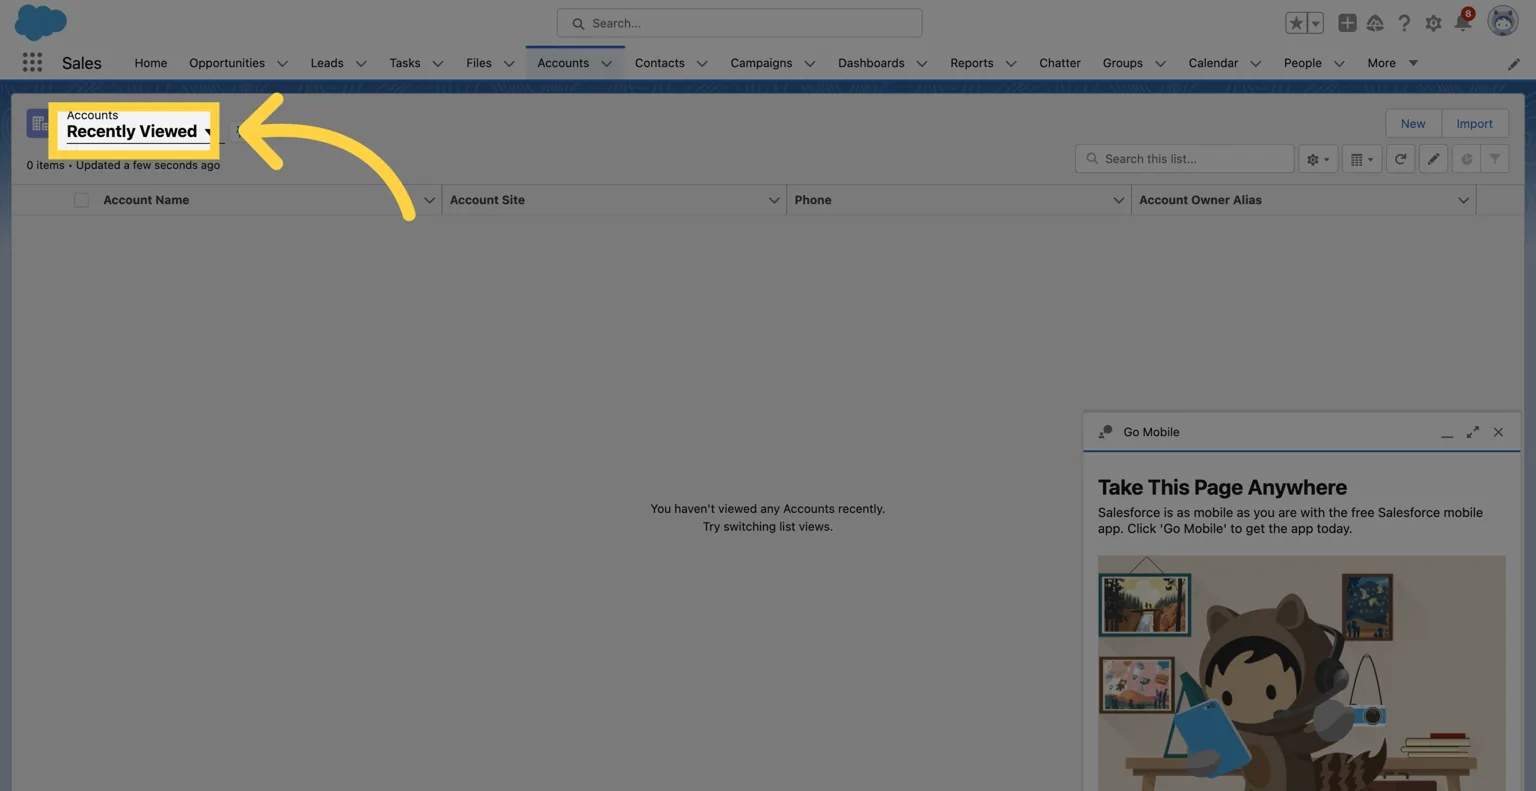
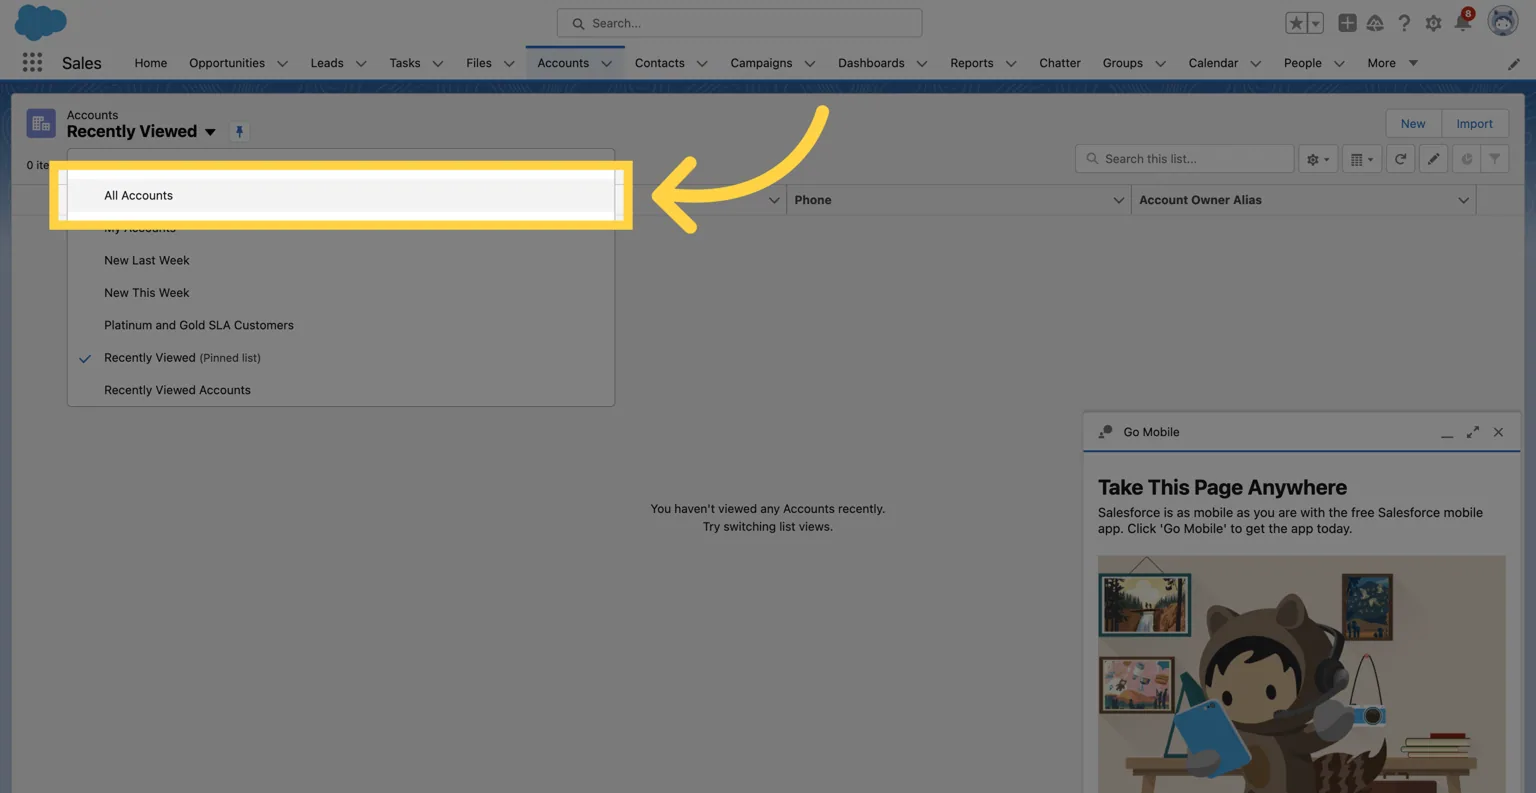
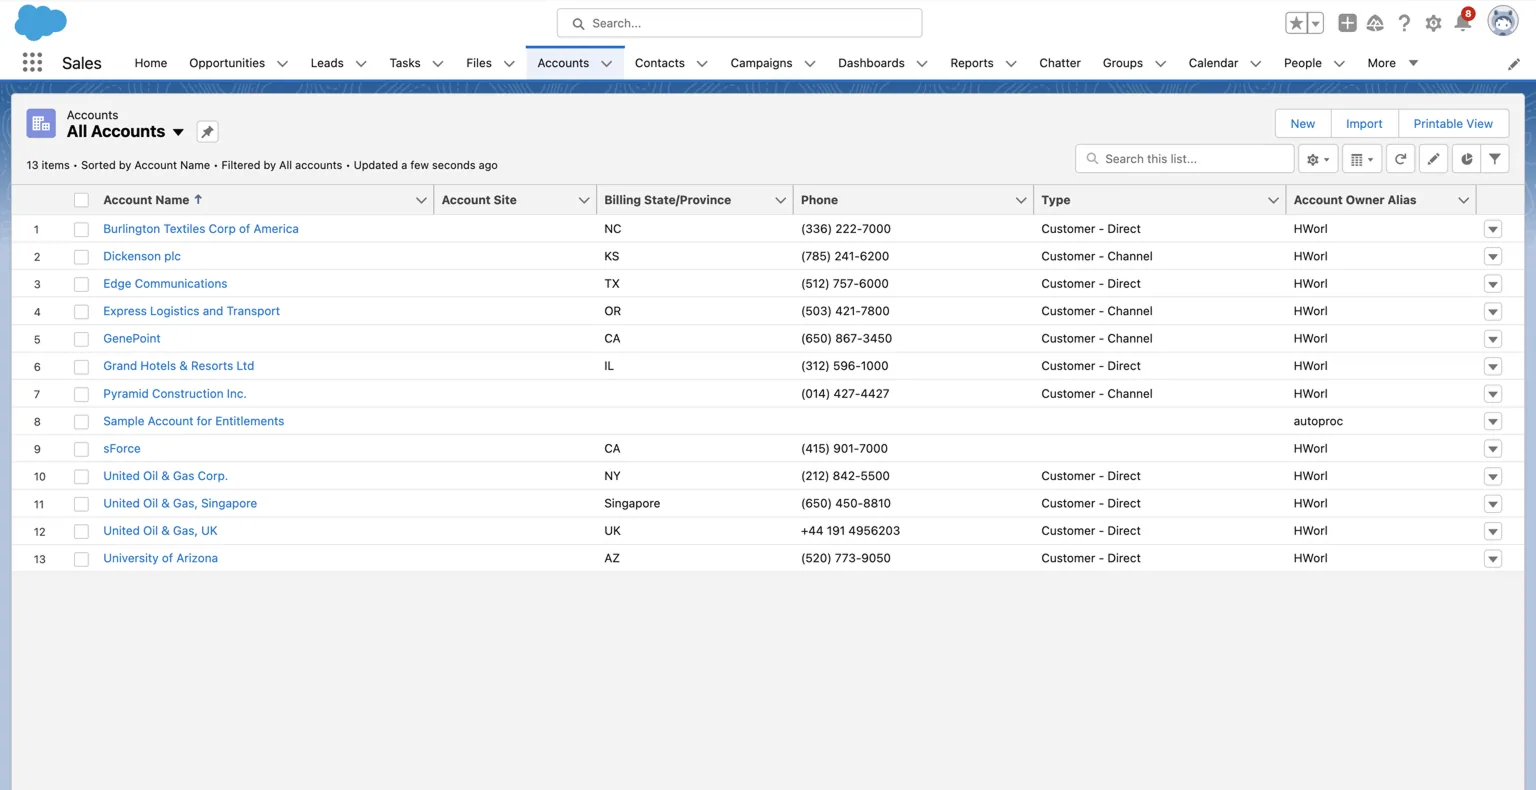
- Switch to All Accounts view to see your sample data.
💡 Tip: This sandbox mirrors a real Salesforce org, ideal for testing custom fields, workflows, and integrations before production.
7. Click on the App Launcher MENU
8. [1] Search "Accounts" and [2] Click on "Accounts" in results
9. Click "Recently Viewed"
10. Click "All Accounts" to view all your data
11. You are now in your "All Accounts" view!
That's it! 🥳 - Next Step: Connect Your Salesforce Instance to a Database
Now that your developer instance is live, you can sync Salesforce data in real time with your database using Stacksync.
Stacksync enables bi-directional, sub-second sync between Salesforce and Postgres, MySQL, or any database, no code required.
Create a Postgres Database with Supabase (free forever)
Create your free Postgres database in 4 minutes with Supabase 😍
Create a Sync between Supabase Postgres and Salesforce
You are 5 minutes away from your real-time and two-way sync between Salesforce and Postgres. This guide walks you through the 3 simple steps to get up and running!