

Create an Acumatica Push Notification
Create a Push Notification for Acumatica real-time updates.
Create a Push Notification
Create a Push Notification in Acumatica to send record changes to Stacksync.
1. Create the notification
Open Push Notifications in Acumatica and create a new notification.
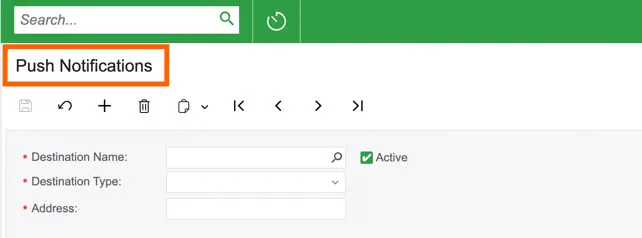
Configure:
-
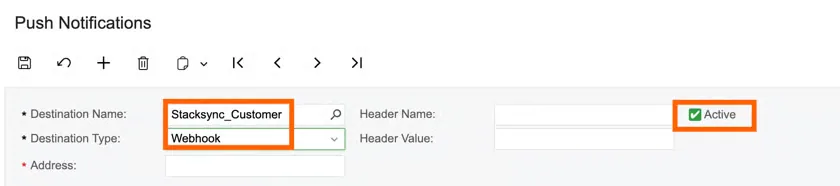
Destination Name: Enter a descriptive name, such as
Stacksync_Customer -
Destination Type: Select
Webhook -
Active: Enable this option
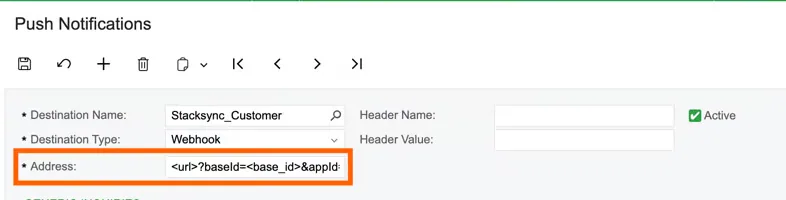
2. Add the webhook address
In Address, enter the webhook URL provided by the Stacksync team.
For two-way sync, the URL may follow this format:
<url>?baseId=<base_id>&appId=<app_id>The Stacksync team will provide the complete URL, including the correct base_id and app_id.
For Agentic Workflows, use the workflow-specific URL provided by the Stacksync team.
3. Add authorization
Configure:
-
Header Name:
Authorization -
Header Value:
Bearer <token>\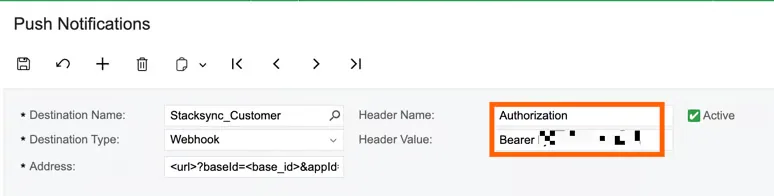
The Stacksync team will provide the bearer token.
Do not share or expose this token.
4. Add the Generic Inquiry
Open the Generic Inquiries tab and click Add (+).
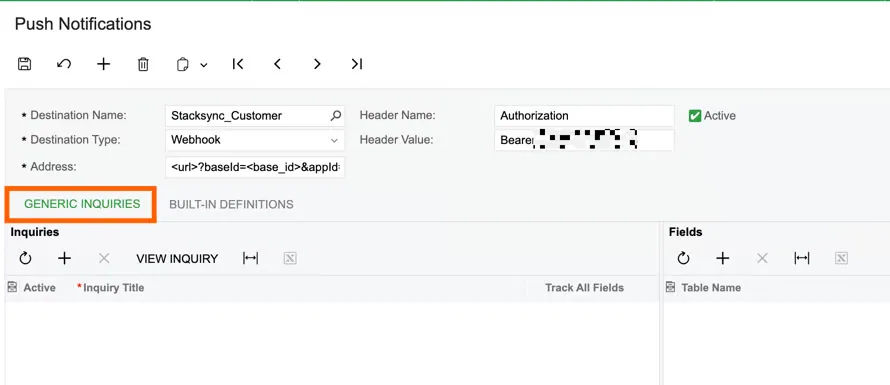
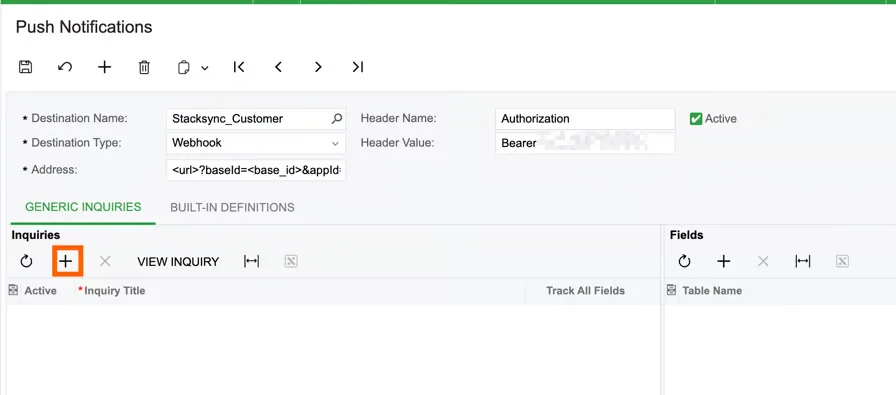
Then:
- Enable Active.
- Select the Generic Inquiry created in the previous step.
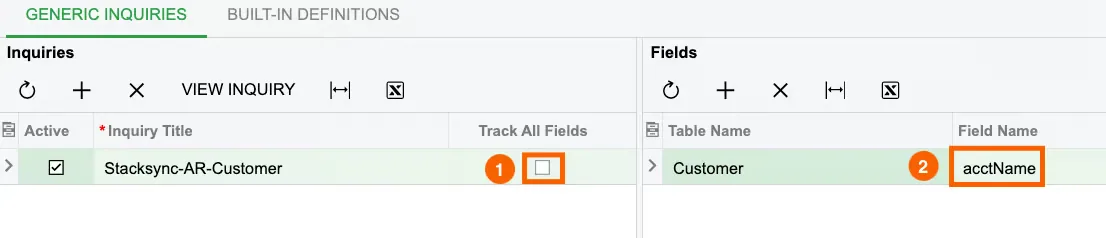
- Choose how Acumatica should track changes:
- Enable Track All Fields to trigger a notification when any field changes.
- Leave Track All Fields cleared and add specific fields in the Fields section to trigger notifications only for those fields.
When tracking specific fields, add every field that should trigger a real-time update.
5. Save the notification
Click Save after completing the configuration.
Acumatica will send a notification to Stacksync whenever one of the configured fields changes.
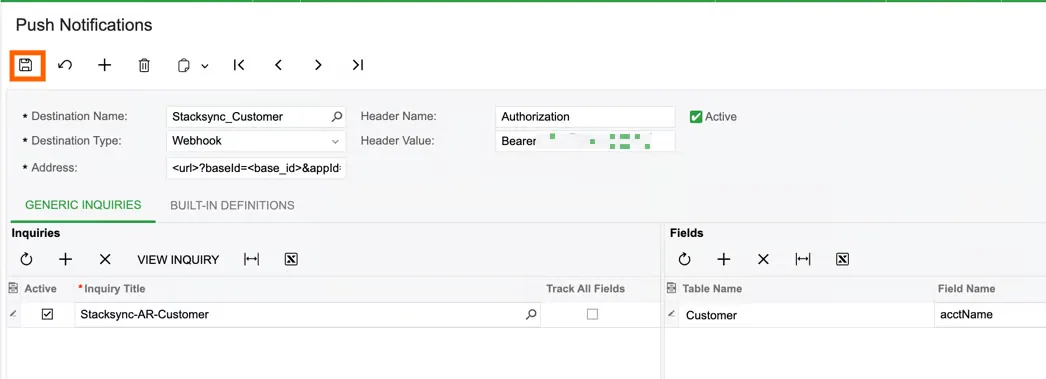
Acumatica sends a notification when one of the selected fields changes. Add each field that should trigger a real-time update.
If you have any questions or run into any blockers, reach out anytime at hello@stacksync.com and the Stacksync team will be happy to help.